Quick answer
To start hand-building pottery you need clay, a linen cloth or rough wooden board to work on, a rolling pin, two wooden guide sticks of equal thickness, a wire cutter, a craft knife, a sponge, a bowl of water, a needle or skewer, a metal rib and a jar of slip. Most of these can be improvised from things in your kitchen.
- Work on linen, cotton or rough wood. Clay sticks to smooth surfaces.
- Guide sticks are the single most useful tool: they make every slab an even thickness.
- Make your own slip by soaking scraps of the same clay in water.
- Skip the wheel, the kiln and expensive kits until you know what you enjoy making.
In this guide
Pottery supply shops are full of tempting kits. You need very little of it. This is the list Nariman uses in her course, the same tools she shows in the materials lesson, along with what each one is for and what you can use instead.
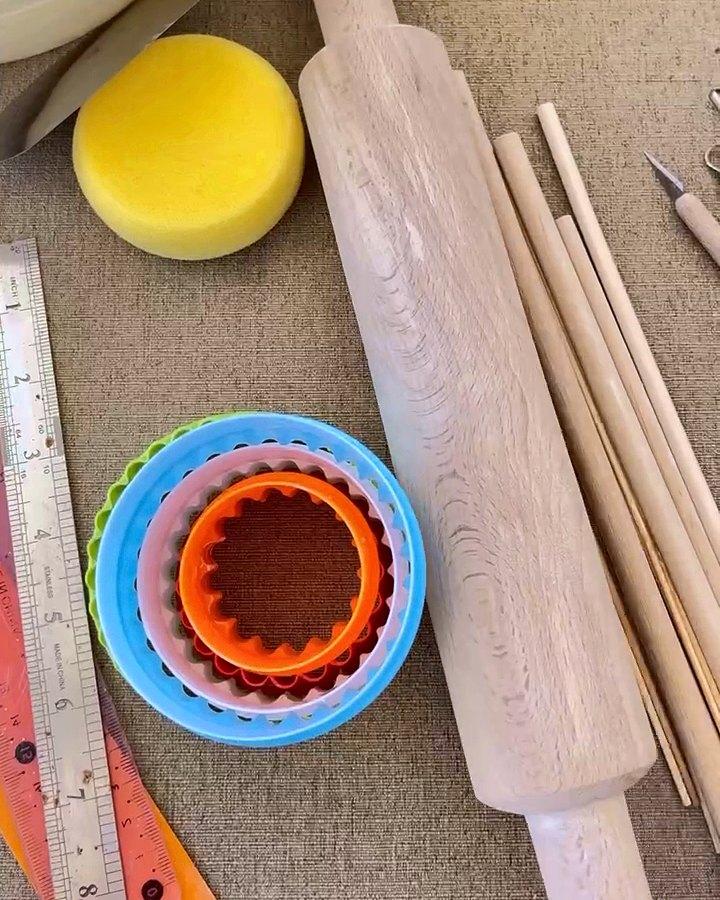
The essential pottery tools
| Tool | What it's for | Kitchen swap |
|---|---|---|
| Linen cloth or rough wooden board | A surface clay won't stick to while you shape it | A cotton tea towel pinned over a table |
| Rolling pin | Rolling slabs | Any wooden rolling pin |
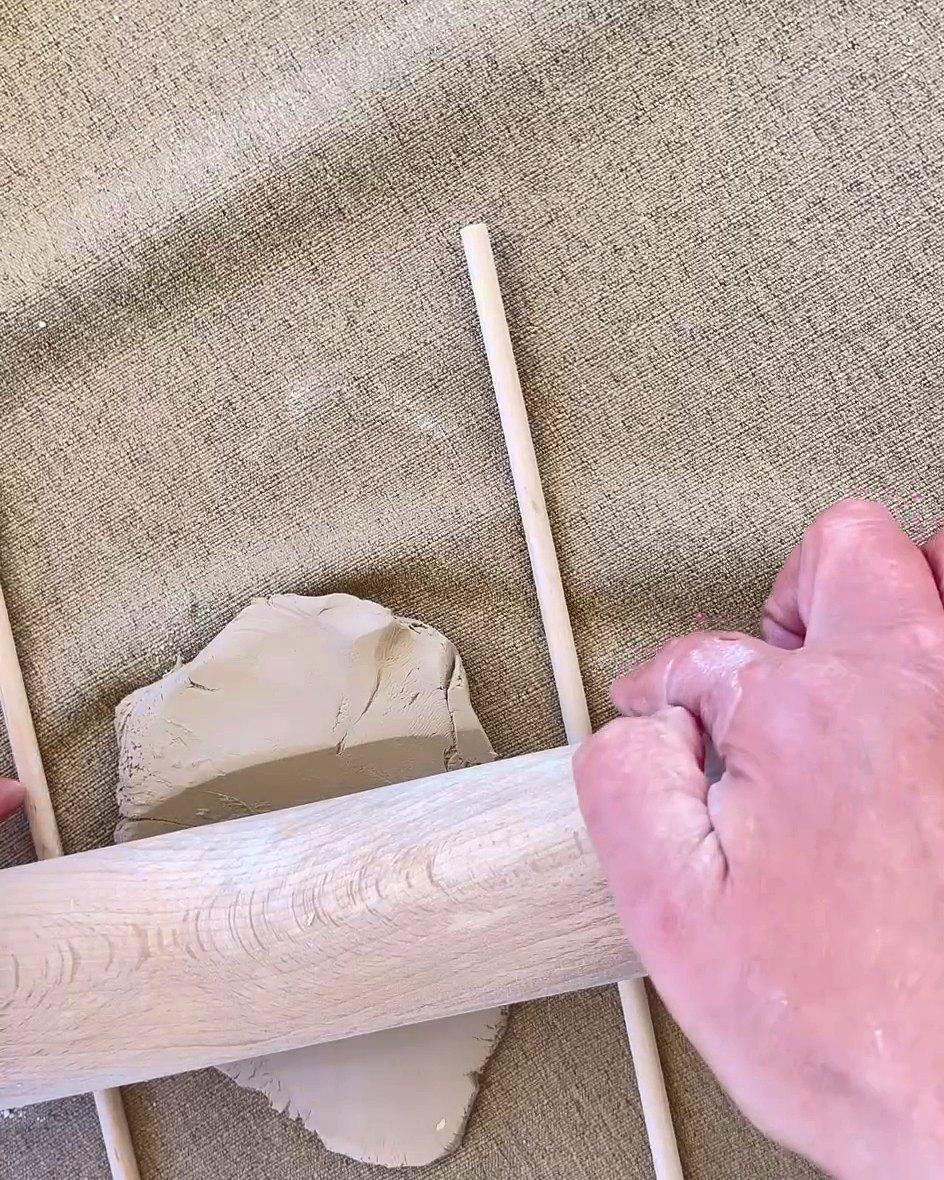
| Guide sticks (0.5 cm and 1 cm) | Rolling every slab to an even thickness | Two identical wooden rulers or paint stirrers |
| Wire cutter | Slicing manageable pieces off the clay block | Fishing line or strong thread tied to two buttons |
| Craft knife | Cutting shapes cleanly | A small, sharp kitchen knife |
| Needle tool or skewer | Scoring, popping air bubbles, drawing lines | A bamboo skewer or a fork |
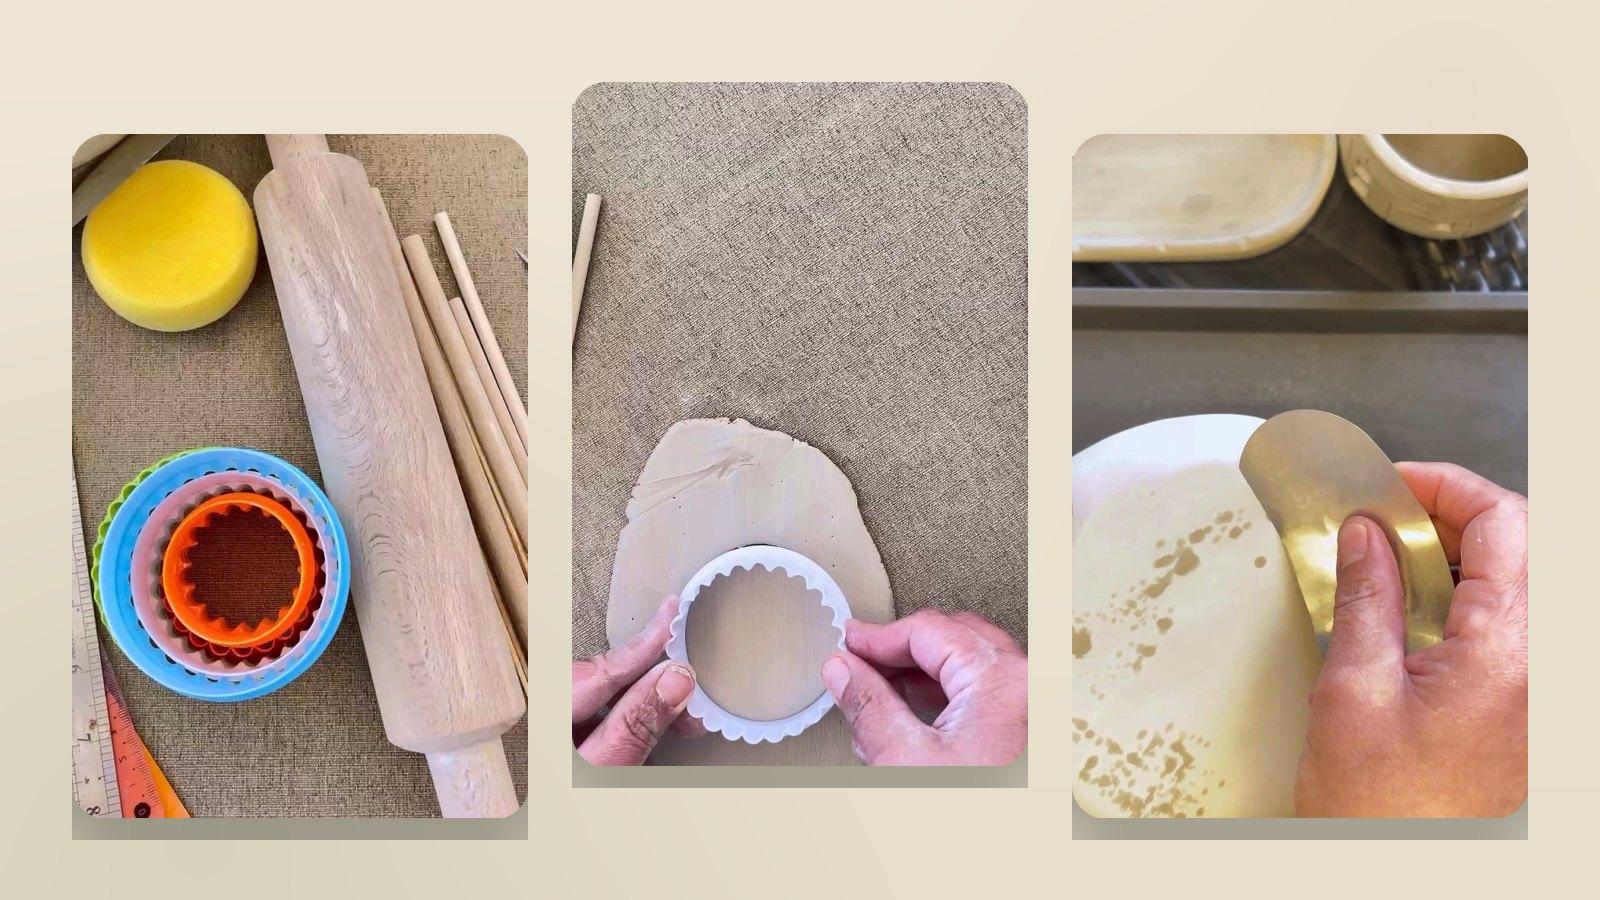
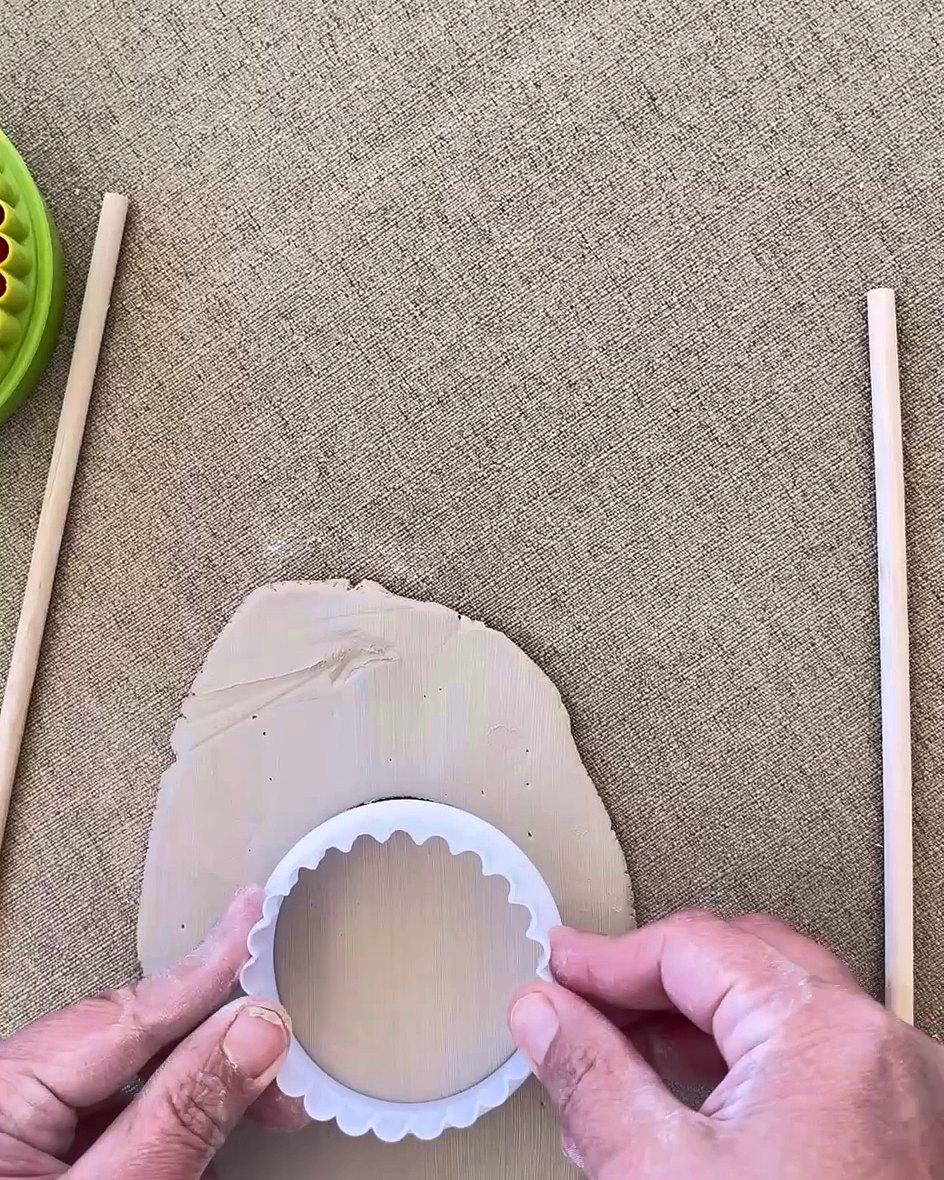
| Round templates and rulers | Cutting bases and measuring walls | Biscuit cutters, glasses, saucers, a string |
| Sponge and bowl of water | Smoothing and cleaning | A kitchen sponge |
| Metal rib | Smoothing and levelling dry pieces | An old credit card for soft clay |
| Slip | Glue for joining clay | Made from your own clay scraps |
The work surface
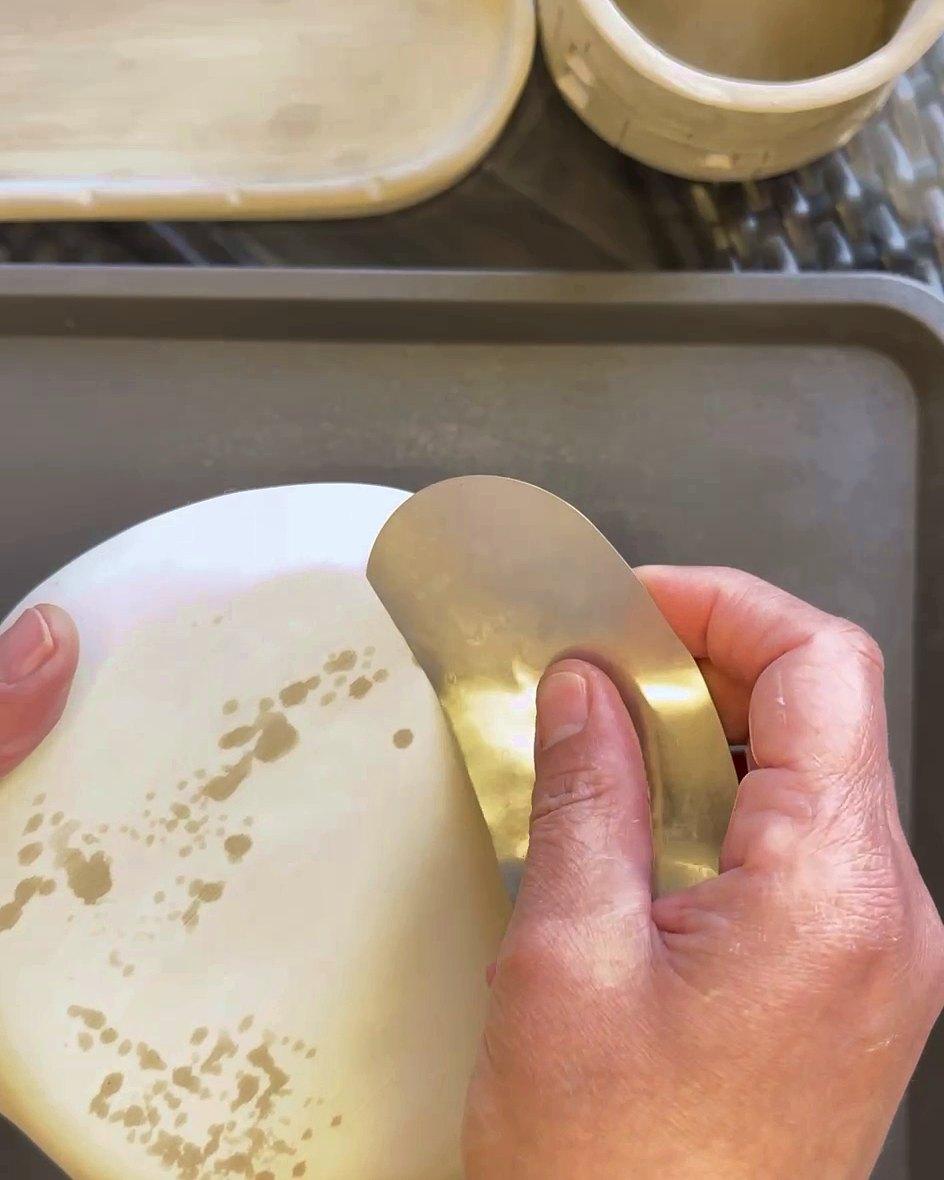
Clay sticks to anything smooth and non-absorbent. For shaping, cover your table with a linen or cotton cloth, or work on a rough wooden board. For cleaning dry pieces later you want the opposite: a smooth glass or plastic surface. Nariman spreads a little water on a plastic tray and sets the piece on it. Wherever water shows through, the base is uneven and needs sanding.
Clay
Buy one bag of a smooth, general-purpose clay that your firing studio accepts. White clay is easiest to paint and shows colour cleanly. You'll also hear about red, black and brown clays, and special clay bodies for cookware. Leave those for later.
Shaping tools: rolling pin and guide sticks
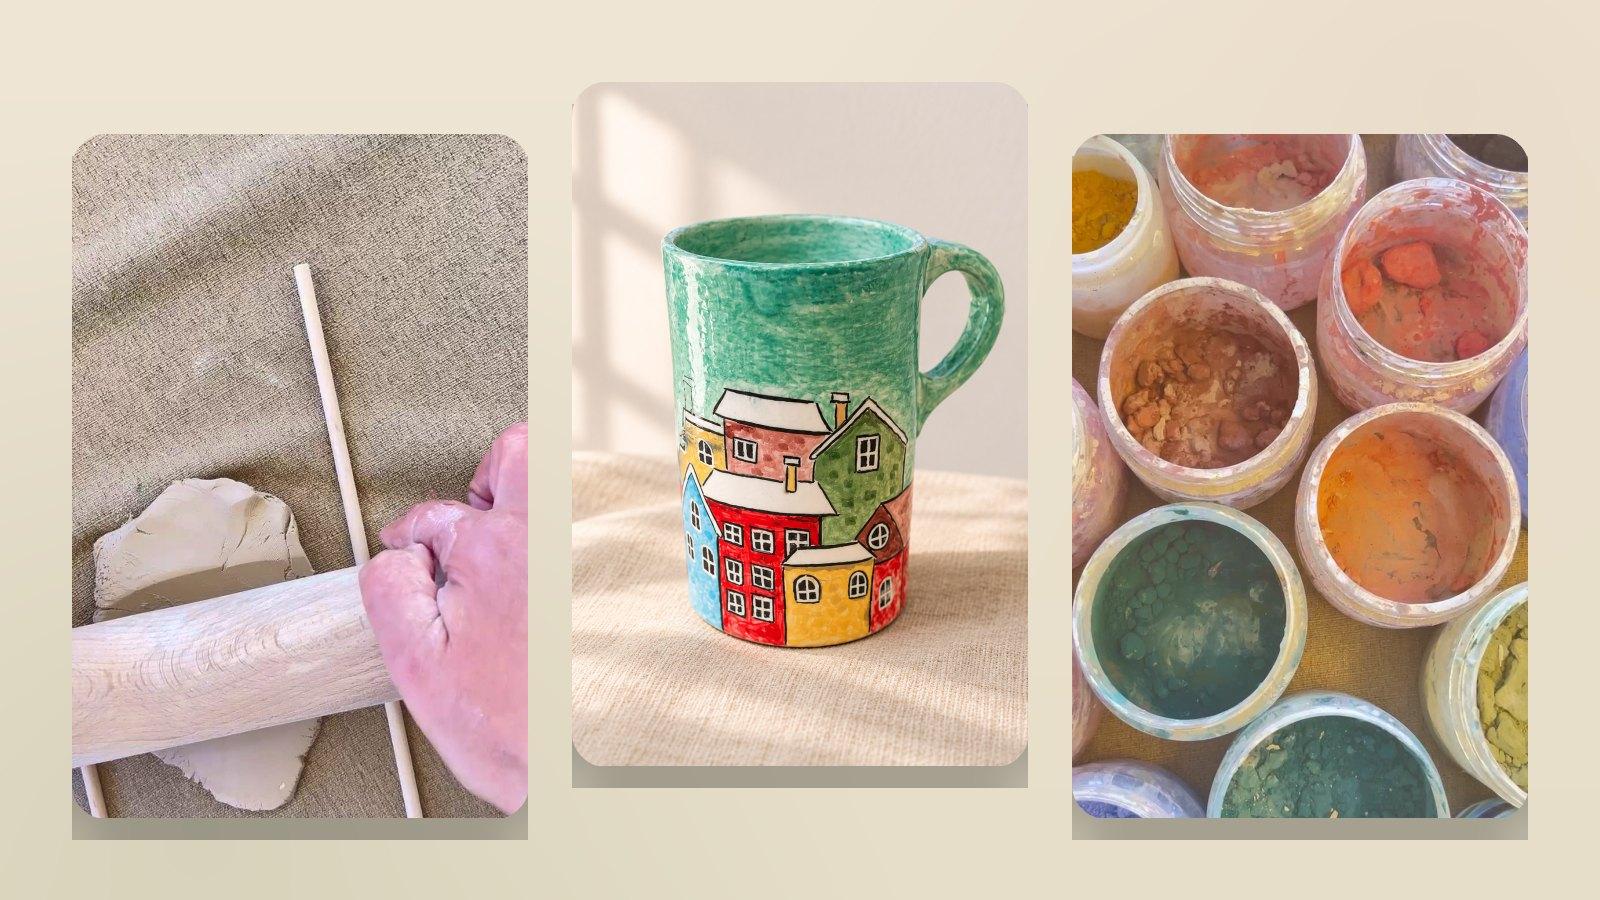
Guide sticks make the biggest difference to a beginner's work. Lay two sticks of the same thickness either side of the clay and roll until the pin touches both. The slab comes out exactly that thick everywhere. Half a centimetre is right for cups, plates and flat pieces. One centimetre suits handles and spoons.
Cleaning and finishing tools
Once pieces are bone dry, a metal rib shaves down uneven spots and levels the base. A soft brush and a little water reach places a sponge can't, like the folds of a rose. Keep the cleaning water clear and change it as soon as it turns cloudy.
Colour tools
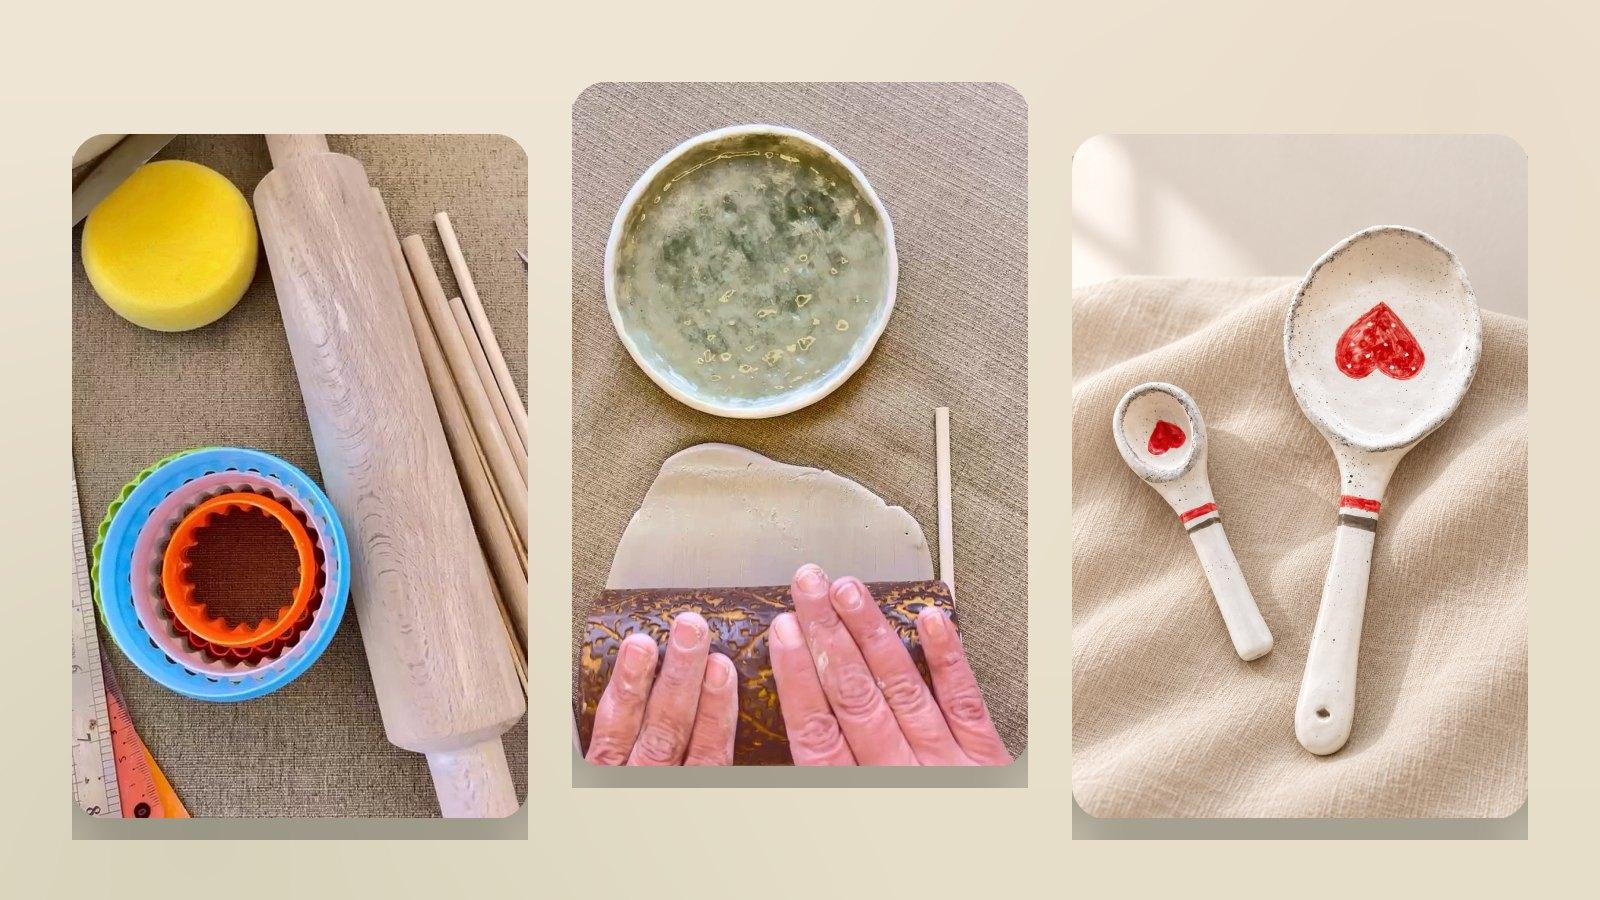
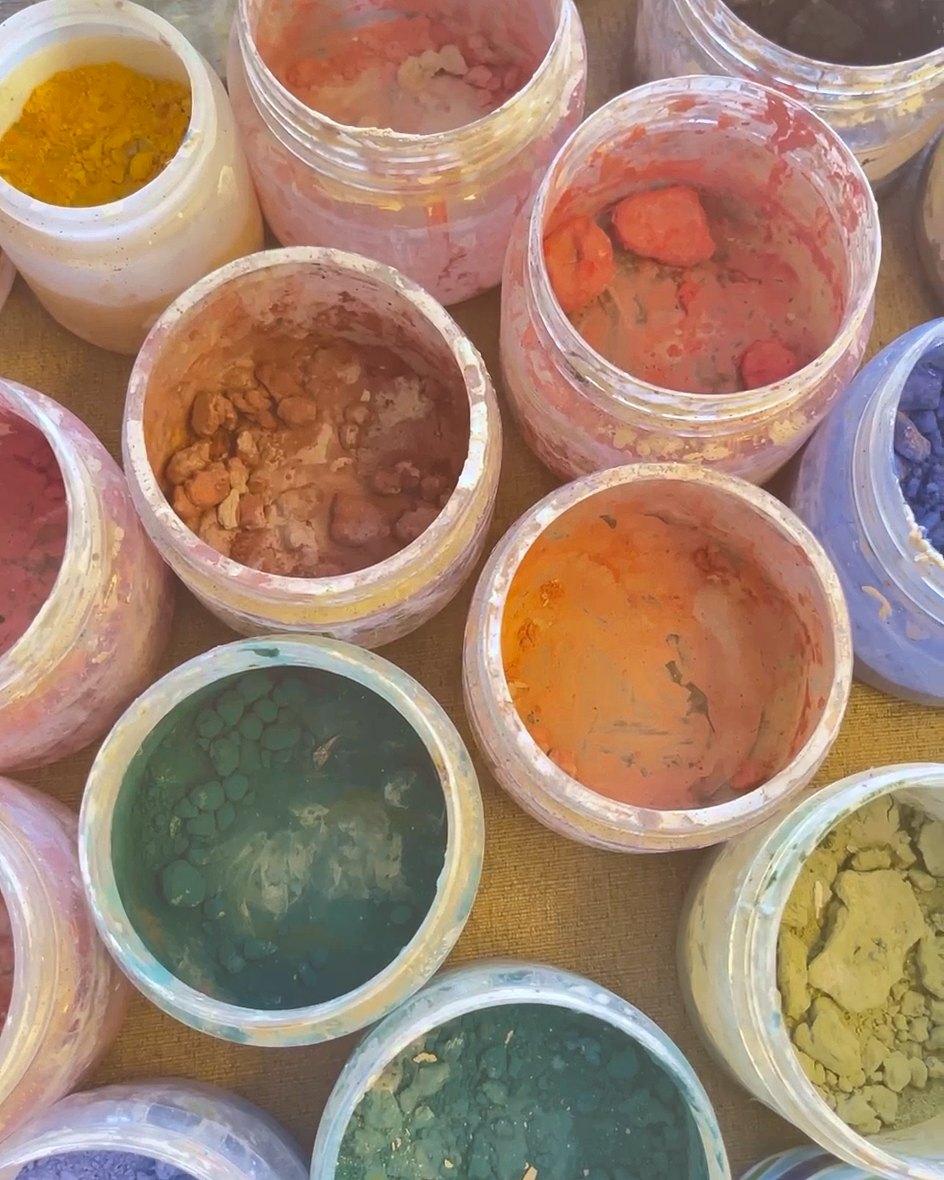
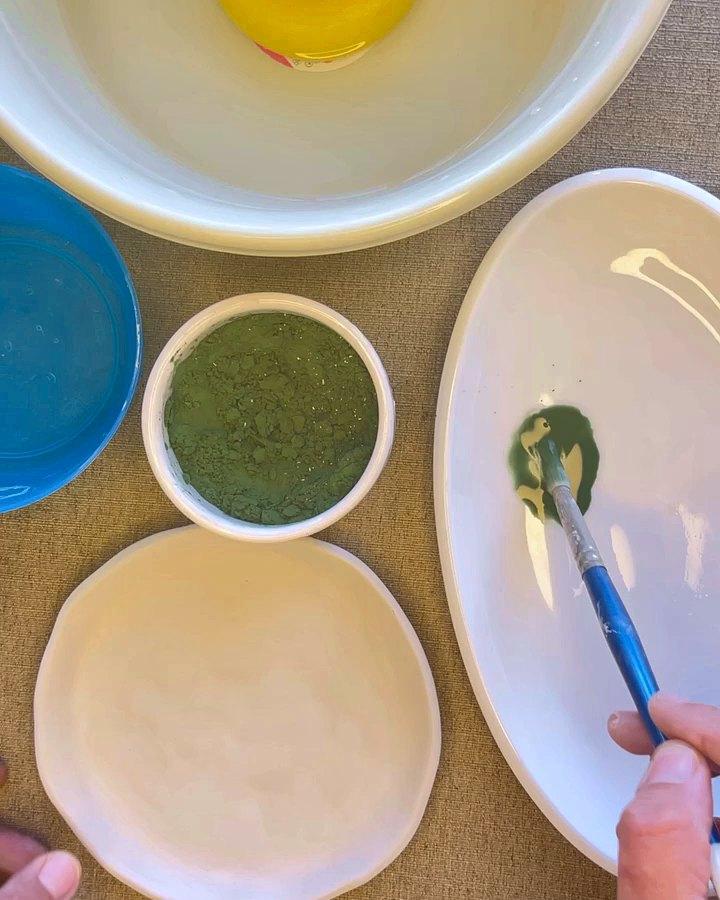
Ceramic colours usually come as a powder that you mix with water, much like watercolour. You'll need a few colours, a smooth plate to mix on, a small dish of water, and watercolour brushes in several sizes. A needle and a few small carving tools let you add texture and mosaic lines.
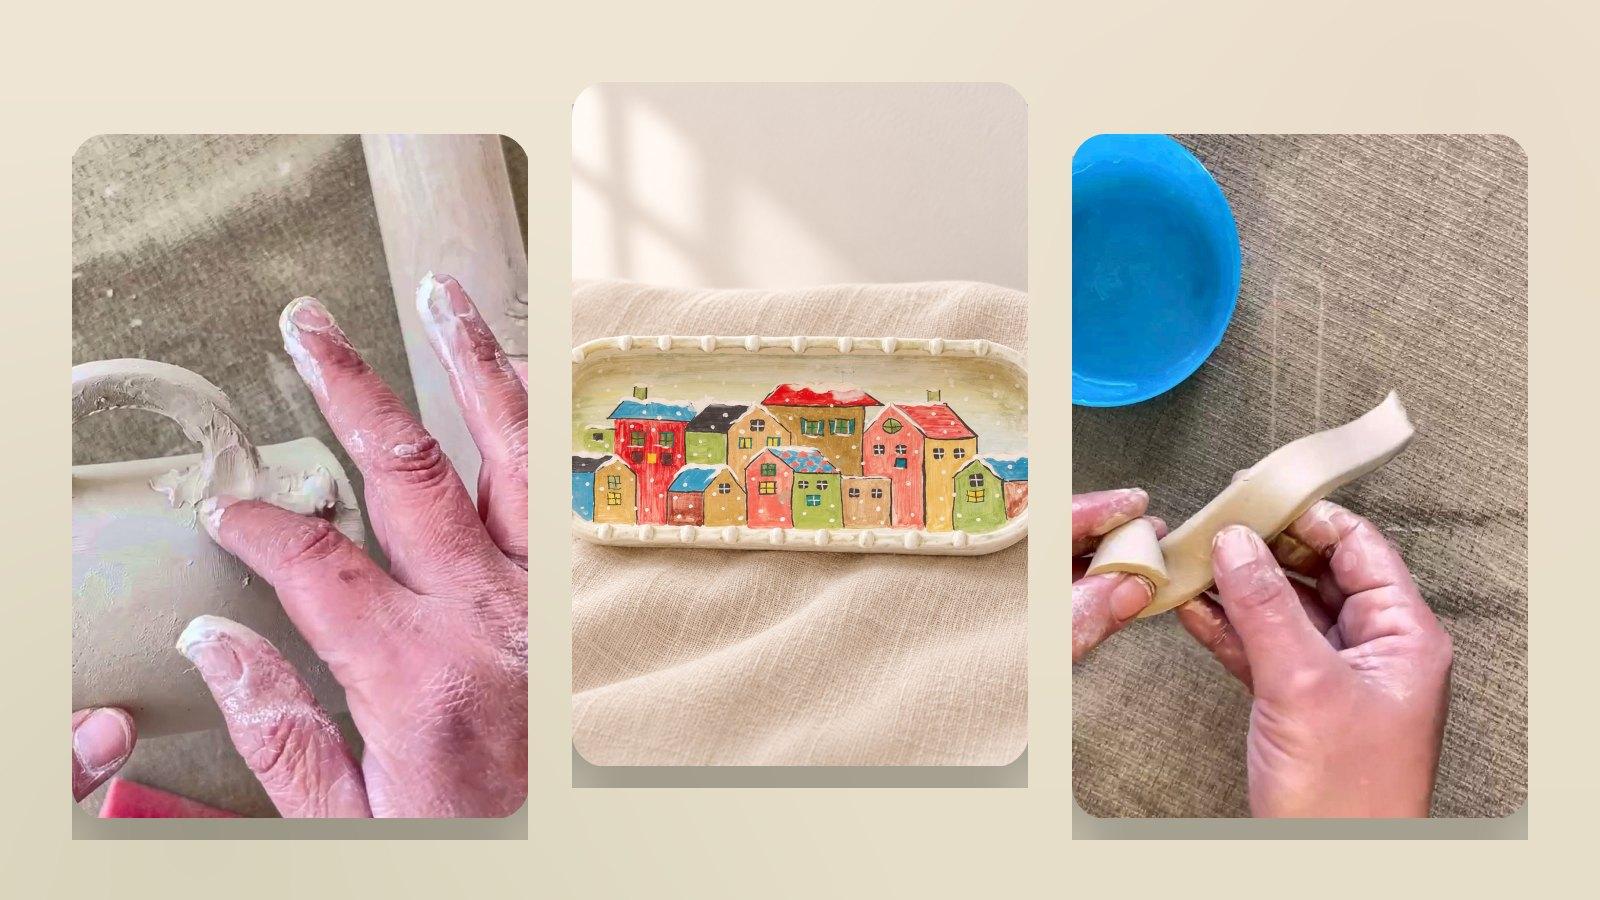
How to make slip
- 1
Collect scraps
Save trimmings of the same clay you are working with. Mixing clays can cause joins to crack.
- 2
Soak
Put them in a bowl, cover with water and leave for a few days until they slake down into a soft mush.
- 3
Mix
Stir or squeeze to a smooth paste, like thick yoghurt. Add water or dry clay to adjust.
- 4
Store
Keep it in a lidded jar. It lasts for months if it doesn't dry out.
What to skip at first
- A pottery wheel. Expensive, bulky and unnecessary for hand-building.
- A kiln. Use a community studio until you know you'll fire often. See how pottery firing works.
- Big tool kits. Most contain a dozen tools you'll never use. Buy single tools as you need them.
- Lots of glazes and colours. A few basic colours and one clear glaze go a very long way.
With these tools on the table you are ready to start. Easy pottery projects for beginners suggests what to make first.
Frequently asked questions
What tools do I need to start pottery at home?
A rolling pin, two wooden guide sticks, a wire cutter, a craft knife, a sponge, a bowl of water, a needle or skewer, a metal rib and a jar of slip, plus clay and a cloth-covered table. For colour you'll add ceramic colours and soft watercolour brushes.
Do I need a pottery wheel to start?
No. Hand-building uses no wheel at all, and you can make cups, bowls, plates and vases with it. Many potters work by hand for years before buying a wheel, and some never do.
What is slip and how do I make it?
Slip is clay mixed with water into a thick paste that works like glue for joining pieces. Put scraps of the same clay you are using in a bowl, cover them with water, and leave them for a few days. Stir to a texture like thick yoghurt.
What can I use instead of pottery tools?
A kitchen rolling pin, a ruler and paint stirrers for guide sticks, a kitchen knife or craft knife, a fork or skewer for scoring, a round biscuit cutter or plate as a template, an old credit card as a rib, and a kitchen sponge.
How much clay should a beginner buy?
One standard bag, often 10 to 12.5 kg, is plenty for a few weeks of practice. Unfired clay can be reclaimed: soak failed pieces in water and reuse them.
About Nariman
Nariman is a hand-building potter in Jordan. She has taught her beginner course to students since 2022 and shares slow, quiet pottery and home videos on YouTube.