Quick answer
Pottery is the craft of shaping clay by hand and firing it in a kiln so it becomes hard, permanent ceramic. To start, you only need clay, water, a sponge, a rolling pin and a few simple tools. You can hand-build at a table by pinching, coiling or rolling slabs, then have a local studio fire your pieces.
- You do not need a pottery wheel. Hand-building is how most potters start, and it fits on a kitchen table.
- Clay passes through clear stages: wet, leather-hard, bone dry, bisque, then glazed.
- Even thickness and slow, even drying prevent most cracks.
- Pieces must be kiln-fired before they are safe to use with food or water.
In this guide
- What is pottery?
- The three ways to shape clay by hand
- Which clay should a beginner use?
- The basic tools
- The stages of clay, from wet to finished
- How to join clay: score and slip
- Decorating your pieces
- Firing: why every piece goes in a kiln
- Five beginner mistakes, and how to avoid them
- Your first week of pottery: a simple plan
- Frequently asked questions
Pottery looks like magic from the outside: a lump of grey mud becomes a glossy cup you drink from every morning. From the inside it is a short list of simple ideas, repeated with care. This guide walks through all of them in order, so you know what you are doing at every step before you open your first bag of clay.
What is pottery?
Pottery is the craft of making objects from clay and hardening them with heat. Clay is a soft, natural material made of very fine mineral particles and water. While it is wet you can shape it. When it dries it holds that shape but stays fragile. When it is fired in a kiln at around 1,000°C or more, the particles fuse and the clay turns permanently into ceramic, which no longer softens in water.
People often use pottery and ceramics as if they mean the same thing. In everyday speech they almost do. Strictly, ceramics is the wider word for anything made of fired clay, including tiles, sinks and spark plugs. Pottery usually means vessels and everyday objects, like cups, bowls, plates and vases, often made by hand.
The three ways to shape clay by hand
There are four main ways to form clay. Three of them need nothing but your hands and a table. The fourth, the potter's wheel, is the one most people picture, but it is the hardest to learn and the most expensive to set up.
| Method | How it works | Best for |
|---|---|---|
| Pinching | Press a thumb into a ball of clay and pinch the walls thinner as you turn it. | Small bowls, cups, your very first pieces |
| Coiling | Roll ropes of clay and stack them, smoothing each join. | Taller vases, planters, round forms |
| Slab building | Roll clay flat to an even thickness, cut shapes, and join the edges. | Cups with straight sides, plates, trays, boxes |
| Wheel throwing | Shape spinning clay on a motorised wheel. | Symmetrical bowls and cups in volume |
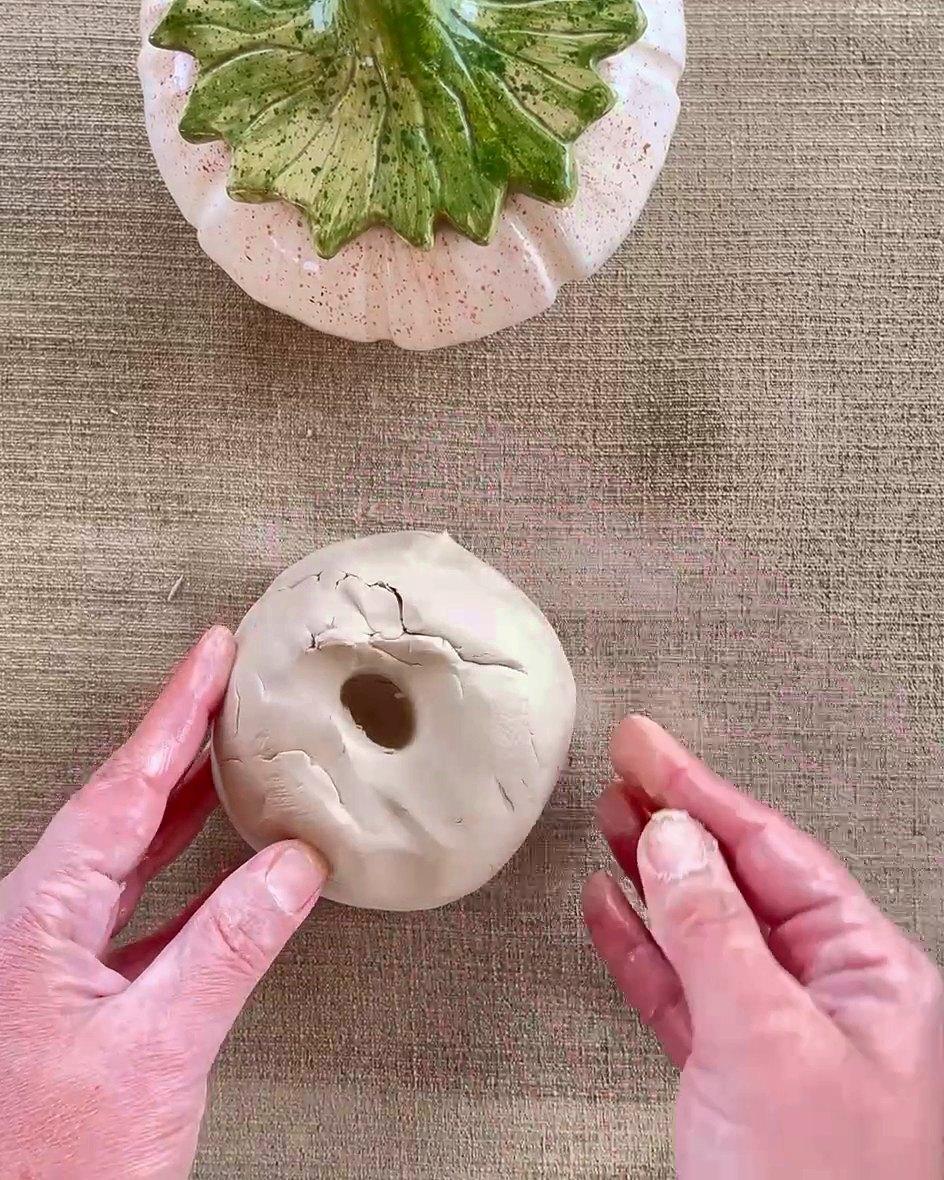
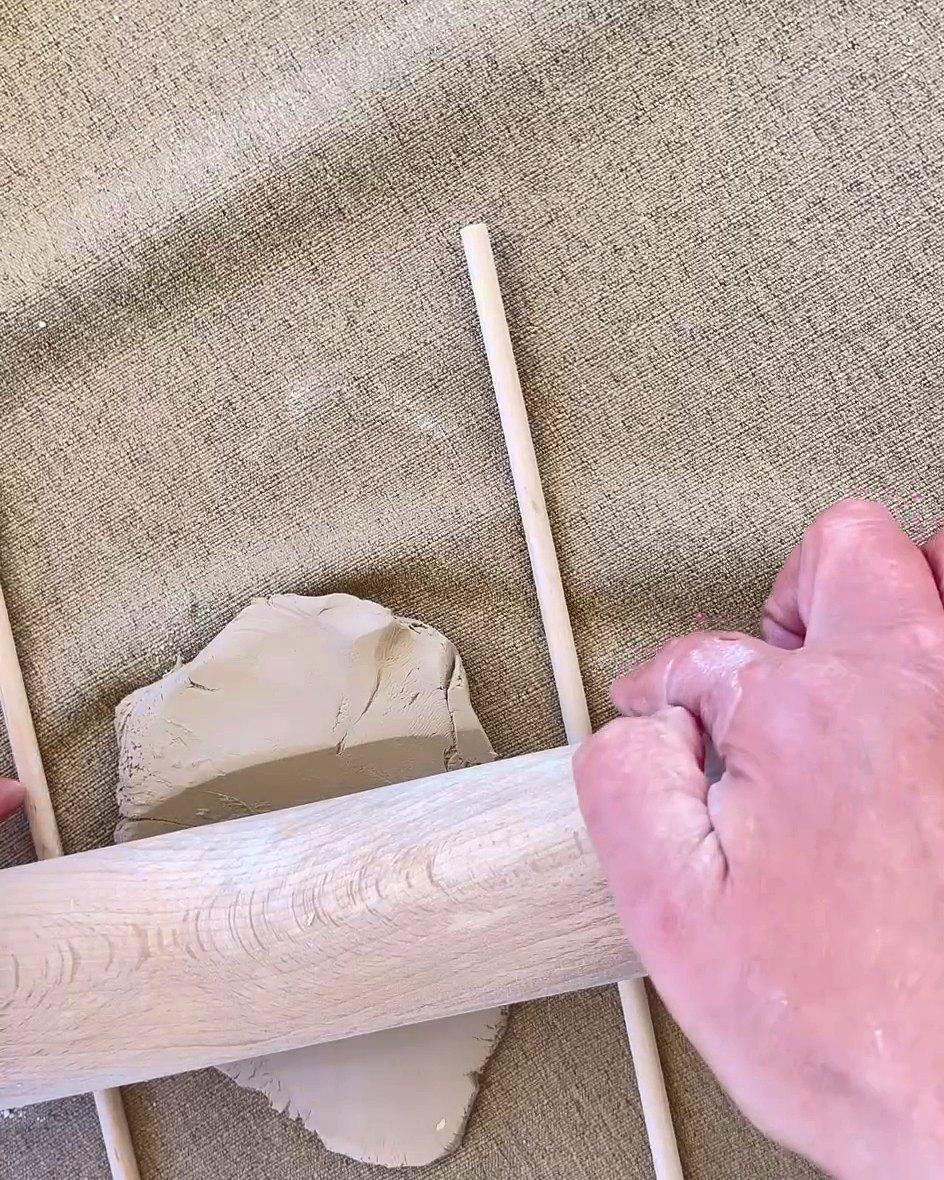
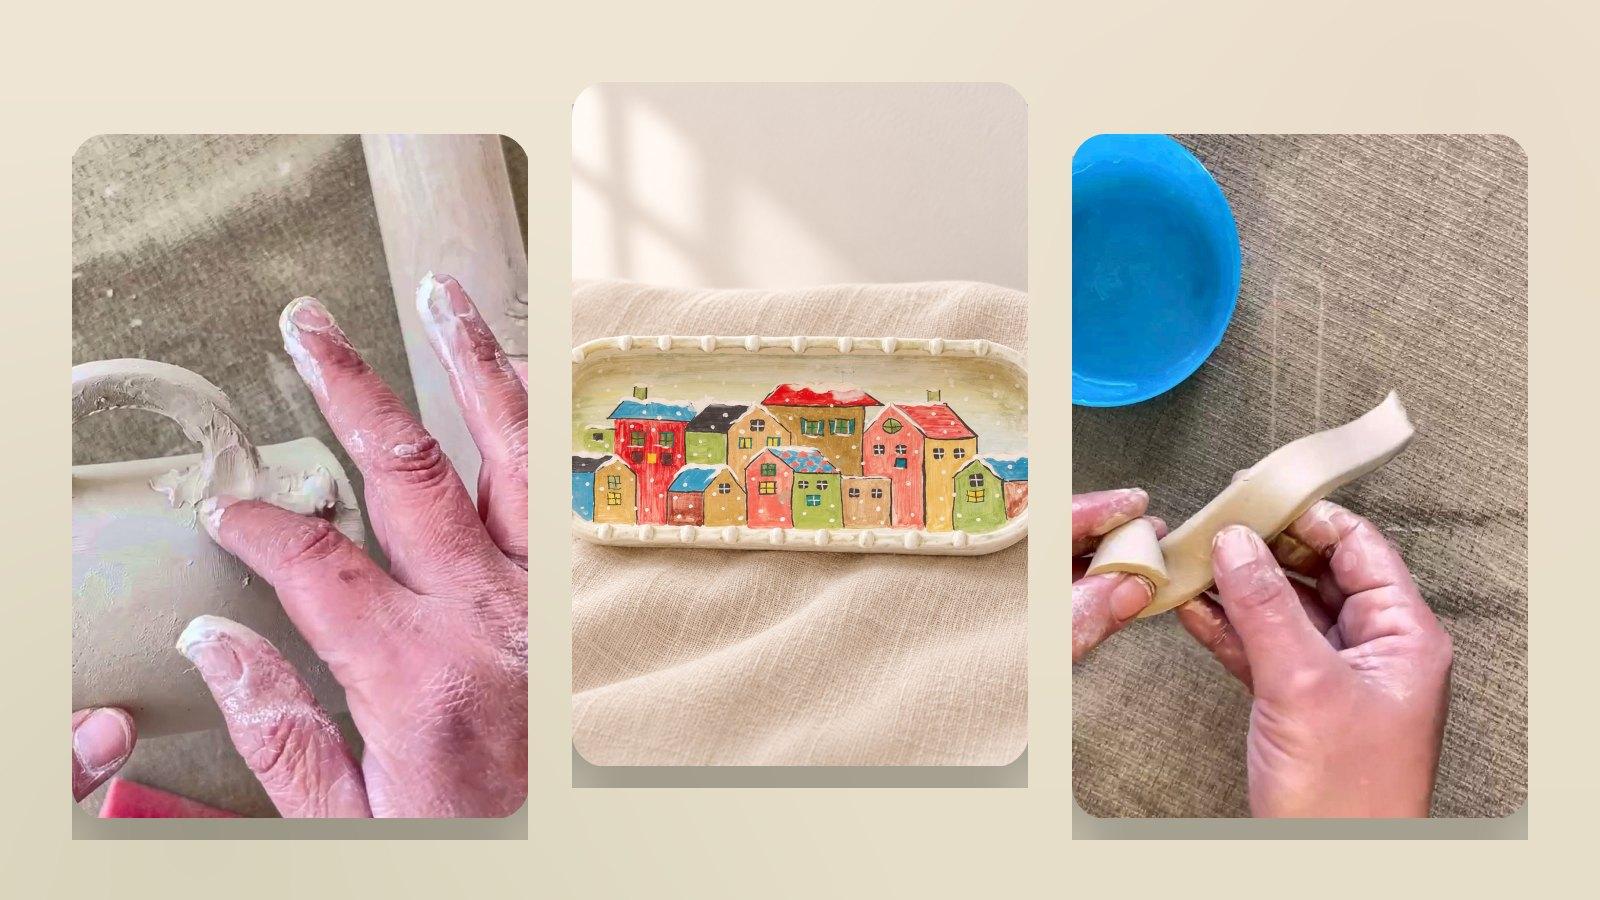
Nariman's beginner course uses two hand-building methods. The slab-joining method builds a cup from a rolled base and a rolled wall. What she calls the hand-wheel method raises a bowl from a single ball of clay, turning it in her hands the way a wheel would, so the piece has no joins at all. Read more in hand-building pottery at home.
Which clay should a beginner use?
Clay is sold as a clay body, a recipe with a stated firing temperature. That temperature matters more than the colour, because your clay must match the kiln and the glazes you will use. Ask your firing studio what they fire before you buy.
| Clay | Fires at (approx.) | Good to know |
|---|---|---|
| Earthenware | 1,000–1,150°C | Soft and forgiving to shape, bright colours, slightly porous unless glazed. |
| Stoneware | 1,200–1,300°C | Strong and dense, ideal for everyday mugs and plates. |
| Porcelain | 1,220–1,300°C+ | Smooth and white but floppy and unforgiving. Not a first clay. |
| Air-dry clay | Not fired | Hardens in air. Decorative only, never waterproof or food safe. |
A smooth white or buff clay with a little fine grog (pre-fired, ground clay that adds strength) is the easiest to start with. It shows painted colour cleanly and forgives slightly uneven drying.
The basic tools
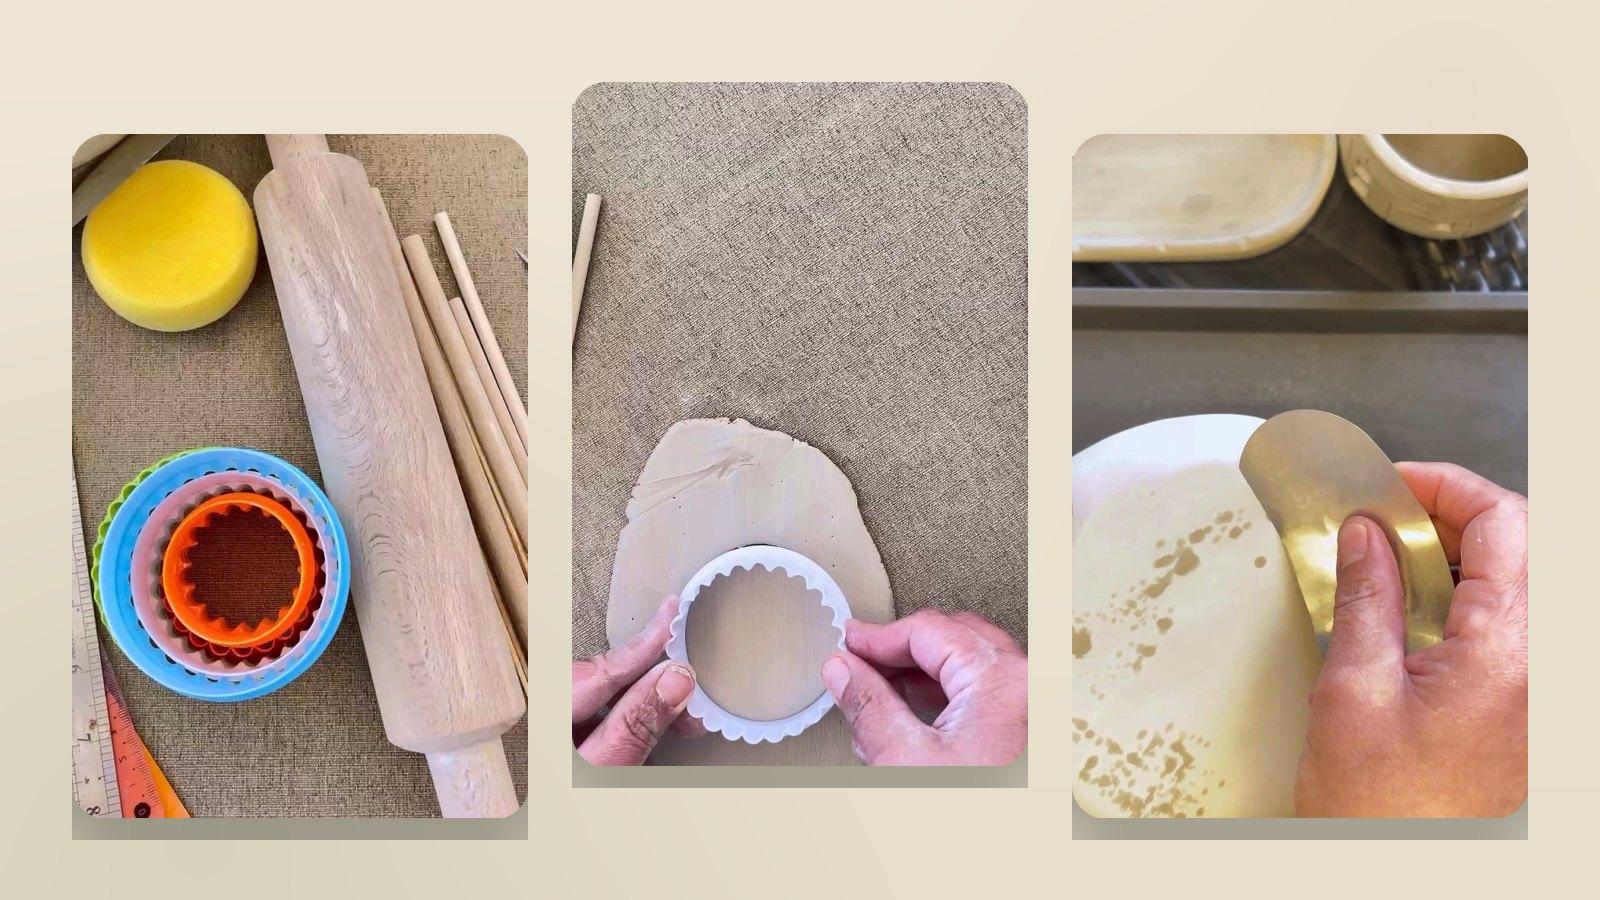
You need less than you think: a work surface covered in linen or a rough wooden board, a rolling pin, two wooden sticks of equal thickness to roll against, a wire to cut clay from the block, a craft knife, a sponge, a bowl of water, a needle tool and a small jar of slip. The full list, with kitchen swaps, is in pottery tools for beginners.
The stages of clay, from wet to finished
Every piece passes through the same stages. Knowing which stage you are in tells you what you can and can't do to it. For every other word you'll meet in lessons, keep the pottery glossary open.
- 1
Wet (plastic) clay
Soft and easy to shape. This is when you pinch, roll, cut and build.
- 2
Leather-hard
Firm enough to hold its shape and be handled, still slightly damp. The best stage to clean edges, attach handles, carve and pierce. In Nariman's lessons this is after about three hours of drying.
- 3
Bone dry (greenware)
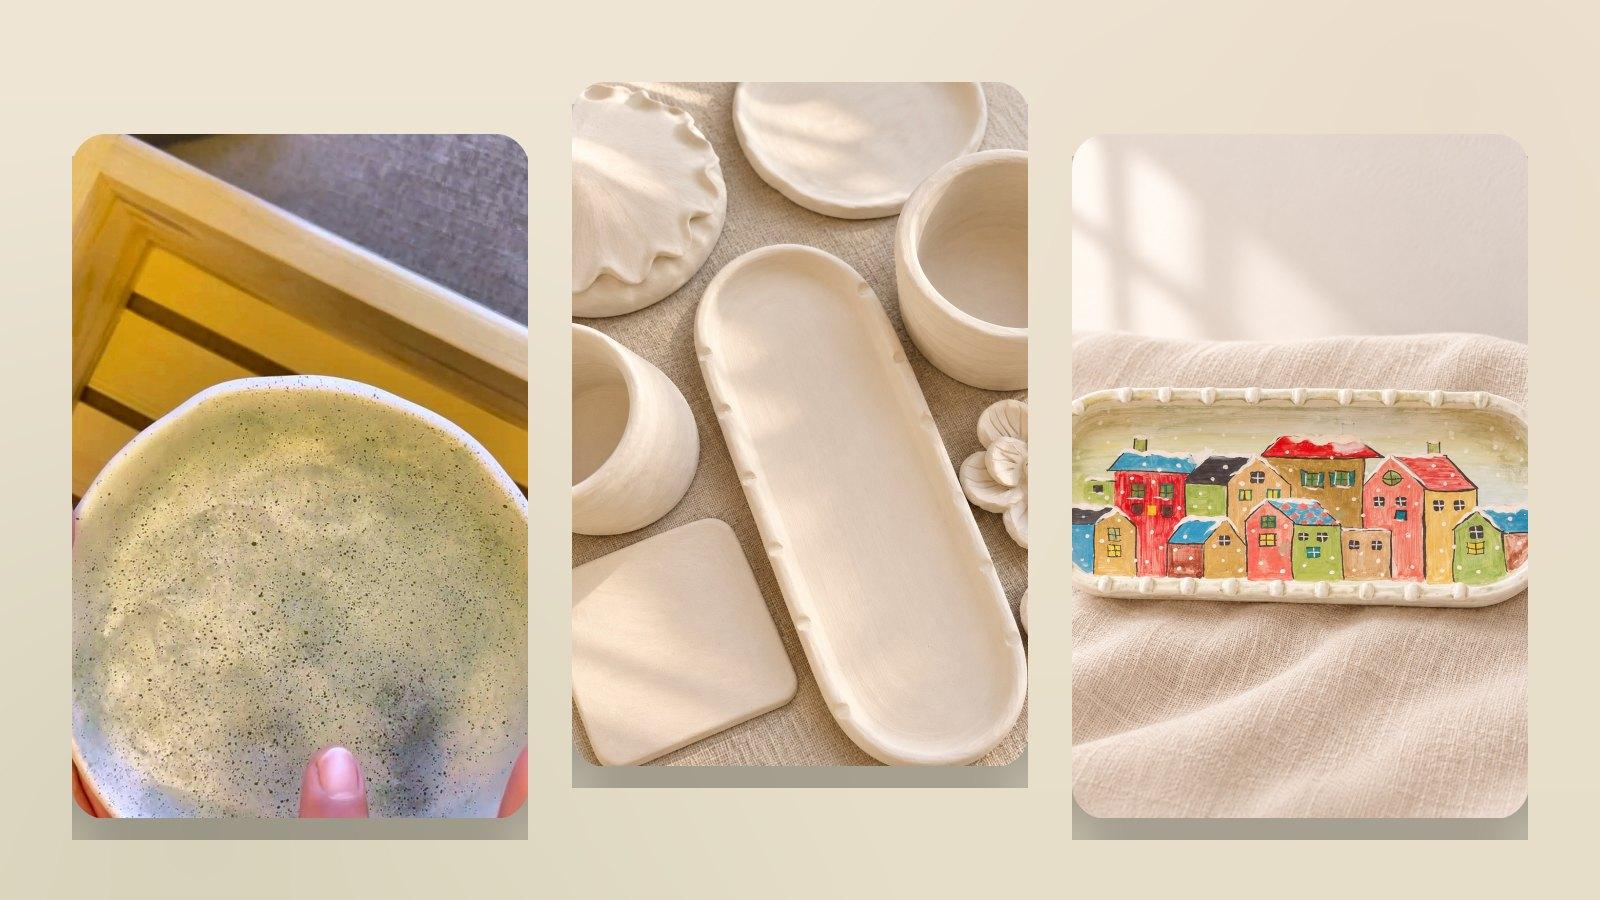
All the water has evaporated. The clay turns from grey to white, feels lighter and is very fragile. Sand and tidy it gently, then it is ready to fire.
- 4
Bisque
After the first firing the clay is hard ceramic but still porous, so it soaks up glaze evenly.
- 5
Glazed and fired
The second, hotter firing melts the glaze into a glassy, waterproof finish.
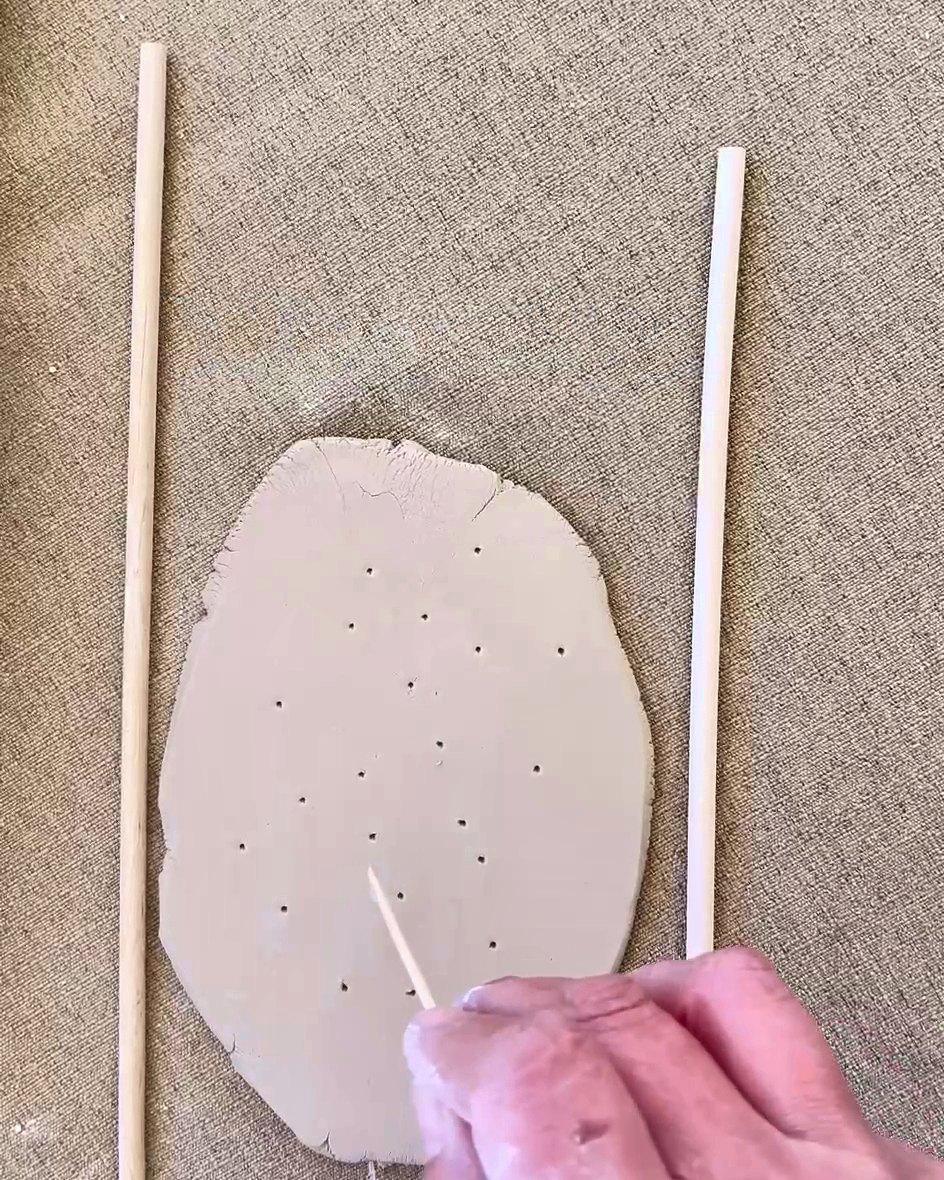
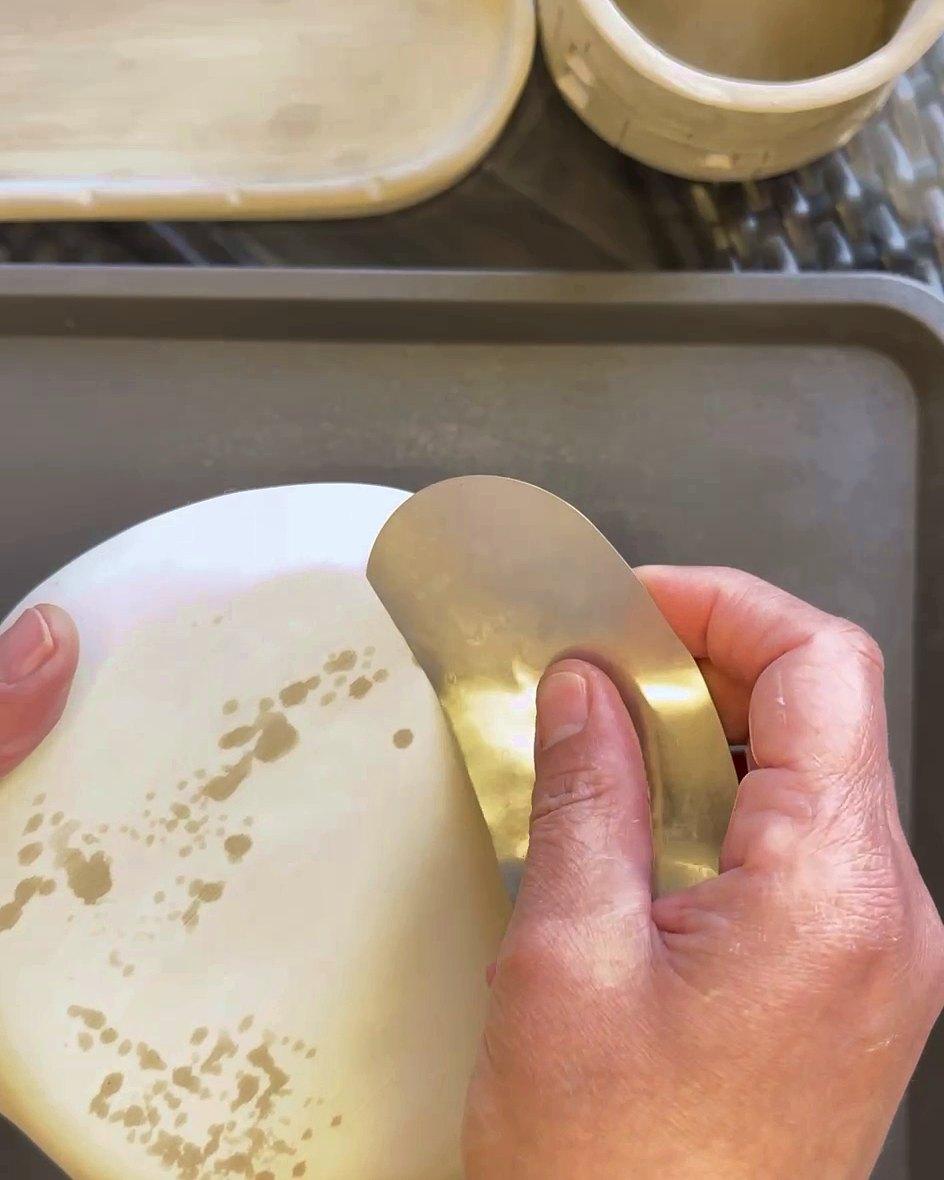
Clay also shrinks as it dries and fires, often by 10 to 15 percent and sometimes more. Make pieces a little larger than you want them to end up.
How to join clay: score and slip
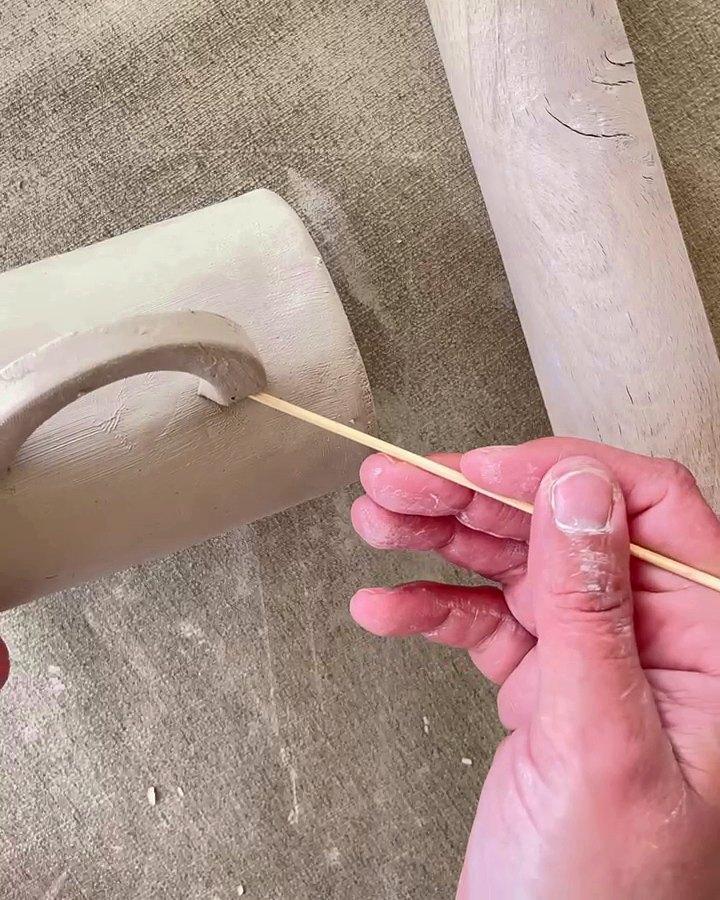
Clay will not stick to clay just because you press it together. A dry join looks fine for a day and then opens in the kiln. Every join, whether it is a handle, a wall or a rose on a plate, uses the same two steps.
- 1
Score
Scratch a crosshatch into both surfaces with a needle, skewer or fork.
- 2
Slip
Brush on slip, a thick paste made by soaking scraps of the same clay in water for a few days.
- 3
Press and blend
Press the pieces together, then smooth the seam with a damp sponge until it disappears.
Decorating your pieces
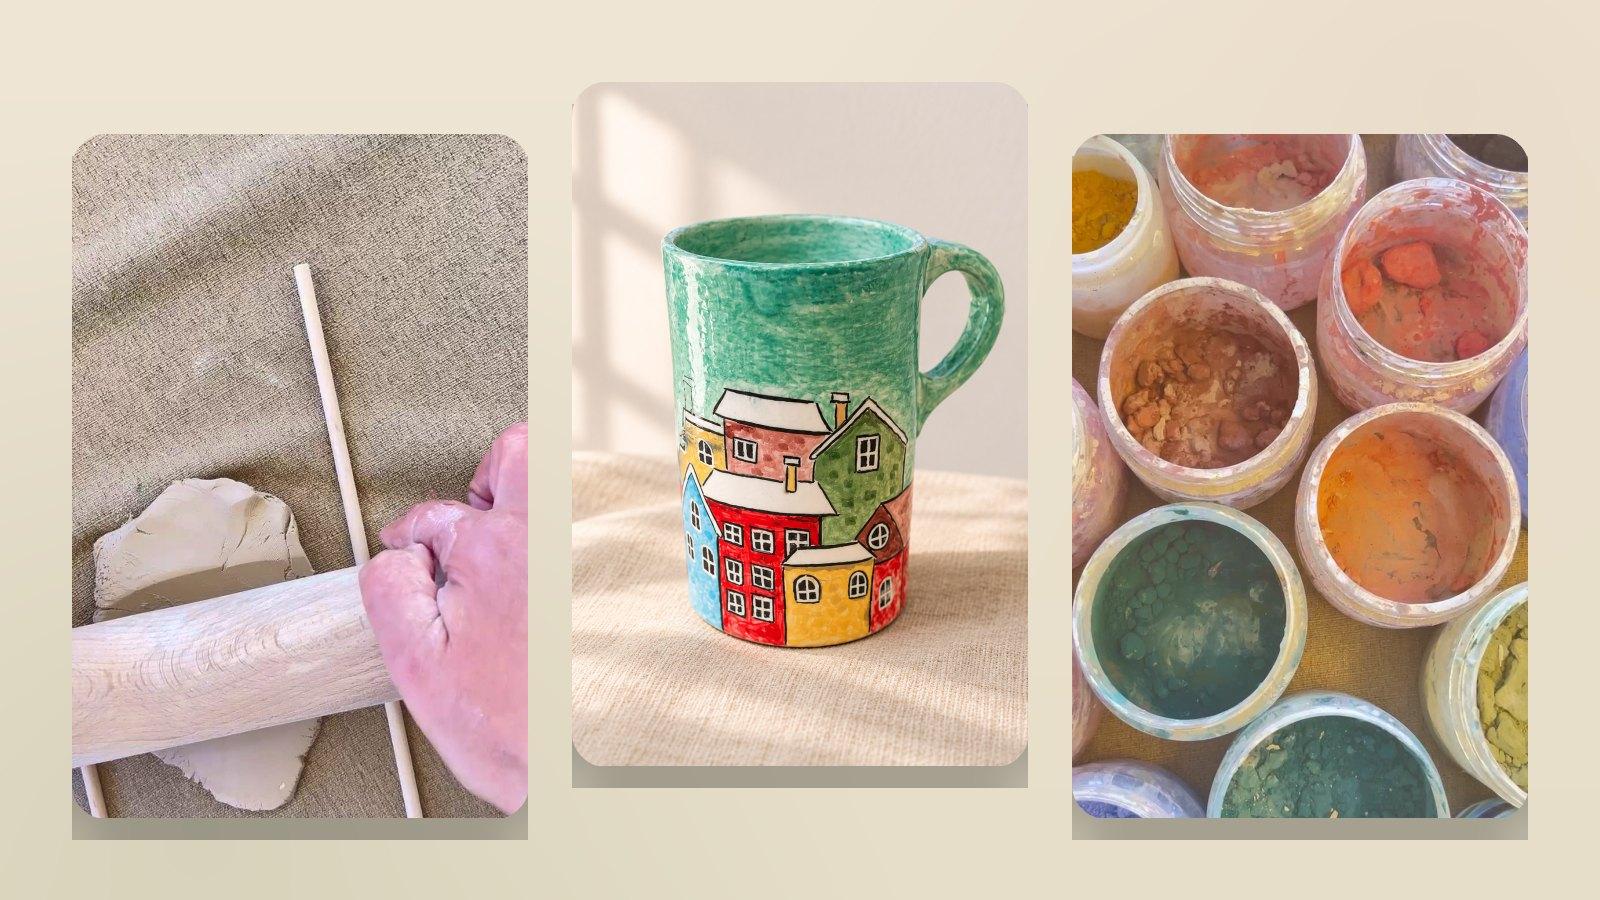
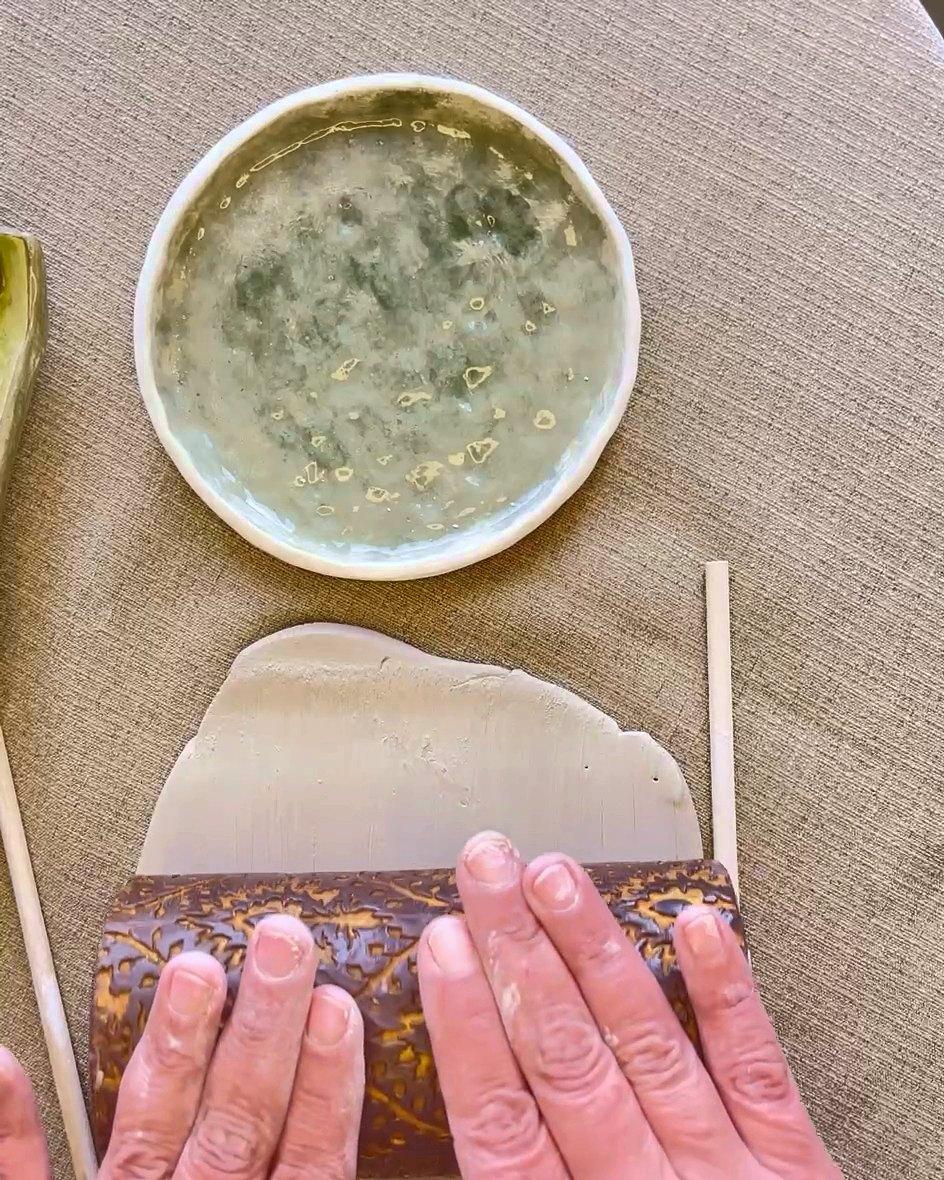
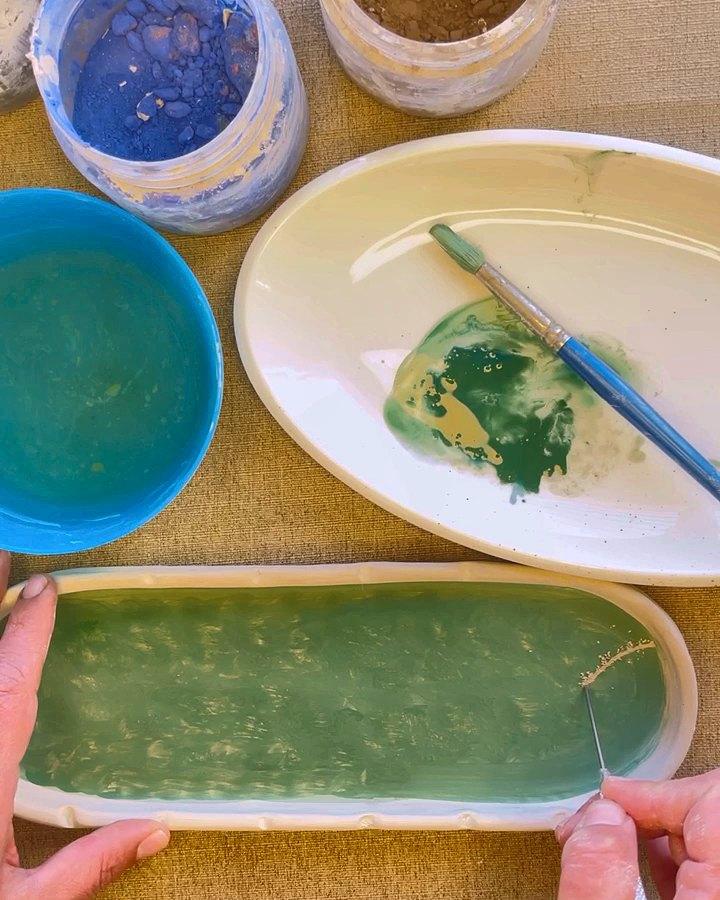
There are two moments to decorate. While the clay is still soft you can press texture into it with a textured candle, leaves, lace or burlap, or carve lines and windows into it at leather-hard. Once the piece is bone dry you can paint it with ceramic colours, which go on like watercolour and survive the kiln. A clear glaze over the top makes the surface glossy and waterproof.
Firing: why every piece goes in a kiln
Unfired clay is never safe to use. If it gets wet it turns back into mud, and it breaks easily. Pottery is normally fired twice: a bisque firing that turns dry clay into hard ceramic, and a hotter glaze firing that melts the glaze into glass. You don't have to own a kiln to do this. Most beginners use a community studio. The full explanation is in how pottery firing works.
Five beginner mistakes, and how to avoid them
- Uneven walls. Thick and thin areas dry at different speeds and crack. Roll slabs between guide sticks and feel walls between thumb and fingers as you turn.
- Drying too fast. Sun, heaters and breezes dry the edges first. Cover pieces loosely with plastic or newspaper so they dry slowly and evenly.
- Joining without scoring. Always score and slip, even small details.
- Pieces that are too thick. Nariman's rule is never more than 2 to 2.5 cm thick, and larger pieces should be hollow with a small vent hole.
- Rushing to the kiln. Damp clay turns to steam in the kiln and can burst. Wait until the piece is fully pale and light.
More on this in why pottery cracks and how to stop it.
Your first week of pottery: a simple plan
- 1
Day 1: pinch pots
Make three or four small pinch pots. Don't keep them. You are learning how clay moves.
- 2
Day 2: even slabs
Roll slabs between guide sticks until the thickness is even everywhere. Cut coasters from them.
- 3
Day 3: a textured plate
Press a texture into a slab and cut a plate shape around a kitchen plate.
- 4
Day 4: your first join
Build a simple slab cup: a round base and a rectangular wall, scored and slipped together.
- 5
Day 5 onwards: dry, tidy, fire
Turn flat pieces over every few hours as they dry. Clean them once bone dry, then take them to be fired.
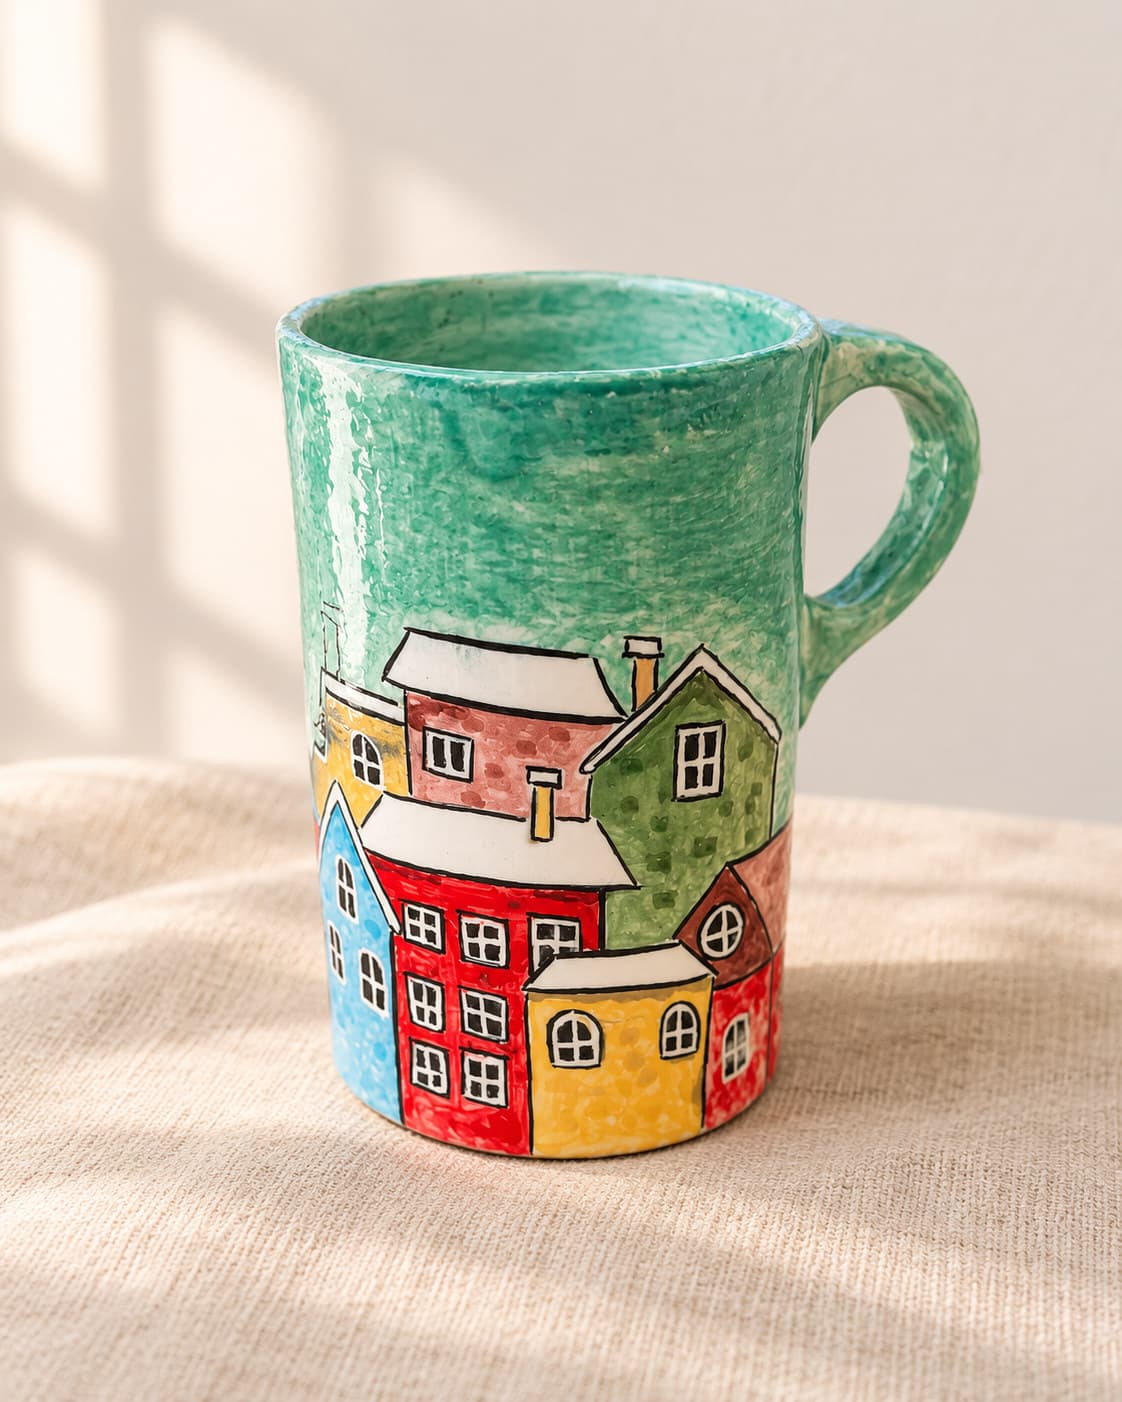
If you would like a guided version of this path, with every step filmed up close, Nariman's Pottery for Beginners course takes you from a lump of white clay to a painted cup, plates, a pumpkin bowl with a lid and a pierced candle holder.
Frequently asked questions
Can I do pottery at home without a wheel?
Yes. Pinching, coiling and slab building are all done by hand at a table, and they produce cups, bowls, plates and vases. A wheel is one technique among several, not a requirement. See hand-building without a wheel.
Can I do pottery without a kiln?
You can shape and dry pieces without a kiln, but they stay fragile and dissolve in water until they are fired. Most home potters pay a local studio to fire their work. Air-dry clay is an alternative for decorative pieces only, never for food or drink.
How long does clay take to dry before firing?
Usually several days to two weeks, depending on thickness, humidity and temperature. A piece is ready when it has turned from grey to pale, feels lighter, and no longer feels cool against your cheek.
Is pottery hard to learn?
The basics are easy to pick up in a few sessions. What takes practice is control: keeping walls even, joining pieces cleanly and drying them without warping. Most beginners make a usable cup within their first few weeks.
How much does it cost to start pottery?
Hand-building is one of the cheapest ways in. A bag of clay, a sponge, a rolling pin, two wooden guide sticks and a craft knife are enough to start. The main ongoing cost is firing, which studios usually charge per piece or per kiln shelf.

About Nariman
Nariman is a hand-building potter in Jordan. She has taught her beginner course to students since 2022 and shares slow, quiet pottery and home videos on YouTube.