Quick answer
The easiest first pottery projects are a pinch pot, flat coasters, a textured slab plate and clay roses, because they need no joins. Once those work, move on to a ceramic spoon, a slab cup with a handle, an oval plate and a seamless bowl with a lid. Keep walls about half a centimetre thick and dry every piece slowly.
- Start with pieces that have no joins, then add one join at a time.
- Roll every slab between guide sticks so the thickness is even.
- Flat pieces warp if they dry faster on one side, so turn them over as they dry.
- Every project here is hand-built, with no wheel required.
In this guide
The best first projects teach one new skill each and don't punish you for mistakes. These ten are listed in the order Nariman teaches them, from no joins at all to a bowl with a fitted lid. Every one can be made at a kitchen table with white clay, a rolling pin and two wooden guide sticks.
| # | Project | Difficulty | New skill |
|---|---|---|---|
| 1 | Pinch pot | Very easy | How clay moves |
| 2 | Coasters and house shapes | Very easy | Even slabs, even drying |
| 3 | Textured plate | Easy | Pressing texture, cutting to a template |
| 4 | Clay roses | Easy | Thin edges, attaching small parts |
| 5 | Ceramic spoon | Easy | Shaping a curve, joining a handle |
| 6 | Slab cup with a handle | Medium | Score and slip, hiding a seam |
| 7 | Oval plate | Medium | Joining a rim to a base |
| 8 | Seamless pumpkin bowl | Medium | Raising walls without joins |
| 9 | A lid for the bowl | Medium | Measuring and fitting |
| 10 | Jam dish | Medium | Coils and a lidded form |
1. A pinch pot
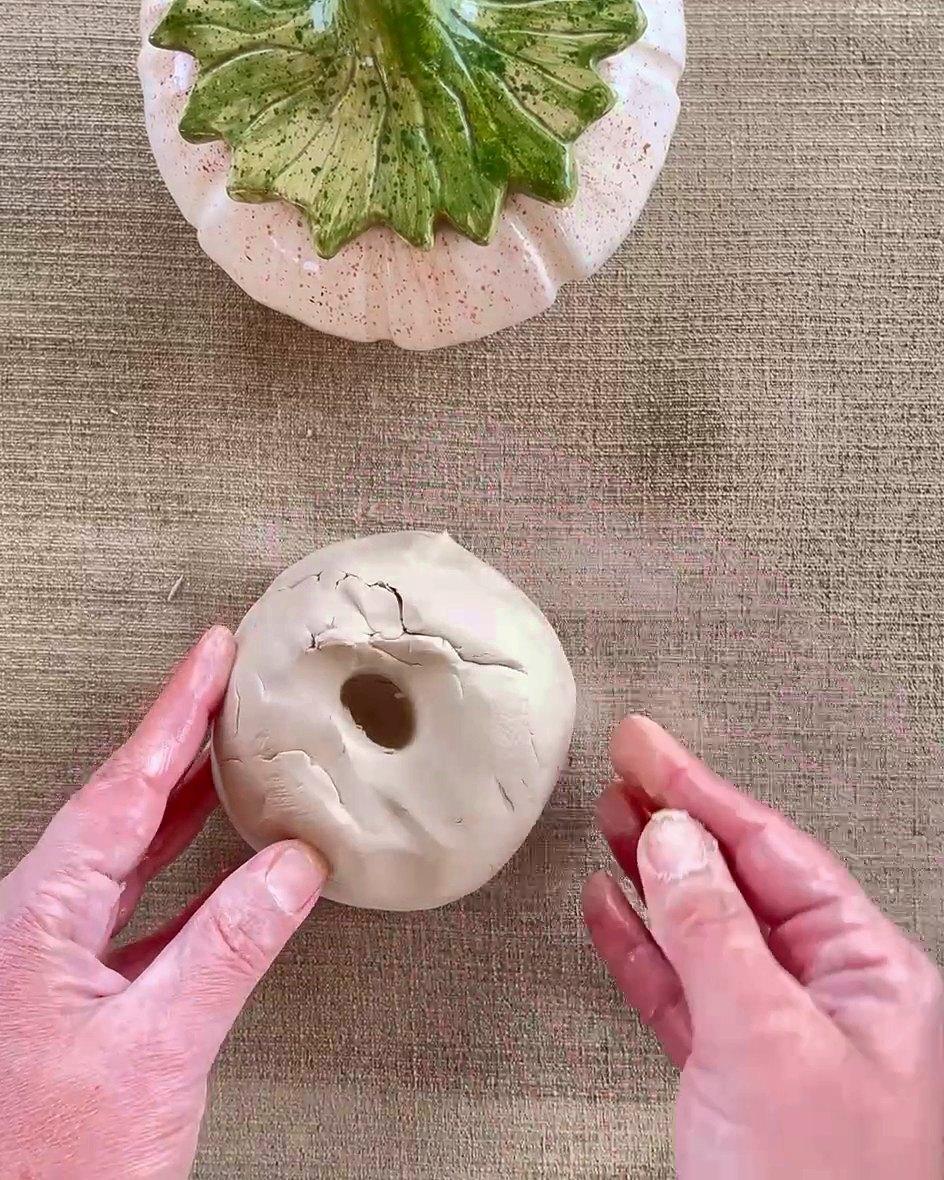
Roll a ball of clay the size of a small orange. Press your thumb into the centre until it is about a finger's width from the bottom, then pinch the wall between thumb and fingers, turning a little after each pinch. Aim for walls about as thick as a pencil. Make three. The third will be noticeably better than the first.
2. Coasters and flat house shapes
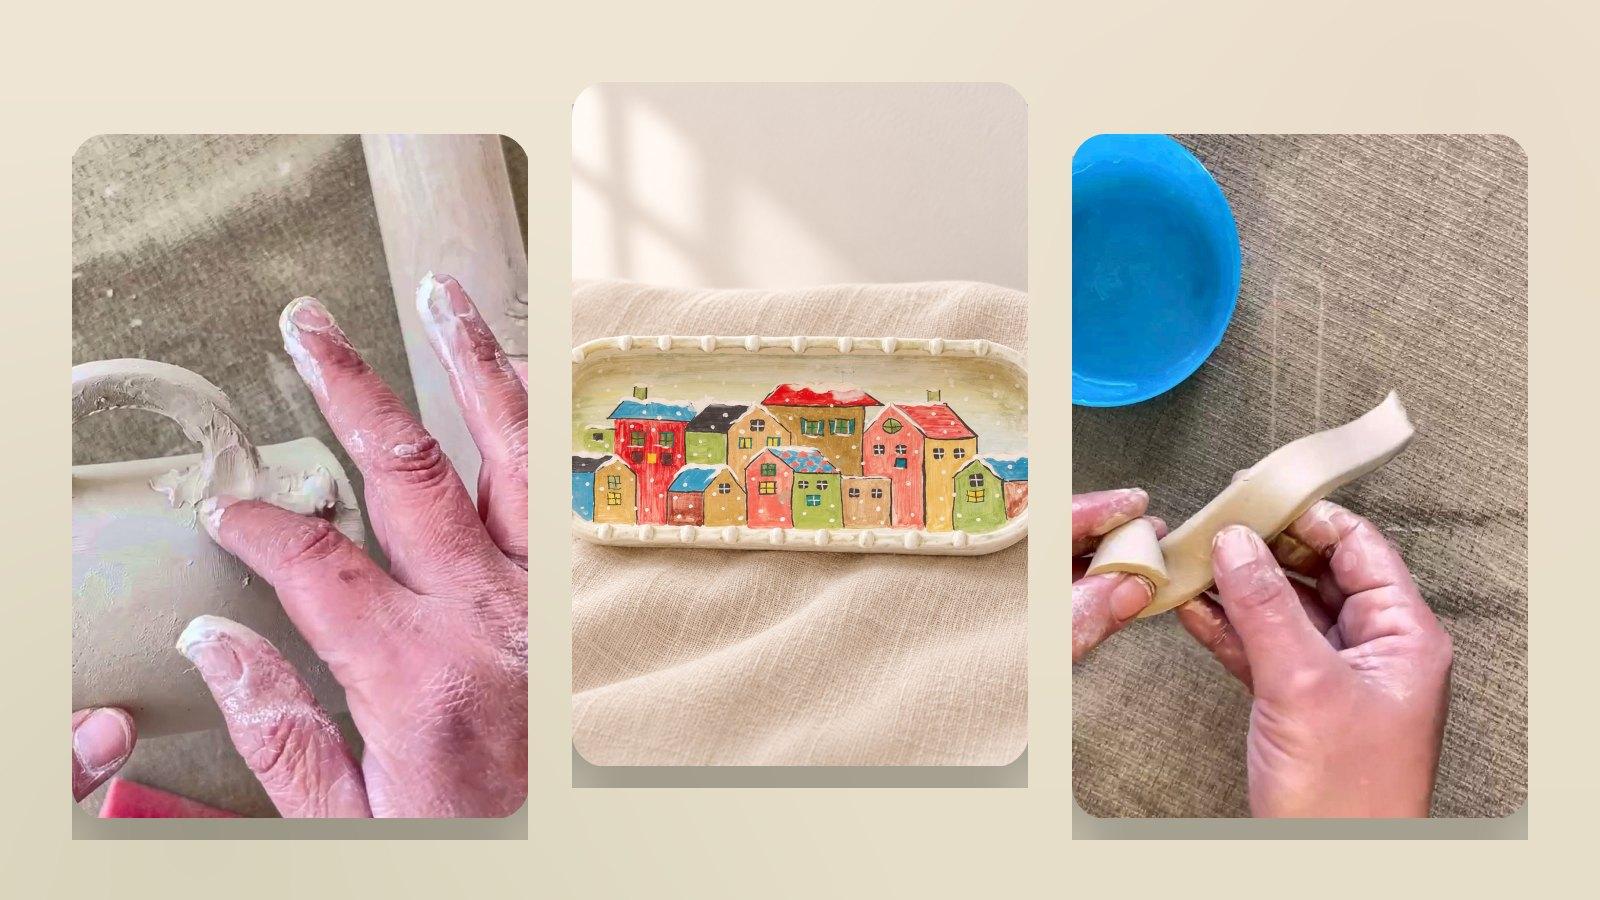
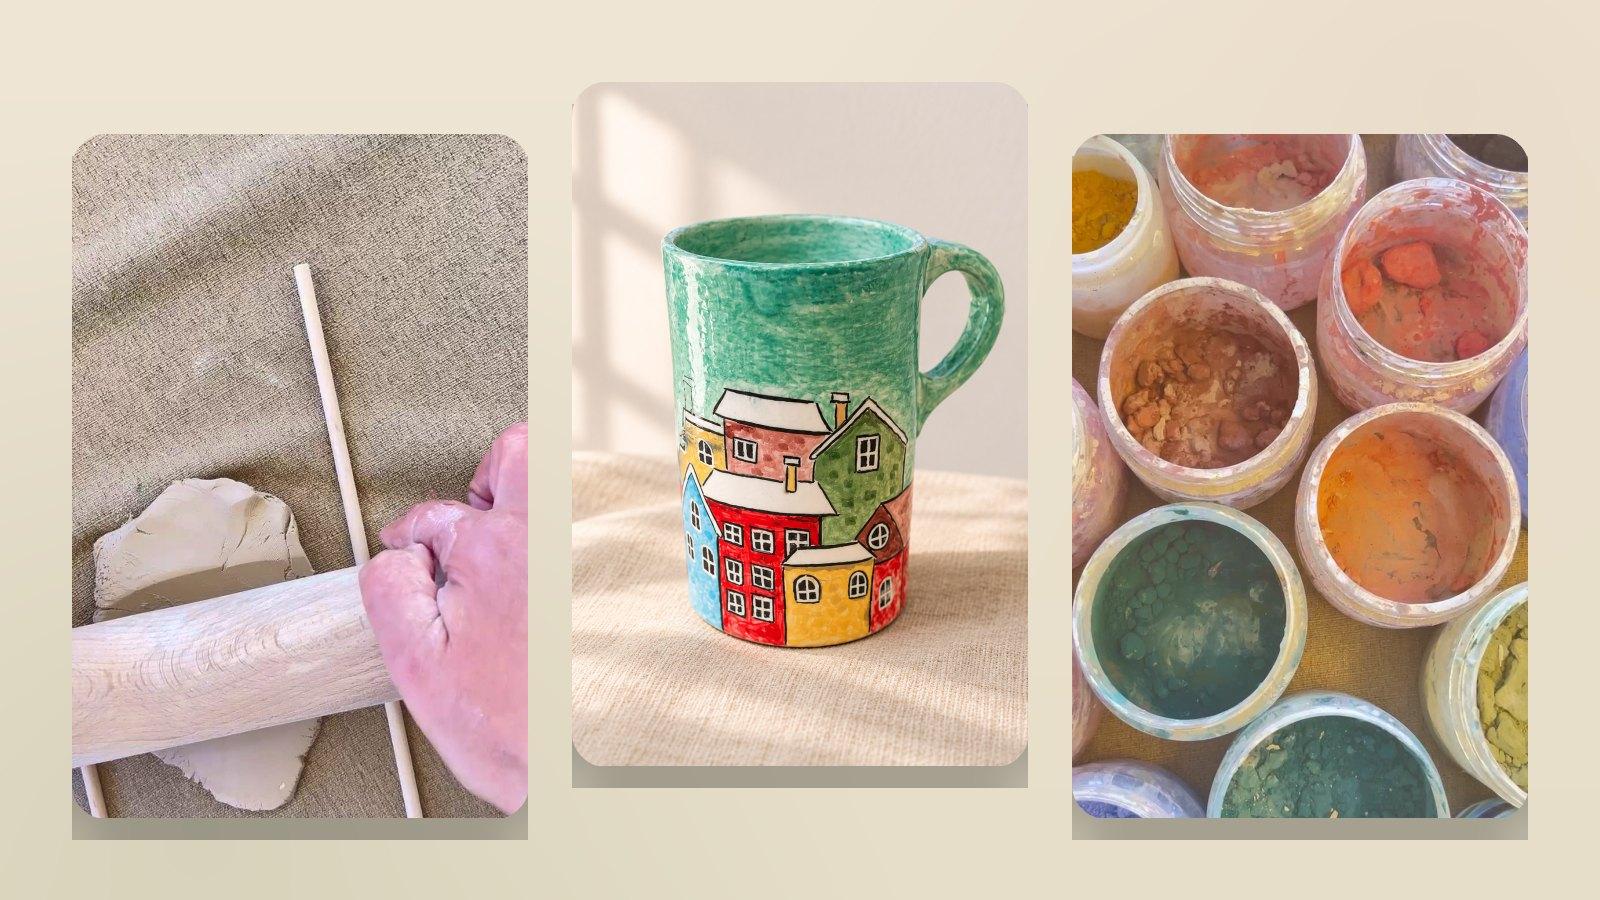
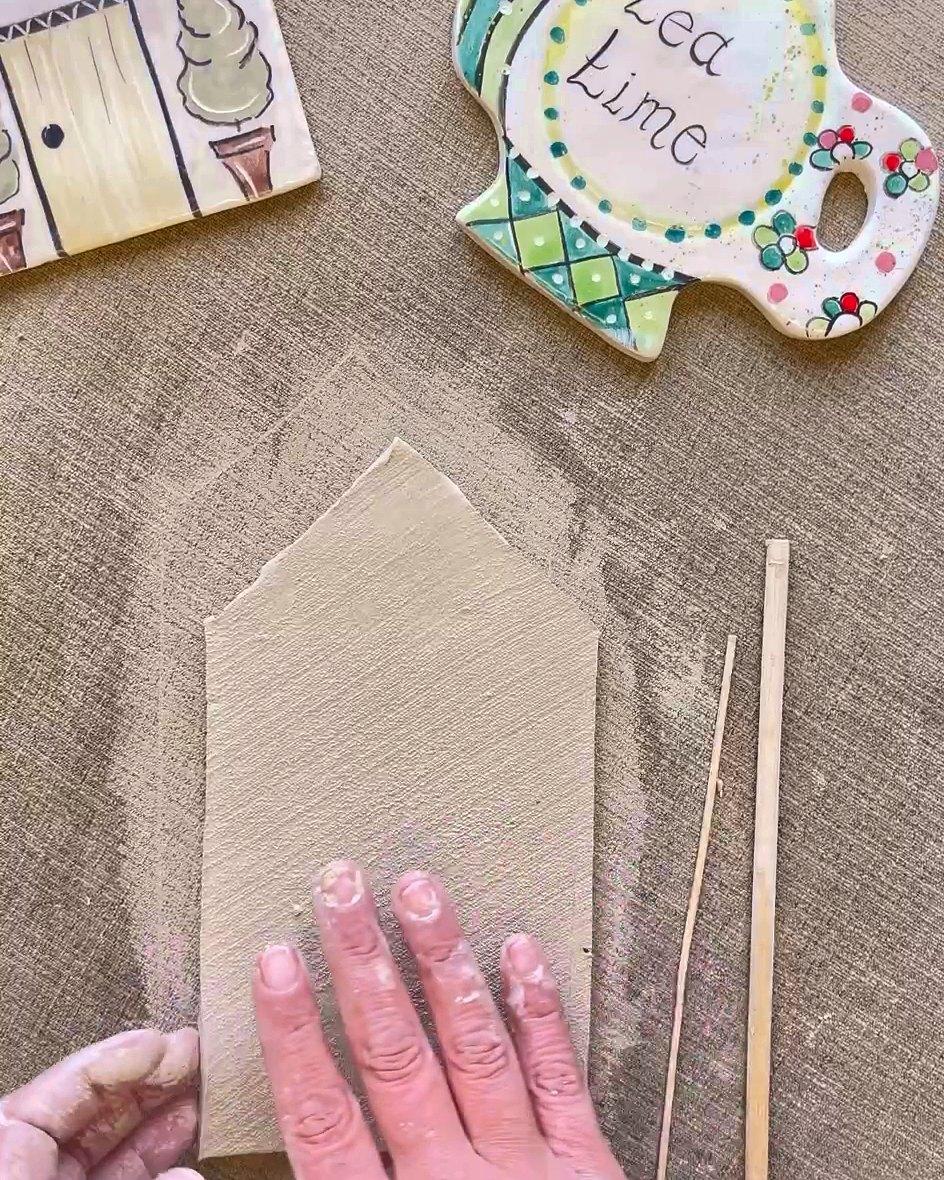
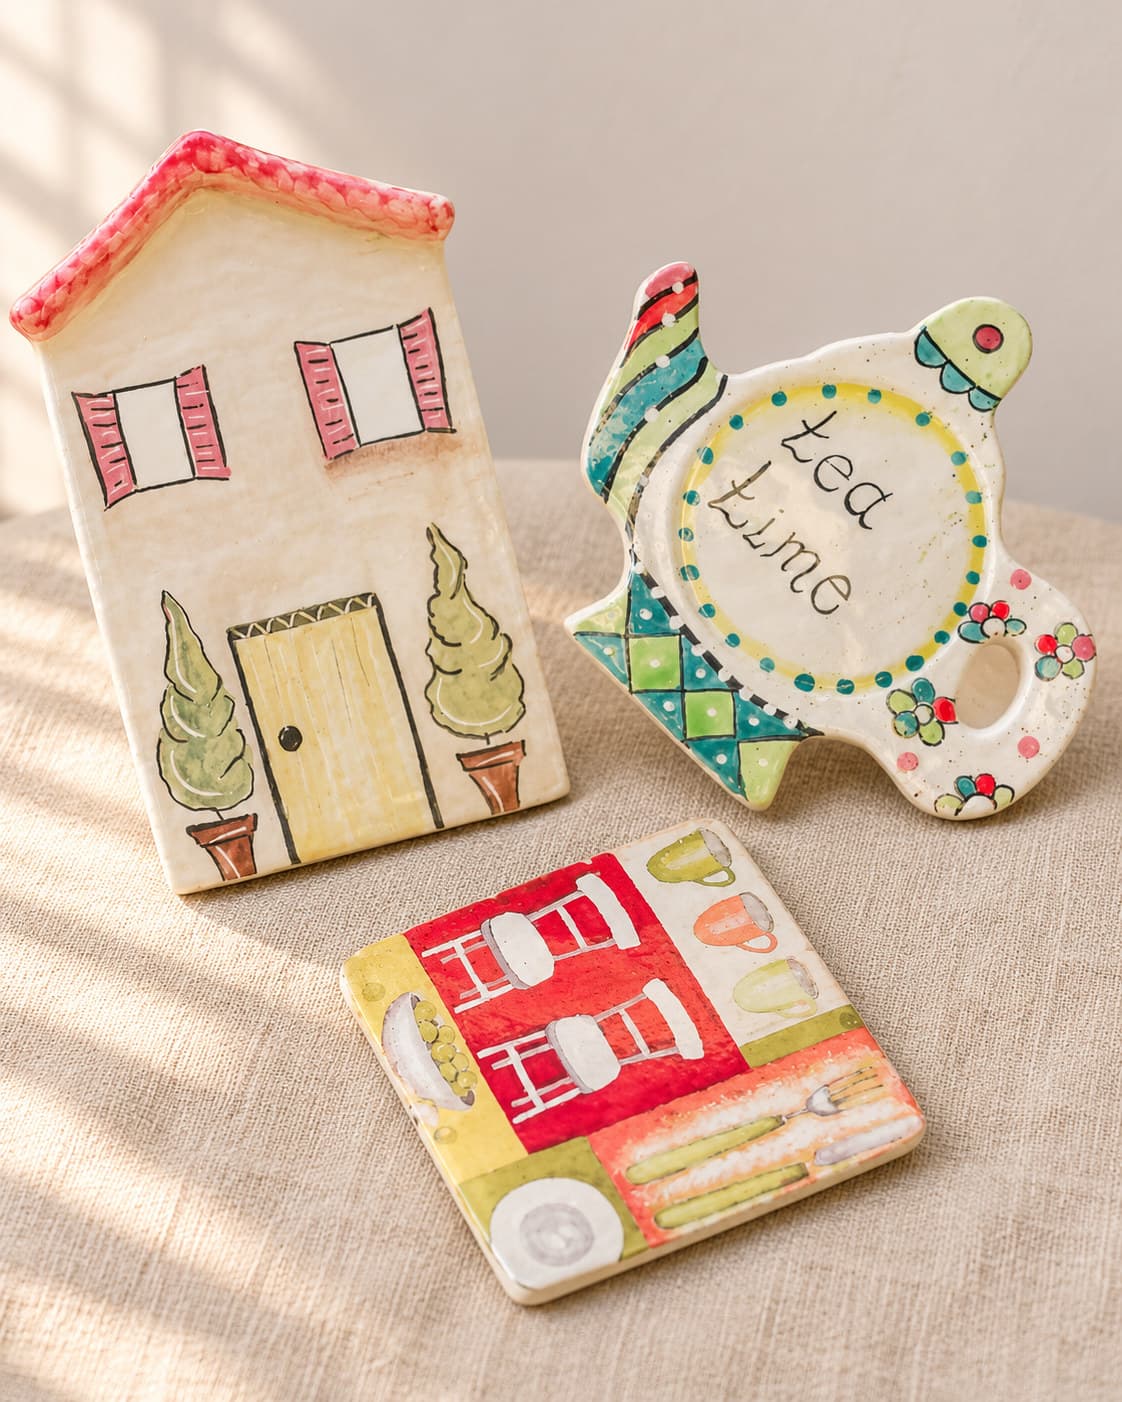
Roll a slab half a centimetre thick between guide sticks, then cut squares, circles or little house outlines with a ruler and a craft knife. The real lesson here is drying. Flat pieces warp when one side dries faster than the other.
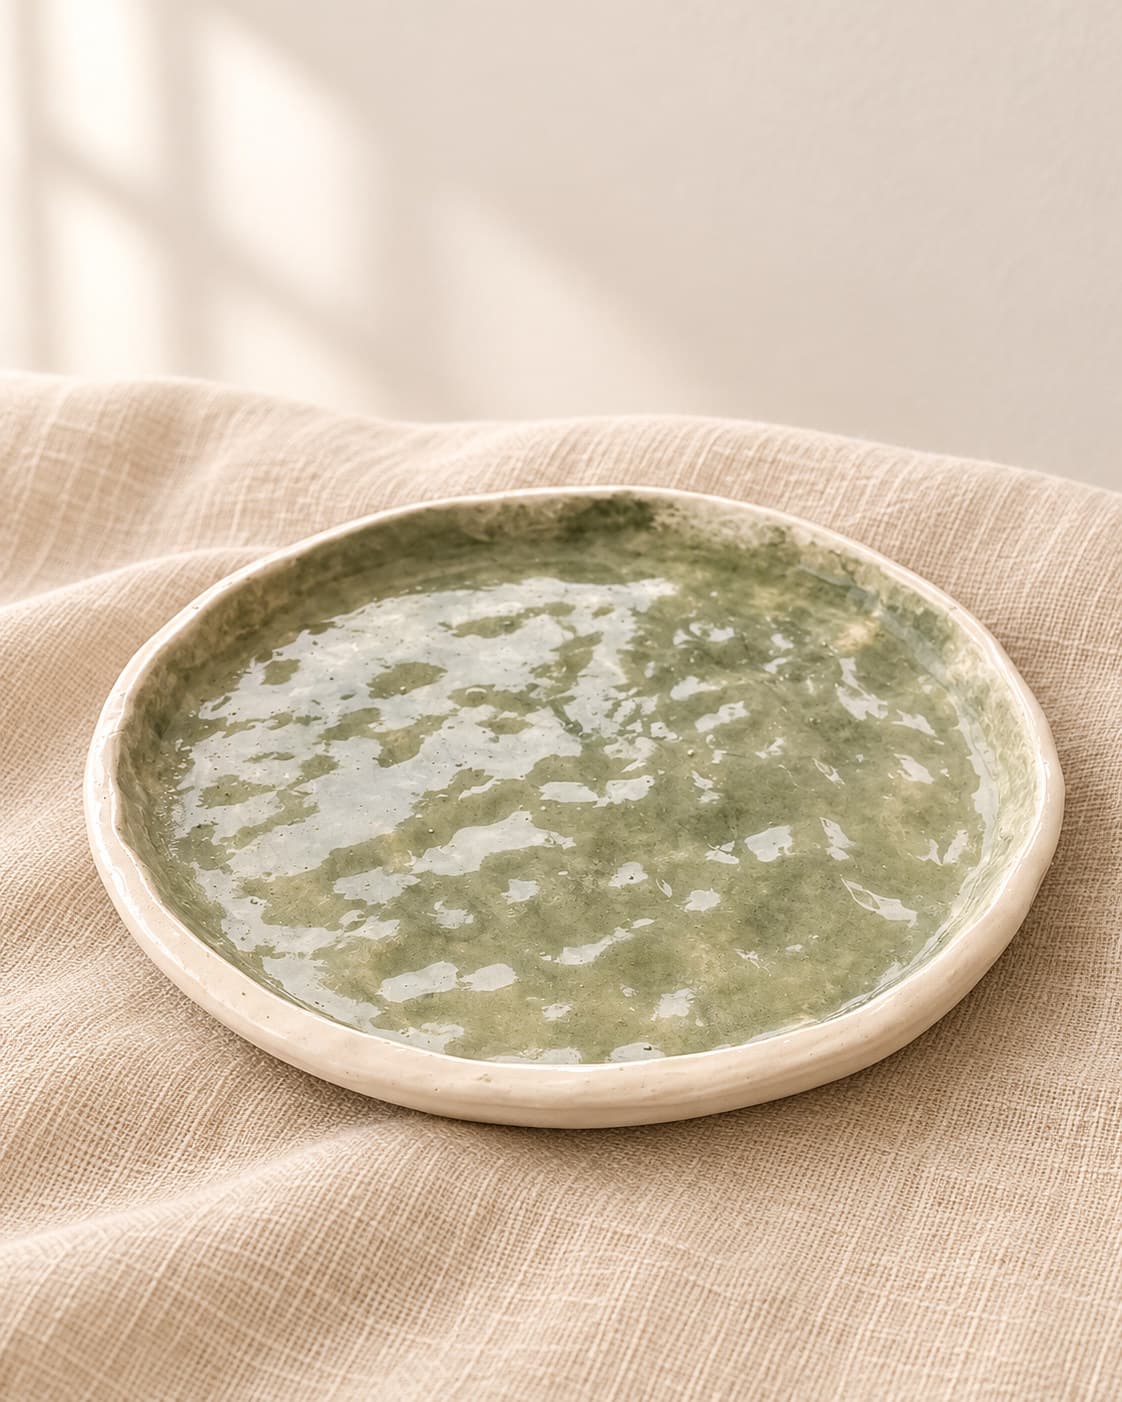
3. A textured one-piece plate
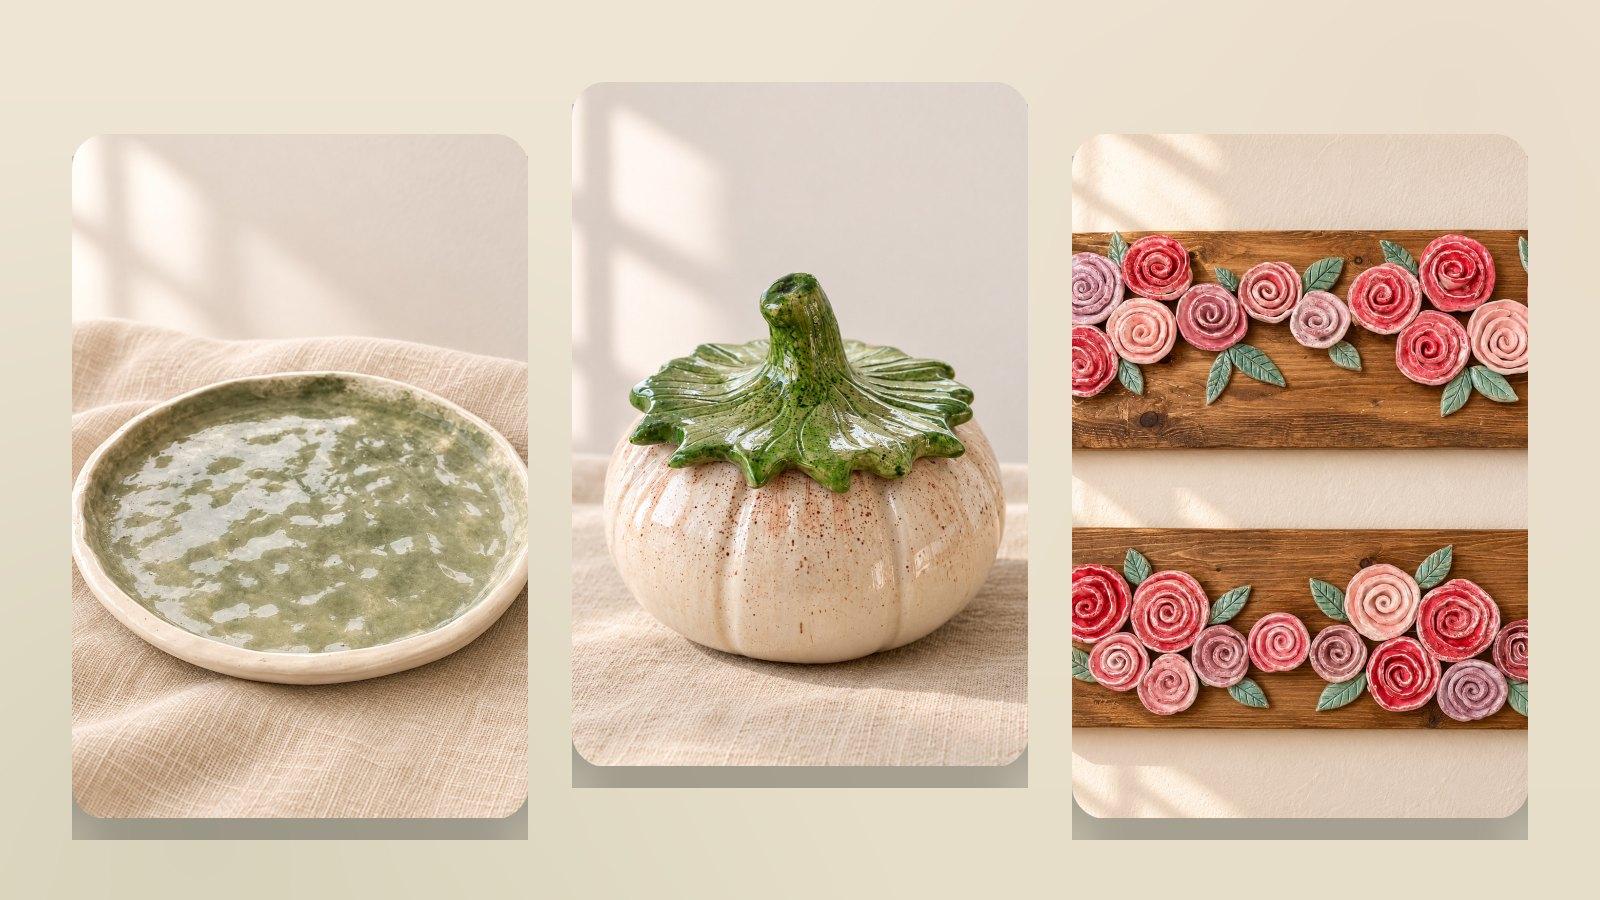
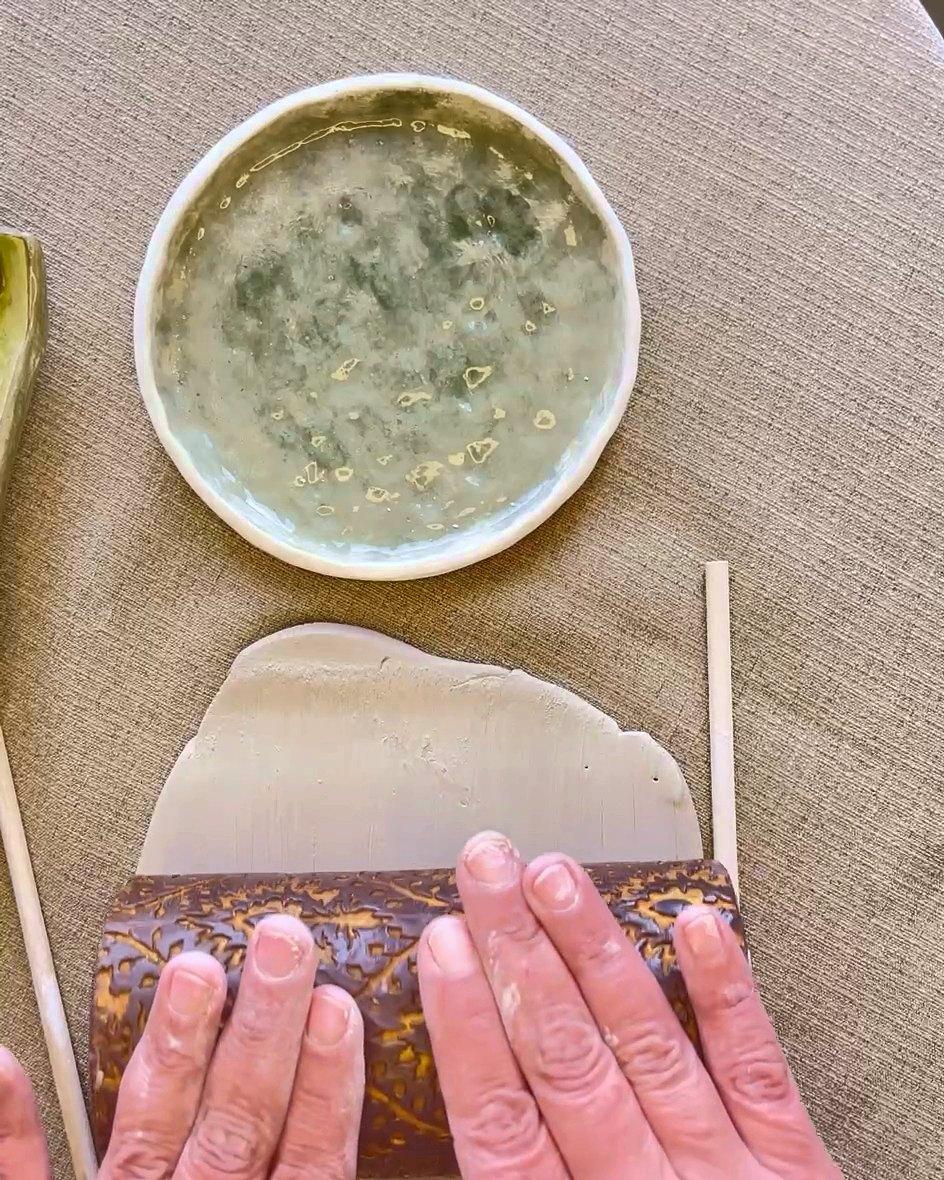
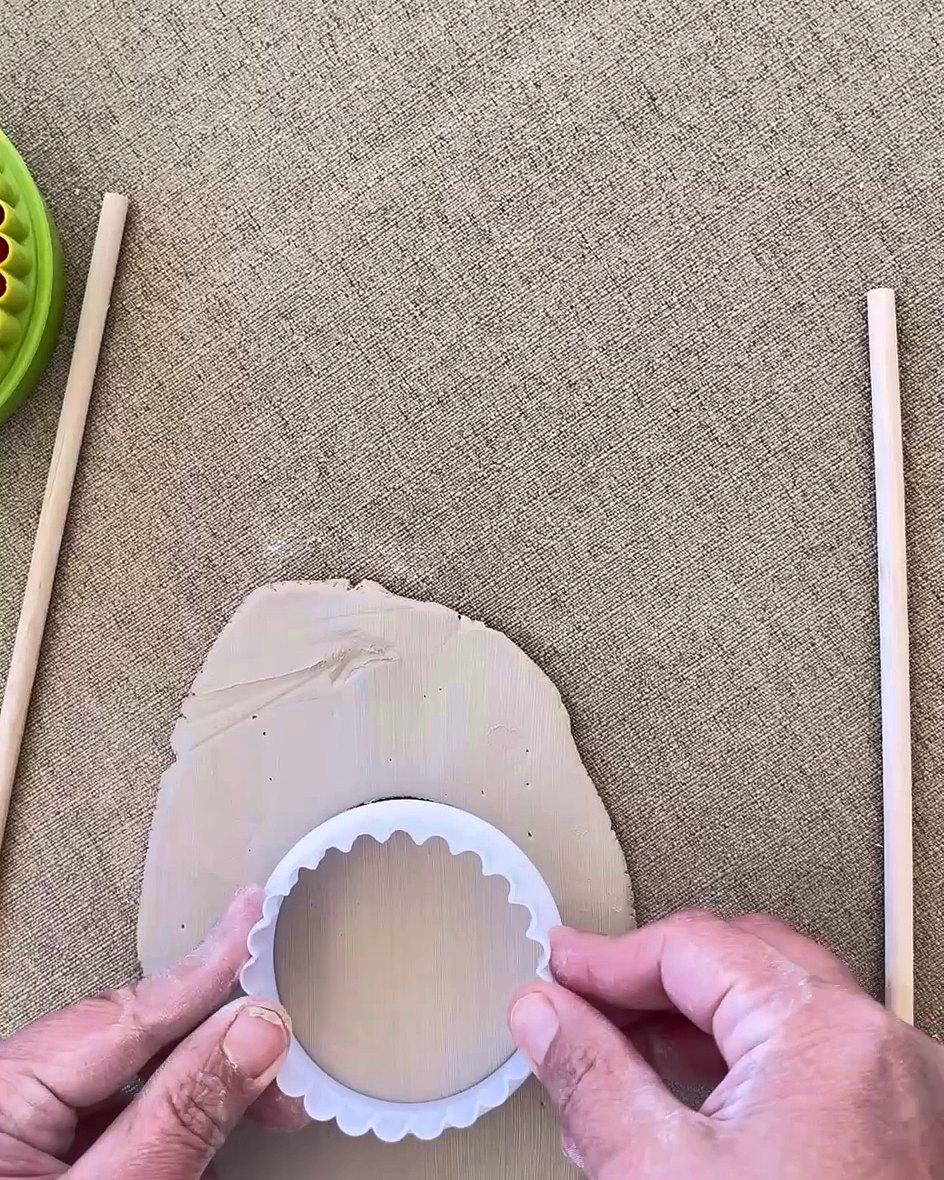
Before you cut the plate, press a pattern into the slab. Nariman rolls a carved candle across it. Leaves, flowers, lace, burlap and mesh all work too. Then lay any kitchen plate you like on top and cut around it. Lift the rim gently with your fingers for a shallow edge.
4. Clay roses
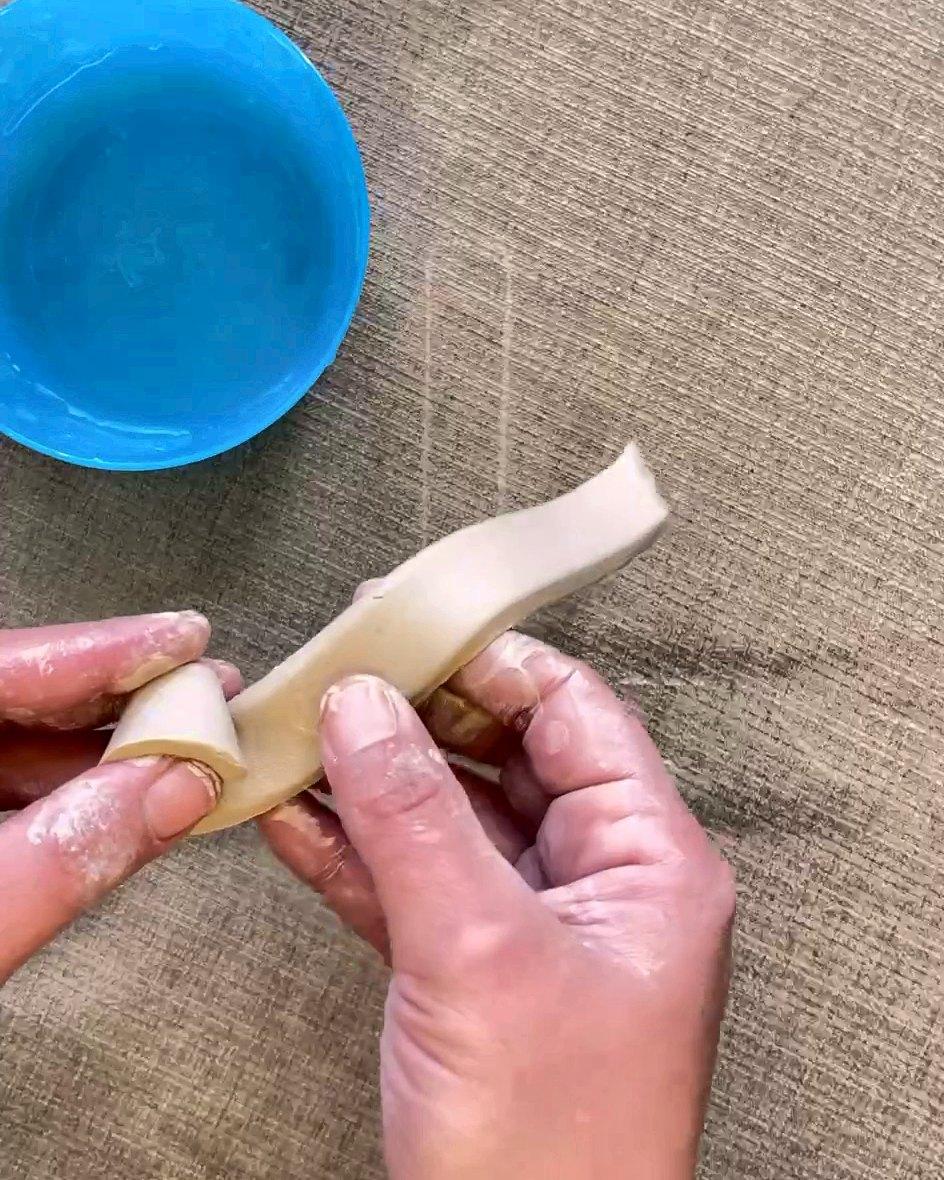
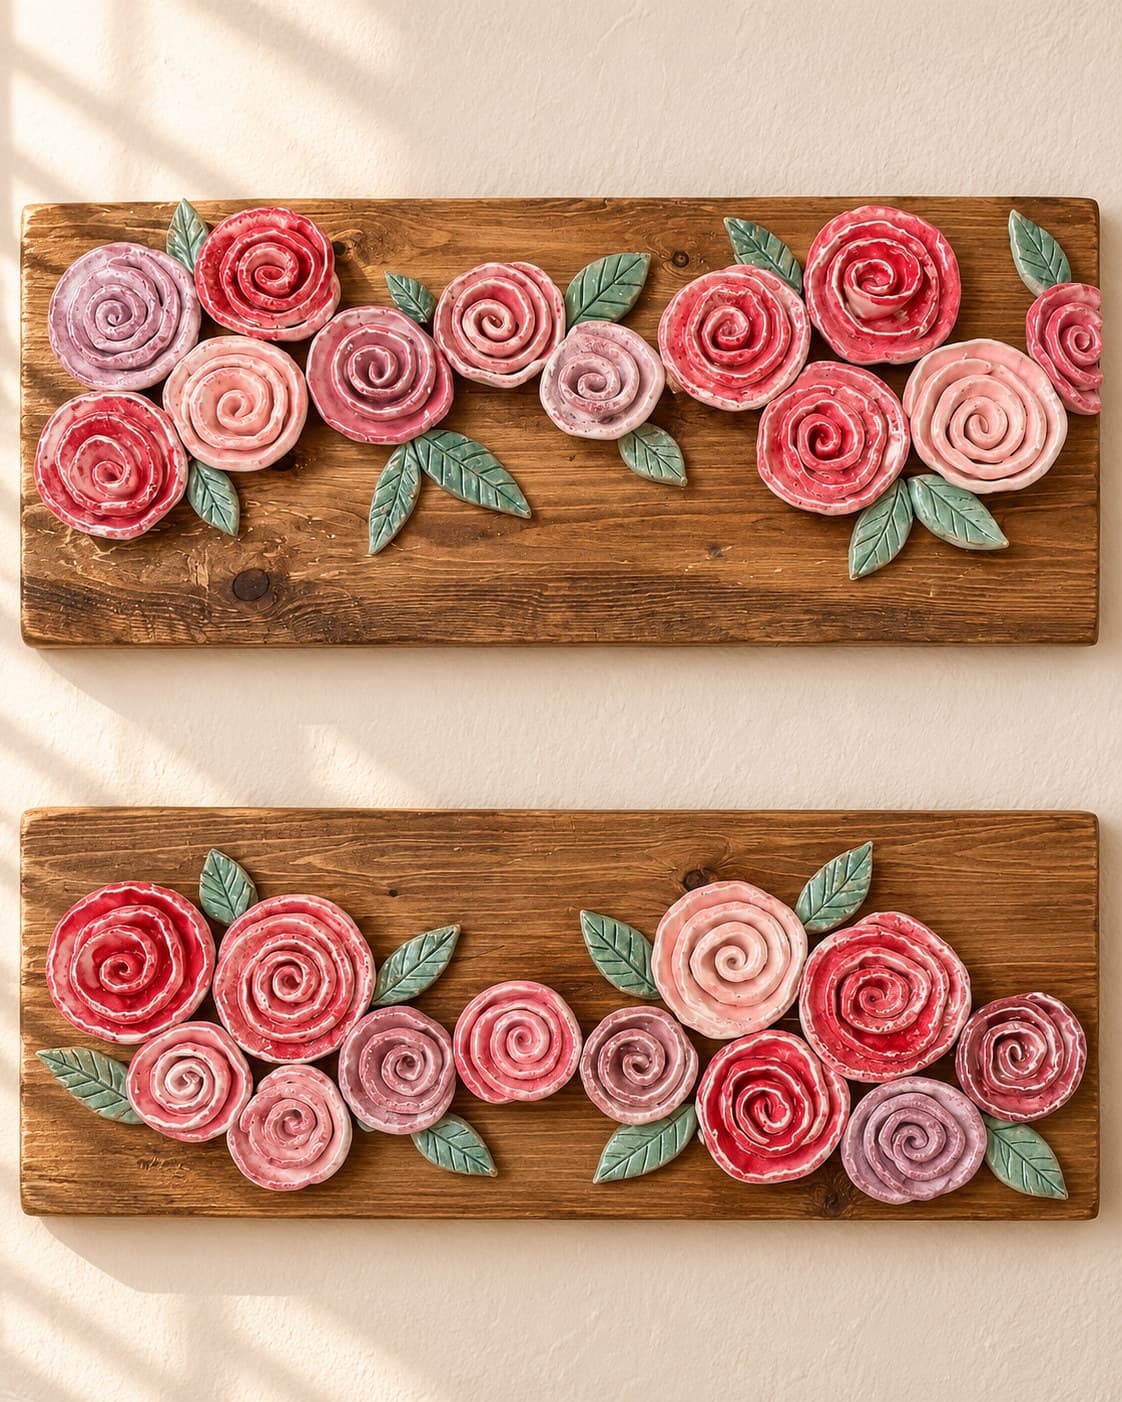
Cut a strip about 1 to 1.5 cm wide from a half-centimetre slab, thin both long edges with a damp finger, and roll it up, pressing the base closed and leaving the top open. Seal the bottom with slip. For a fuller rose, cut a small round base and attach petals of different sizes one by one. Roses decorate plates, wall plaques and lids.
5. A ceramic spoon
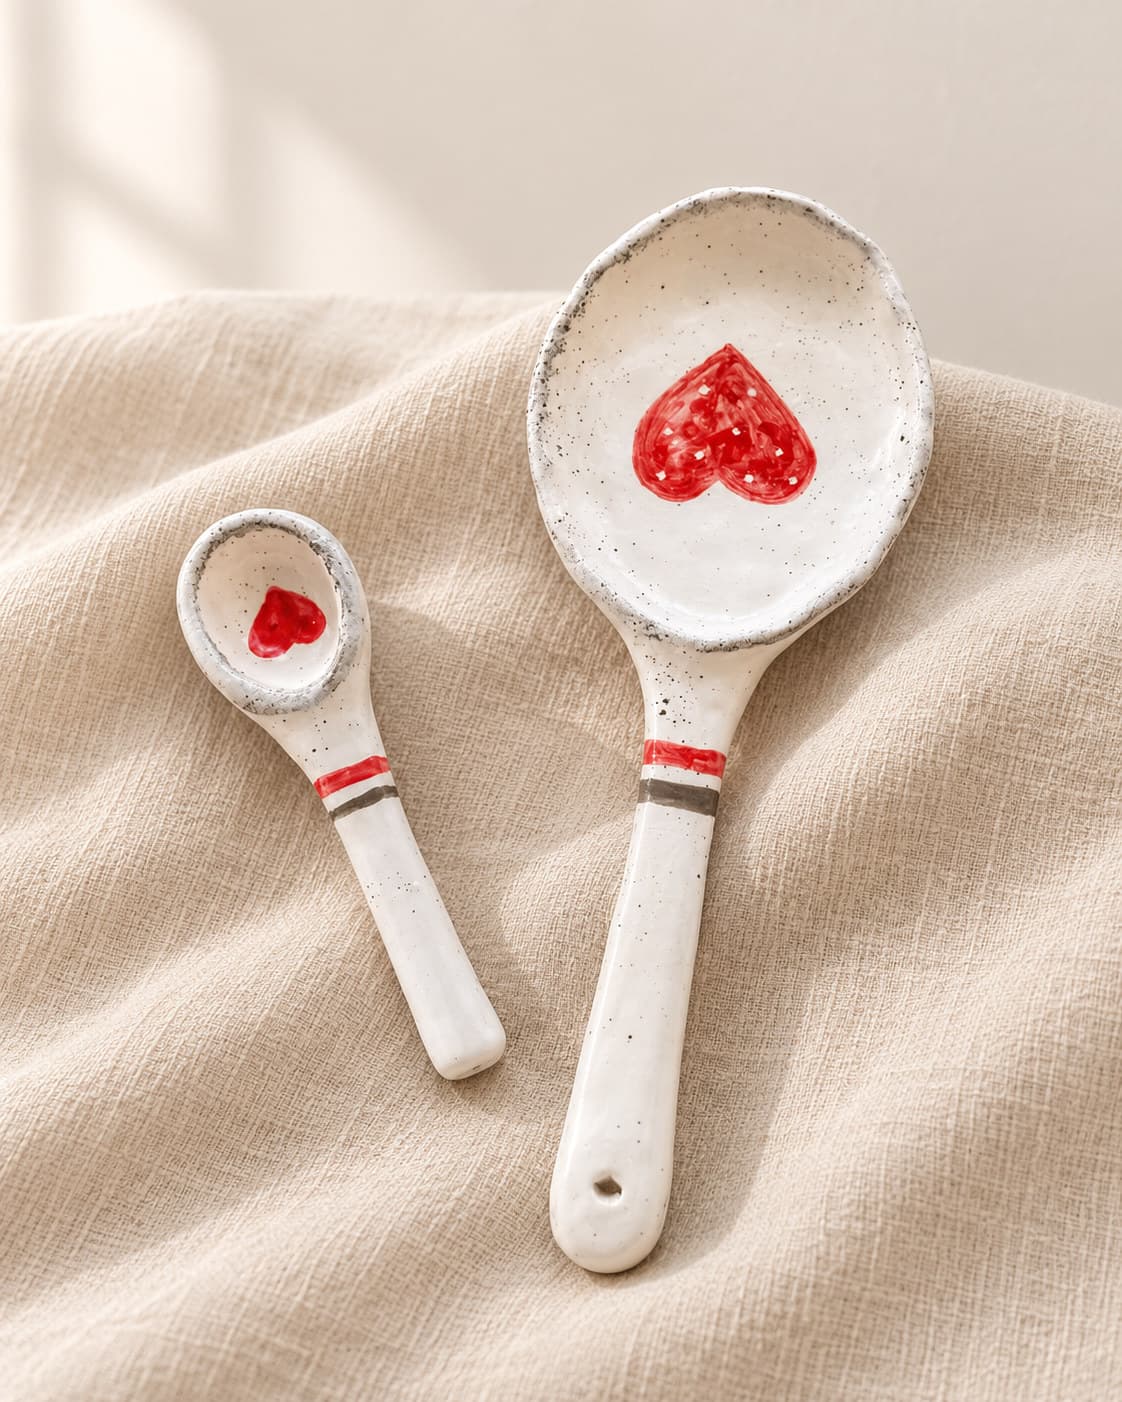
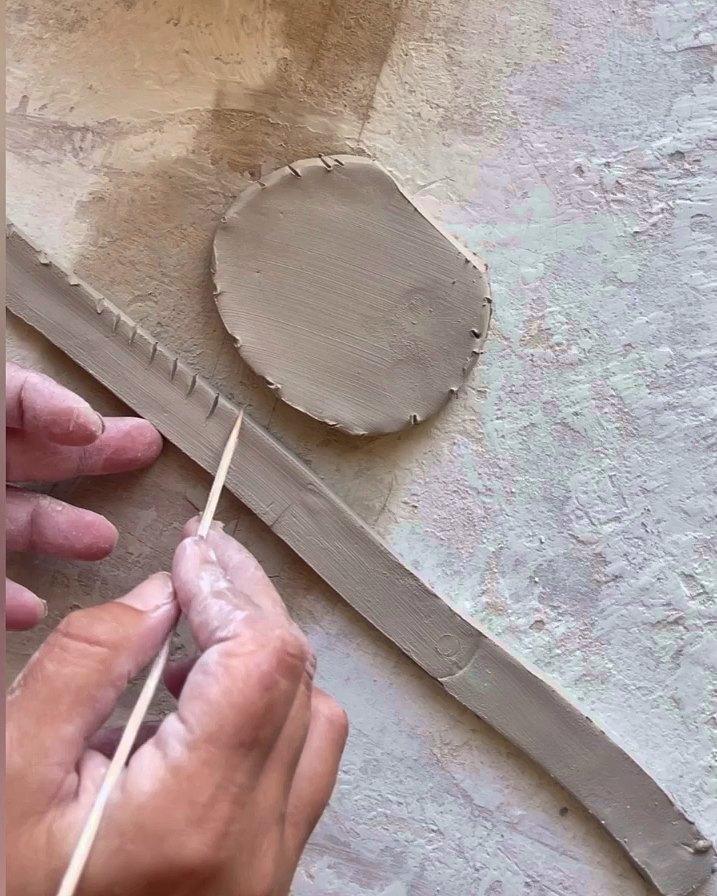
Roll clay one centimetre thick, cut a circle or oval for the bowl of the spoon, and press a gentle curve into it with your fingers. Cut a long strip for the handle, score and slip both surfaces, and join them. It should look handmade. Slight asymmetry is part of its charm.
6. A slab cup with a handle
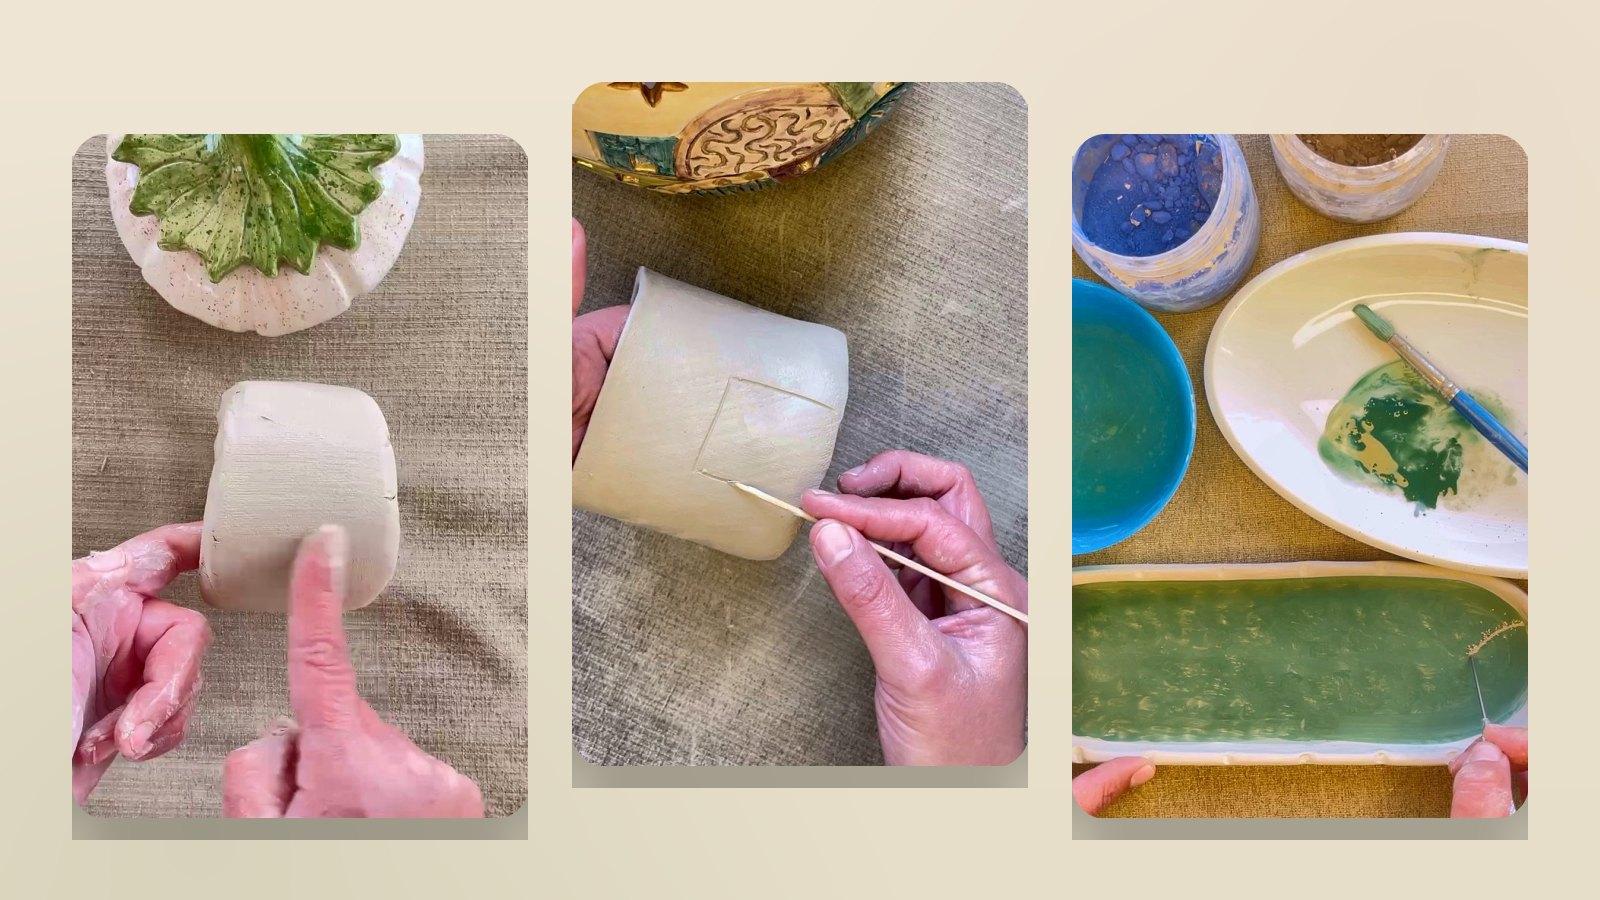
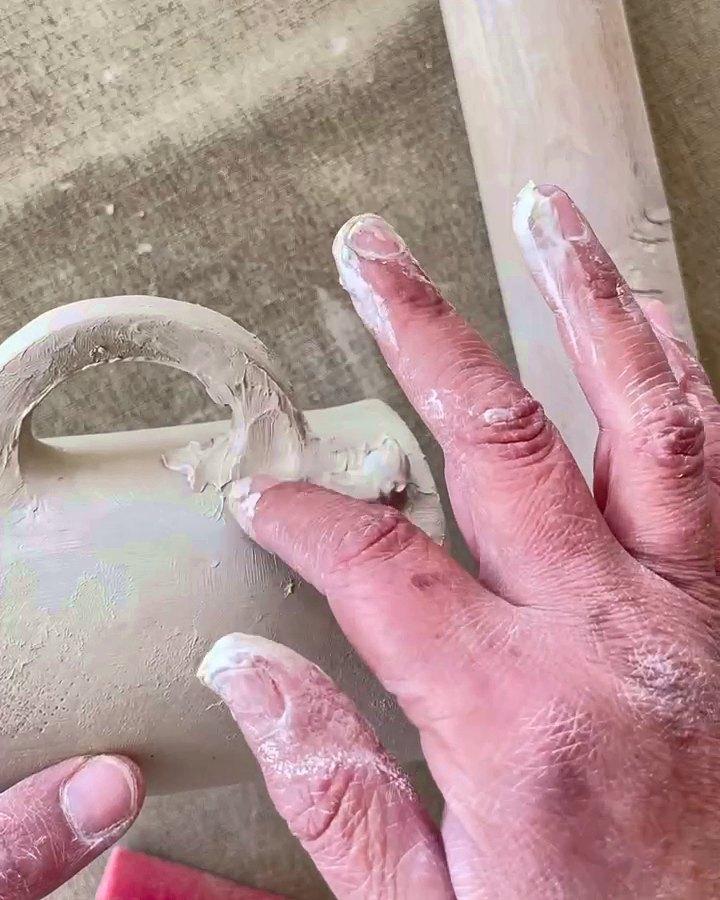
This is the project where pottery starts to feel real. Cut a round base, then a rectangle for the wall, measured around the base with a piece of string. Wrap the wall around the base, score and slip every join, and blend the seams inside and out. After about three hours, when the cup is leather-hard, cut and attach a handle over the seam so it hides the join.
7. An oval plate
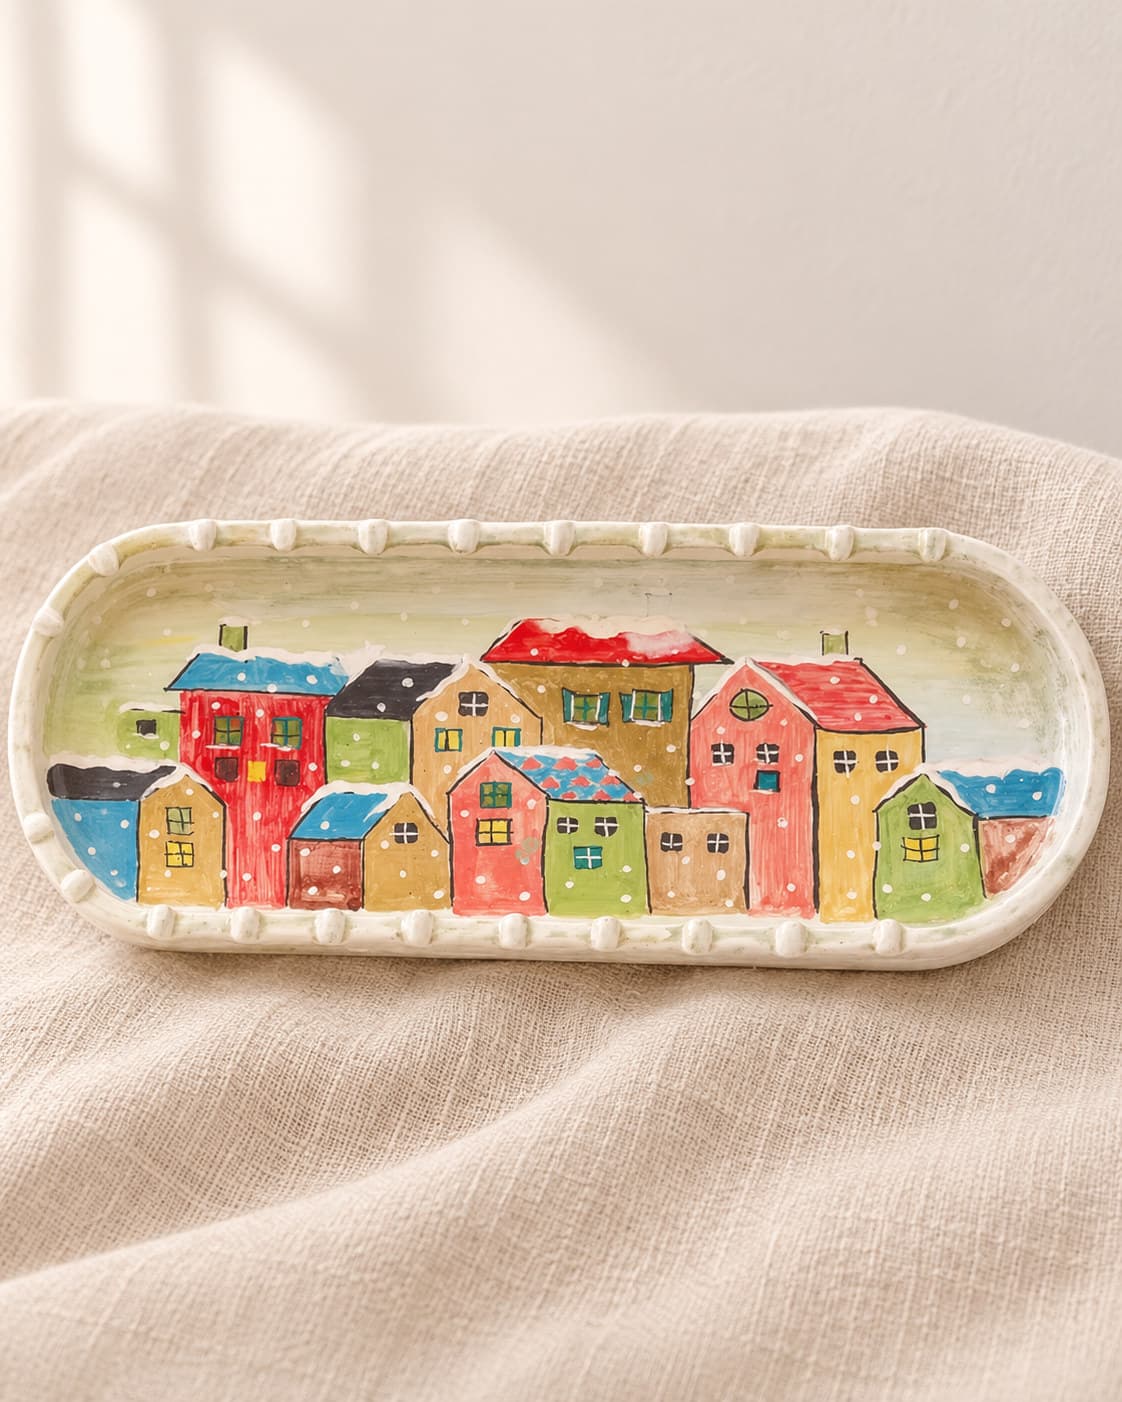
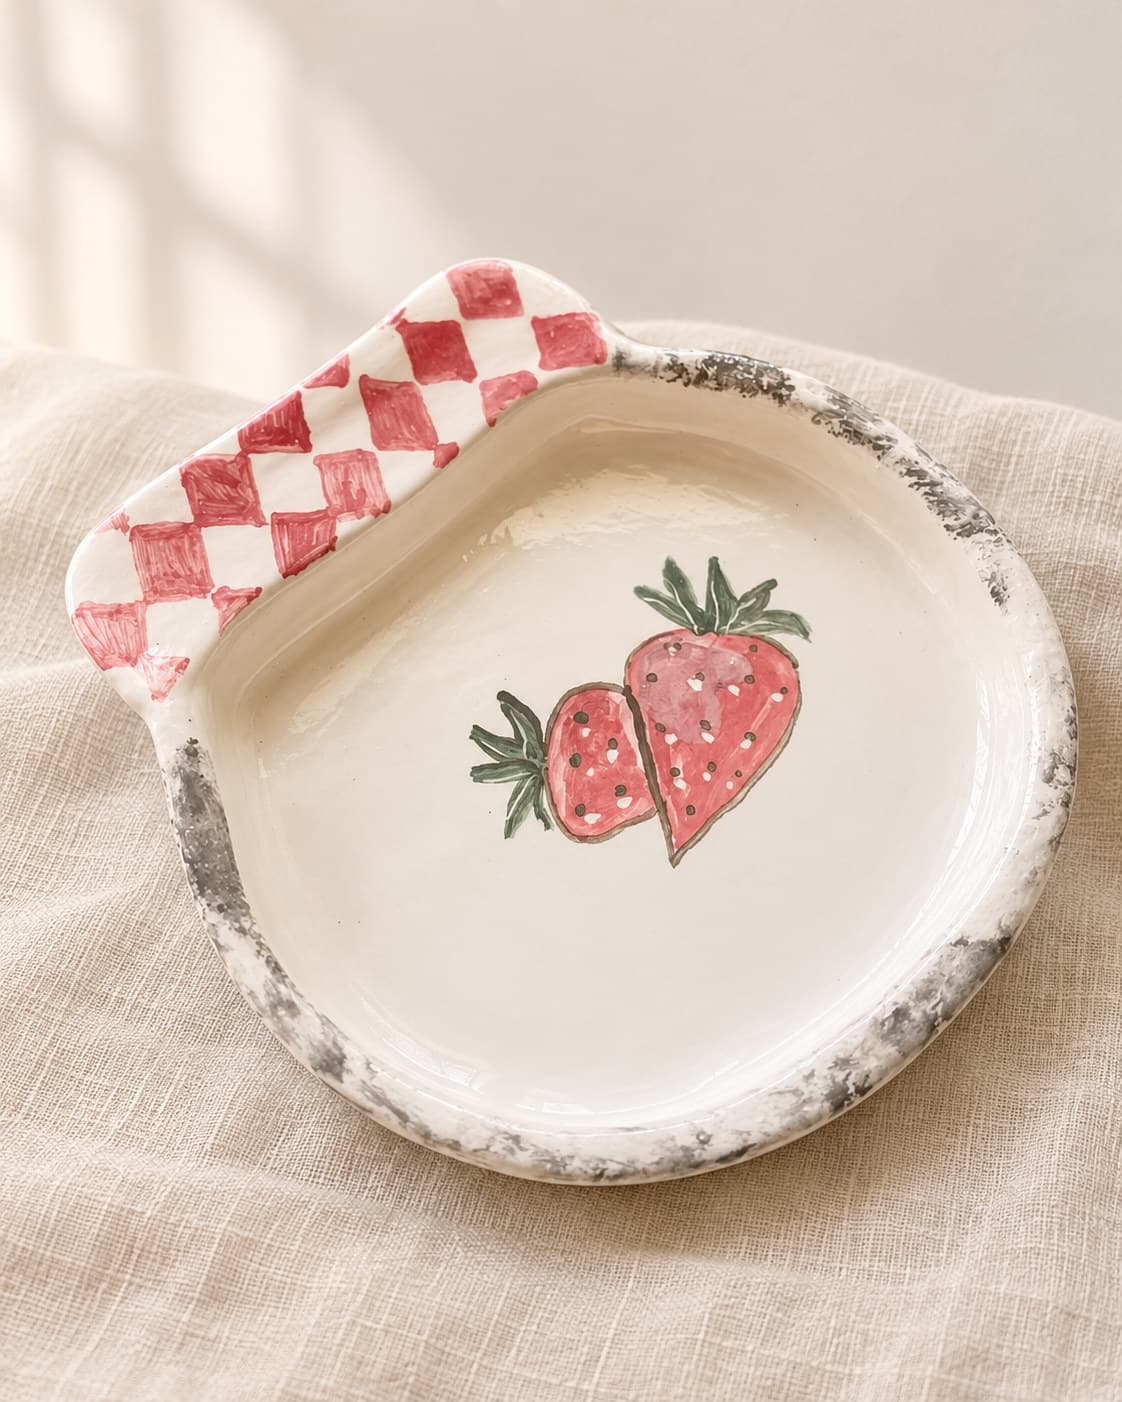
Use the same slab-joining idea, but low and wide: an oval base with a short rim wall joined around the edge. It is the perfect canvas for painting, and it teaches you to join a long curved seam without it opening as it dries.
8. A seamless pumpkin bowl
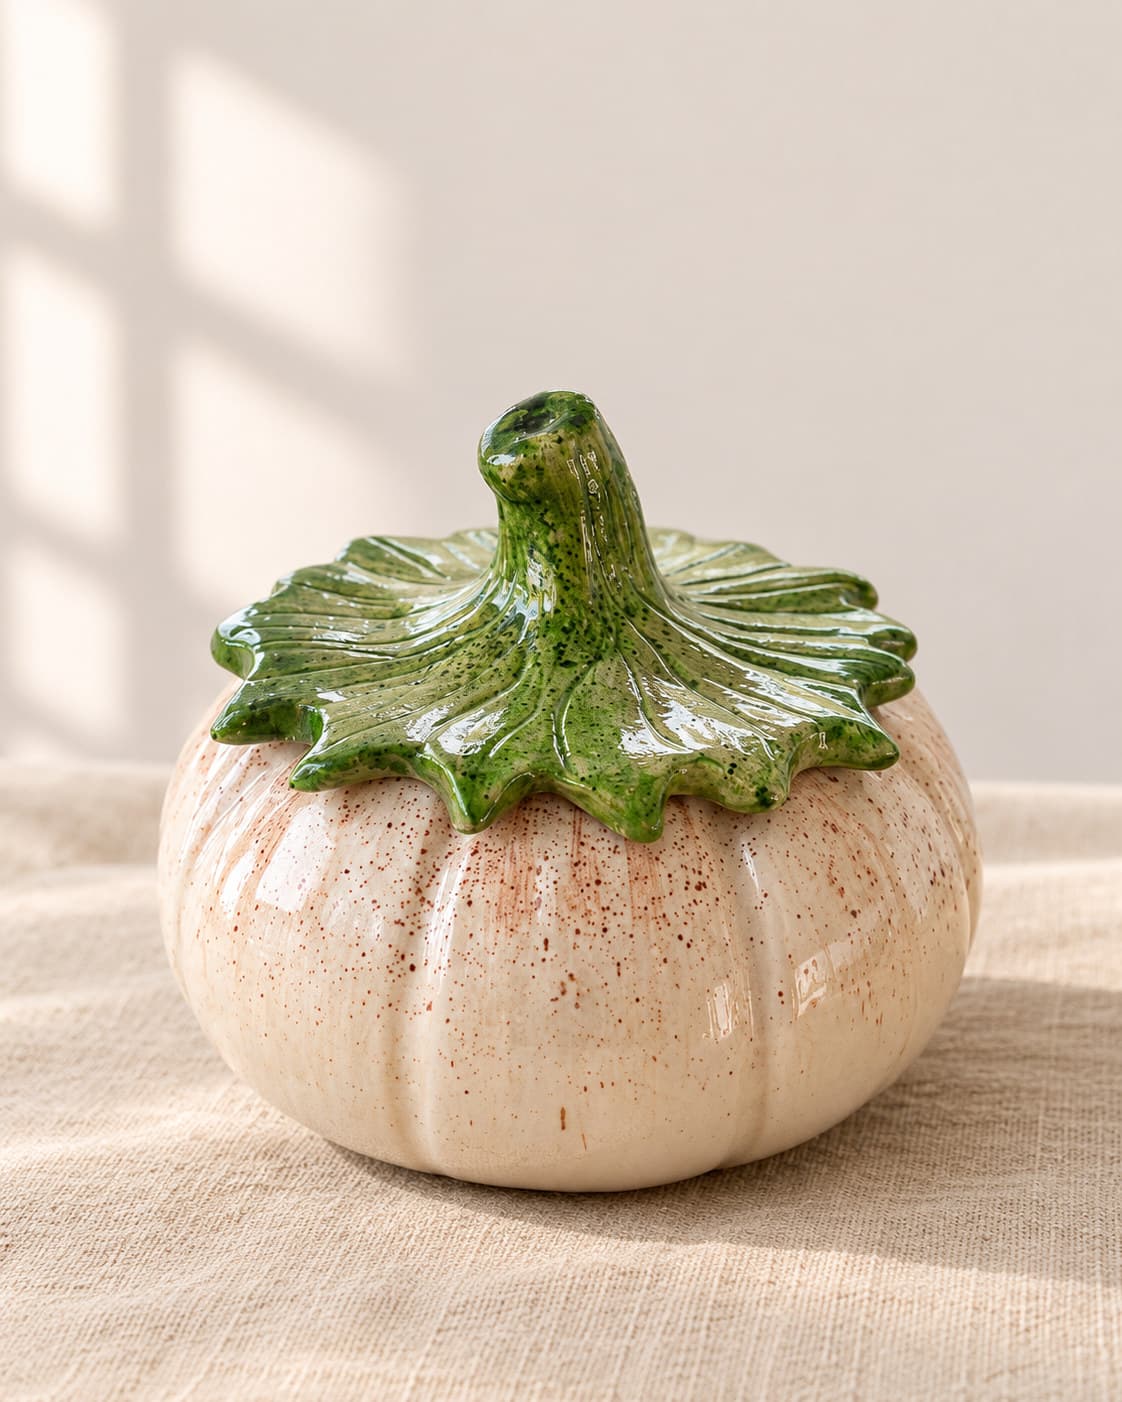
Roll a ball, flatten its base, and open a hollow from the centre, turning as you go. Lift the walls by squeezing gently upward, tapping the rim to keep it level, and bring clay up from a thick base. Feel the wall between thumb and fingers all the way round: the thickness should be the same everywhere. Press soft vertical lines into the outside to give it a pumpkin shape.
9. A lid for the bowl
Make the lid while the bowl is still soft, so both dry and shrink together. Measure the opening, shape a shallow dome slightly wider than it, and add a stem or leaf handle. Let the lid dry sitting on the bowl so it keeps its fit.
10. A jam dish
A small lidded dish brings everything together: a base, a coiled or slab wall, a lid and a little handle. Wrapping a coil around a base is also a gentle introduction to coil building, which you can use later for taller vases and planters.
After shaping: dry, clean, colour, fire
Each project goes through the same finish. Let it dry completely until it turns pale and light. Clean the base, inside and outside with a damp sponge and a metal rib. Paint it with ceramic colours, then have it bisque- and glaze-fired. Read how pottery firing works before your first trip to the kiln.
Frequently asked questions
What is the easiest thing to make with clay?
A pinch pot. Push your thumb into a ball of clay and pinch the walls thinner as you turn it. It needs no tools and teaches you how clay responds faster than any other project.
What can beginners make with clay without a kiln?
With air-dry clay you can make decorative pieces such as trinket dishes, ornaments, plaques and roses. They are not waterproof or food safe. Anything for eating or drinking must be made with ceramic clay and kiln-fired.
How thick should beginner pottery be?
About half a centimetre (5 mm) for slabs, walls and plates. Handles and spoons can be closer to one centimetre. Never make solid parts thicker than 2 to 2.5 cm, or they may crack in the kiln.
Can I sell the pottery I make as a beginner?
Many people start a small ceramics business from these exact projects. Make sure pieces for food and drink are fired properly and finished with a food-safe glaze, and describe them honestly as handmade.
About Nariman
Nariman is a hand-building potter in Jordan. She has taught her beginner course to students since 2022 and shares slow, quiet pottery and home videos on YouTube.