Quick answer
Advanced hand-building is about control: raising seamless walls without a wheel, fitting lids, carving and piercing, layering surface decoration, and building hollow forms that survive the kiln. Almost all of it depends on timing. Cutting, carving and joining work best at leather-hard, when clay holds its shape but is still slightly damp.
- Leather-hard is the working stage for carving, piercing and attaching parts.
- Make lids at the same time as their pots, and dry them together.
- Keep solid parts under 2 to 2.5 cm thick, and vent any hollow form.
- Thin, even layers of colour survive glazing. Heavy layers lift off.
In this guide
- What counts as advanced in hand-building?
- 1. Seamless forms with the hand-wheel method
- 2. Fitting a lid that actually fits
- 3. Carving and piercing
- 4. Mosaic and incised line work
- 5. Appliqué: roses, leaves and relief
- 6. Hollow and thick forms that survive the kiln
- Troubleshooting advanced pieces
- Frequently asked questions
Once you can roll an even slab and hide a seam, the next level of hand-building isn't about new tools. It is about timing and control: knowing when clay is ready to be cut, how thick a wall can safely be, and how many layers of colour a surface will hold. These six techniques are where hand-built work starts to look like nobody else's.
What counts as advanced in hand-building?
A technique is advanced when it asks you to judge the clay rather than follow a recipe. Raising a wall without joins means feeling thickness through your fingers. Carving means catching the clay at exactly the right dryness. Fitting a lid means predicting how two pieces will shrink. None of these need expensive equipment. All of them need practice.
1. Seamless forms with the hand-wheel method
Nariman's favourite way to build is what she calls the hand-wheel method: a bowl raised from a single ball of clay, turned in the hands the way a wheel would turn it, so there is no seam to crack. Open a hollow in the centre, then squeeze the walls gently upward while turning. Tap the rim on the table to keep it level. Move clay from a thick base up into the wall, and widen the belly by pressing outward from inside.
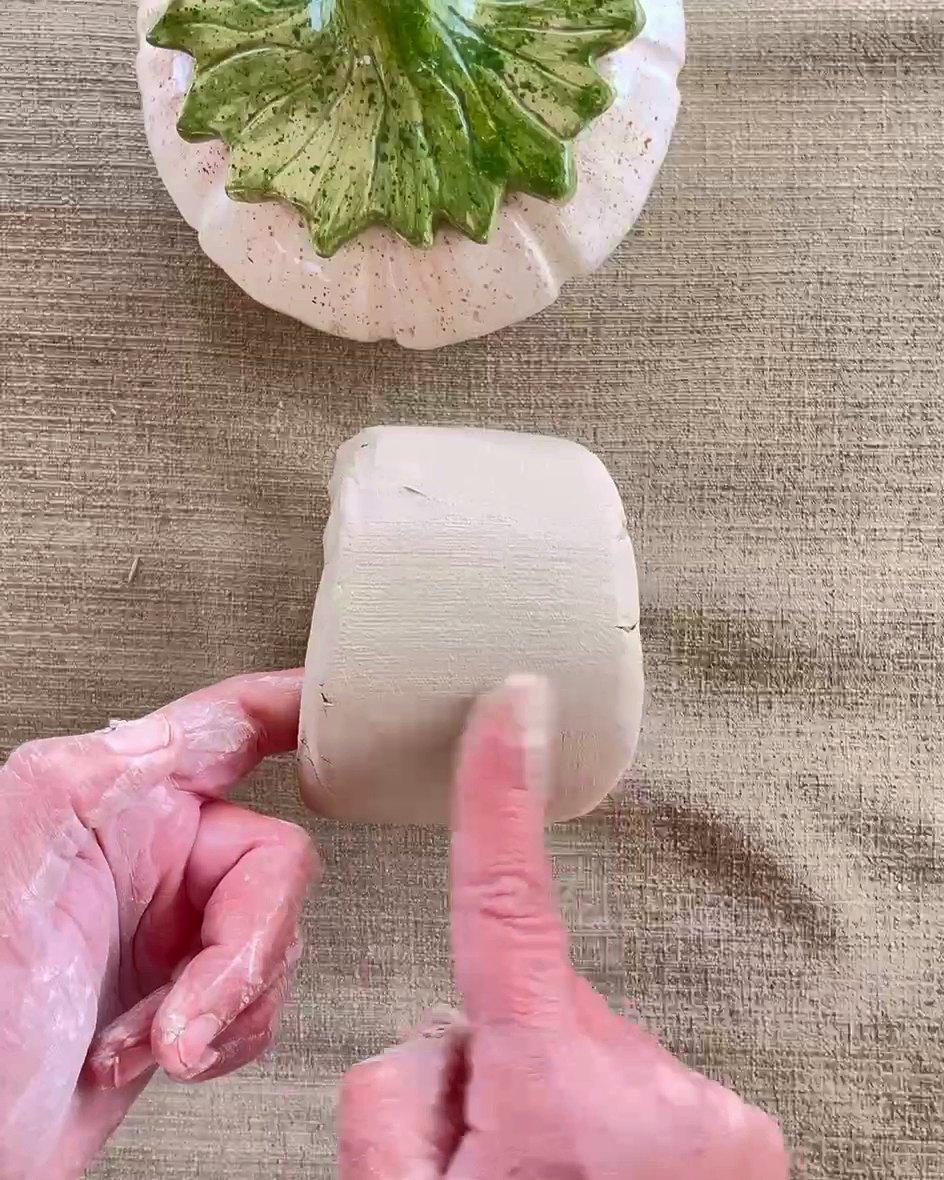
The skill is in your fingertips. Keep checking thickness between thumb and fingers all the way round. Pop any air bubbles you find. Smooth inside first, then outside, so you don't mark the finished surface while holding it.
2. Fitting a lid that actually fits
- 1
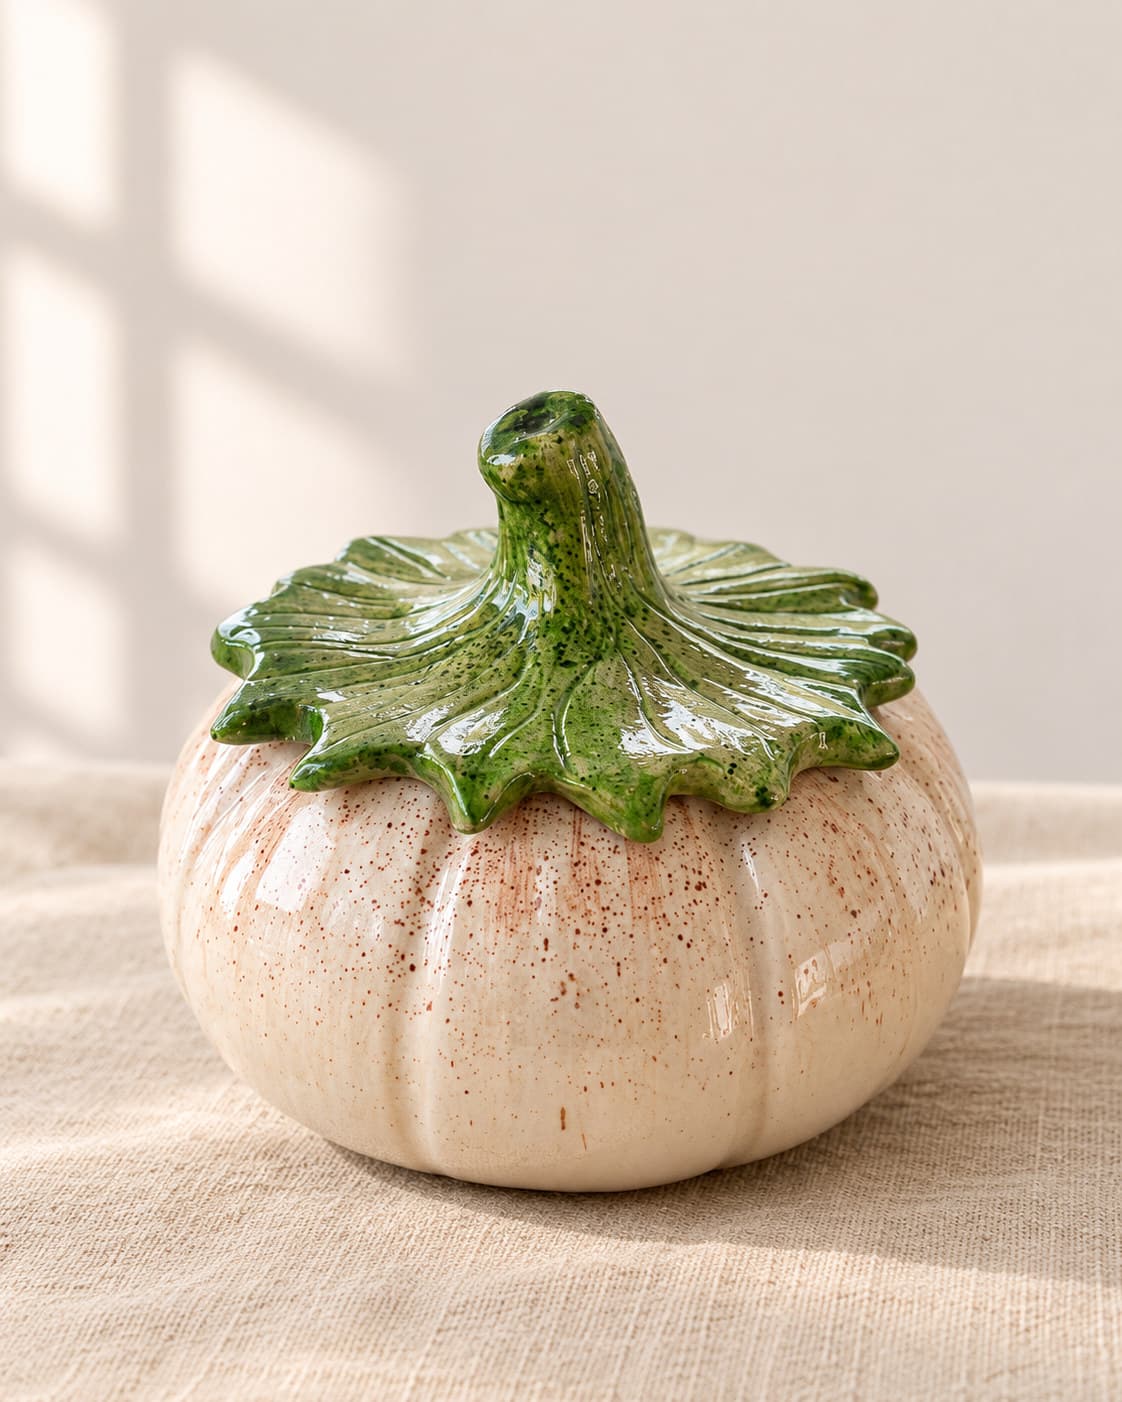
Make it at the same time
Shape the lid while the pot is still soft, from the same clay, so both shrink the same amount.
- 2
Measure the opening
Measure the rim, then make the lid a few millimetres wider, or add a flange underneath that sits inside the rim.
- 3
Match the thickness
Keep the lid close to the thickness of the pot's wall so it dries at the same speed.
- 4
Dry it in place
Let the lid dry sitting on the pot, covered loosely, so the two pieces warp together if they warp at all.
- 5
Keep contact points bare
Before the glaze firing, wipe or wax glaze off the surfaces where lid and pot touch, or they will fuse together.
3. Carving and piercing
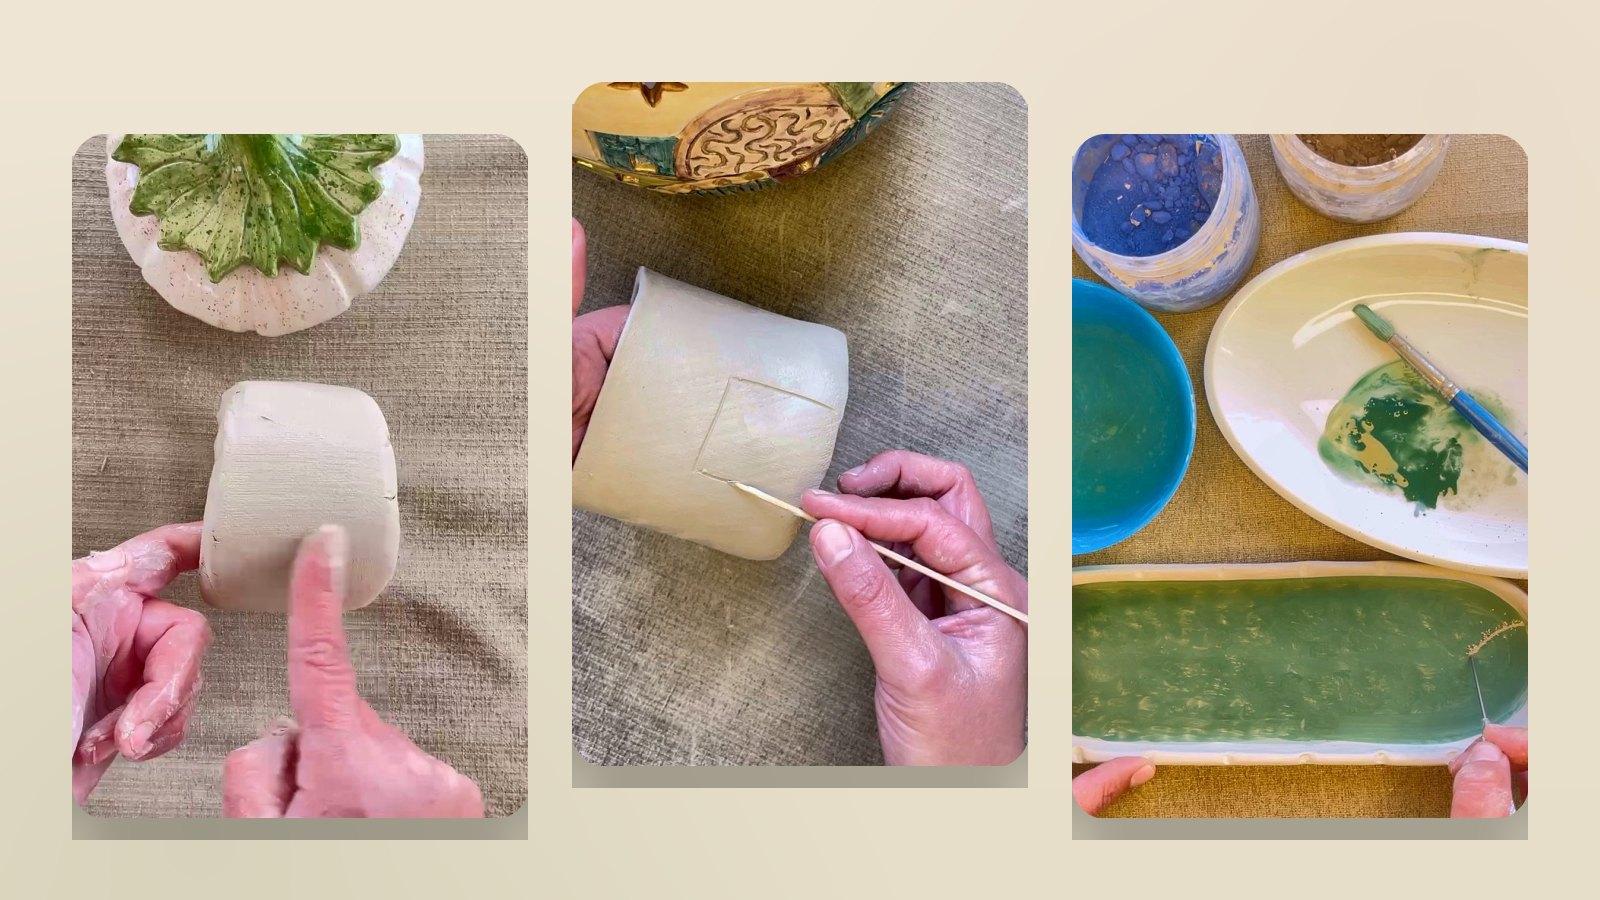
Carving removes clay from the surface. Piercing cuts right through it, so light can pass. Both are done at leather-hard. Too soft and the wall distorts under the knife. Too dry and edges chip and crumble. Draw the design first with a needle, support the wall from inside with your fingers, and cut with a sharp craft knife held straight. Soften cut edges afterwards with a damp brush.
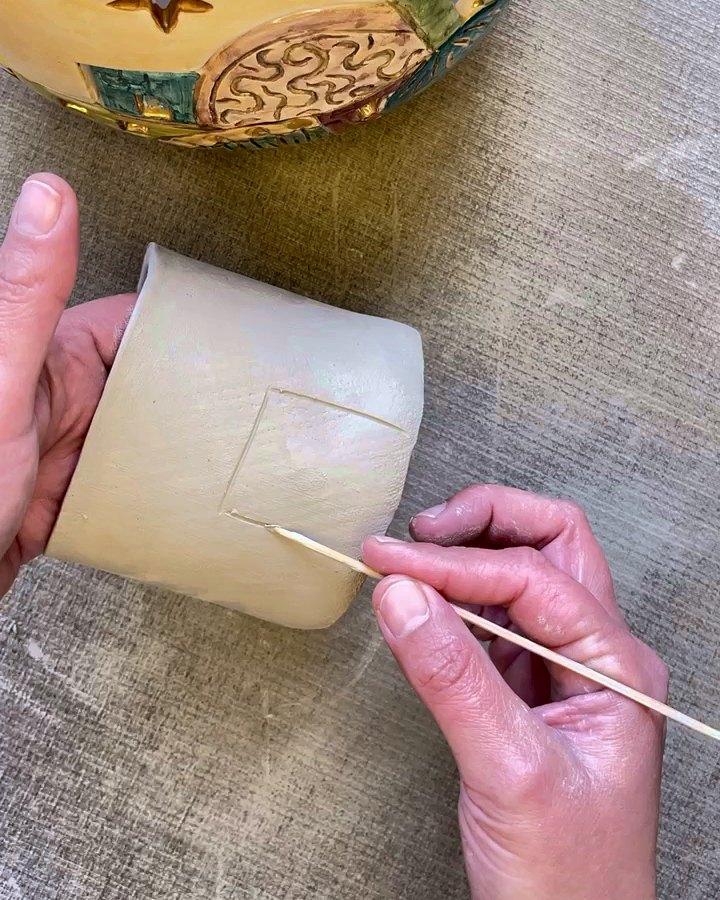
A pierced candle holder is the classic exercise: a slab cylinder with little houses and windows cut into it, so it scatters light when a candle is lit inside.
4. Mosaic and incised line work
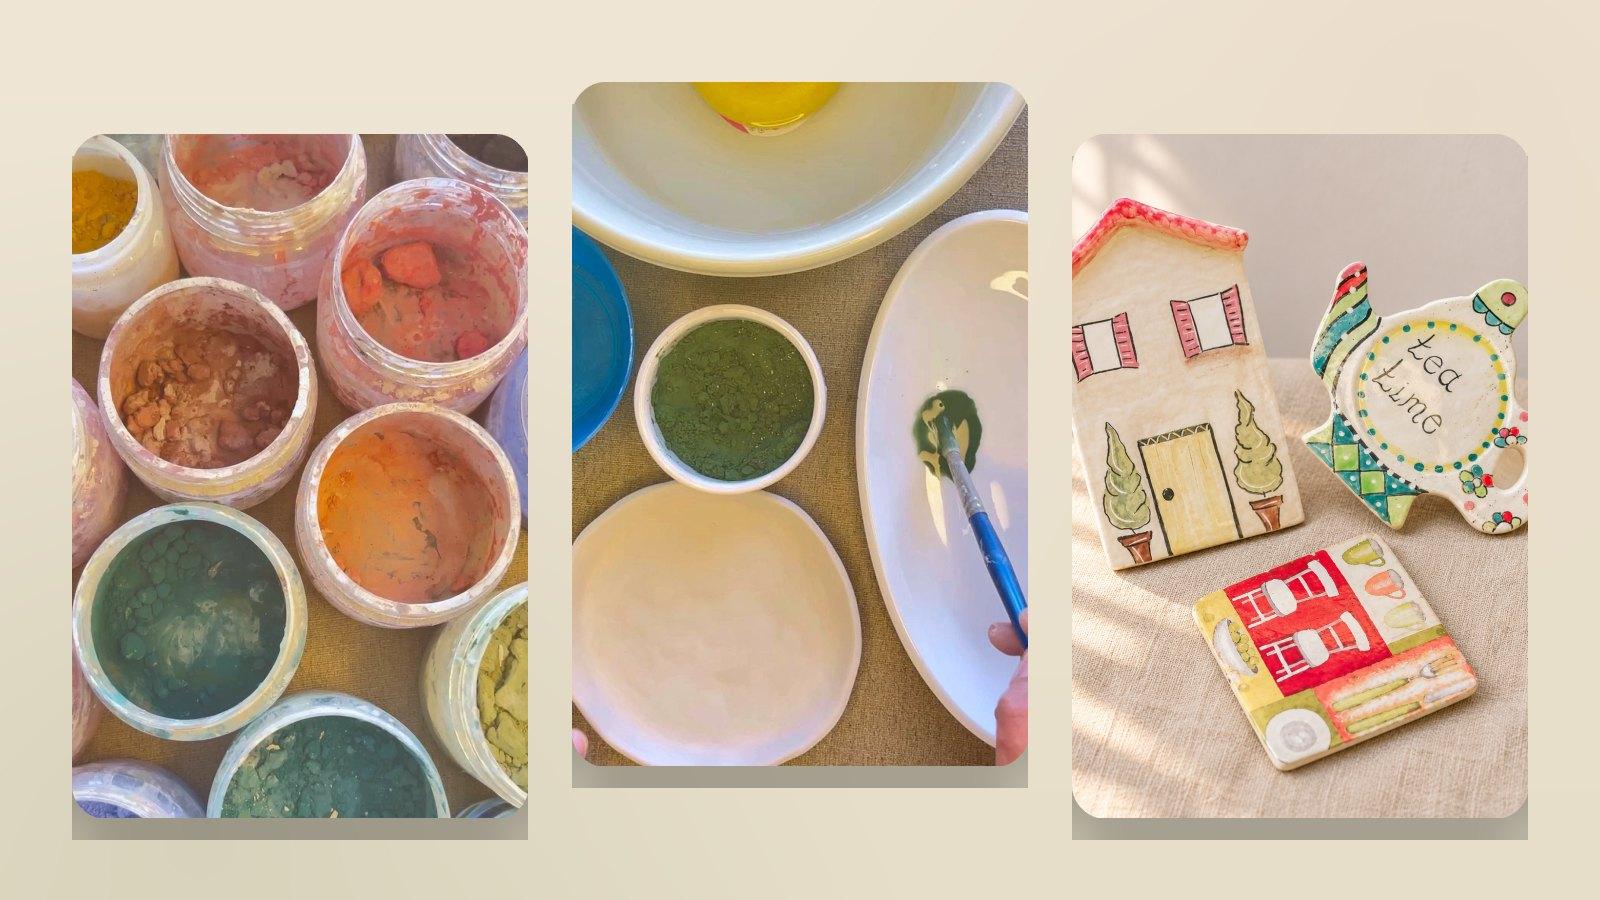
Nariman's mosaic effect is a form of incised decoration, close to sgraffito. Paint the dry piece with a fairly dark colour, then draw lines through it with a needle at medium pressure, so the pale clay shows through like the grout between mosaic tiles. Overlapping circles, grids and little house outlines all work. You can leave it in one colour or fill each tile with a different one.
5. Appliqué: roses, leaves and relief
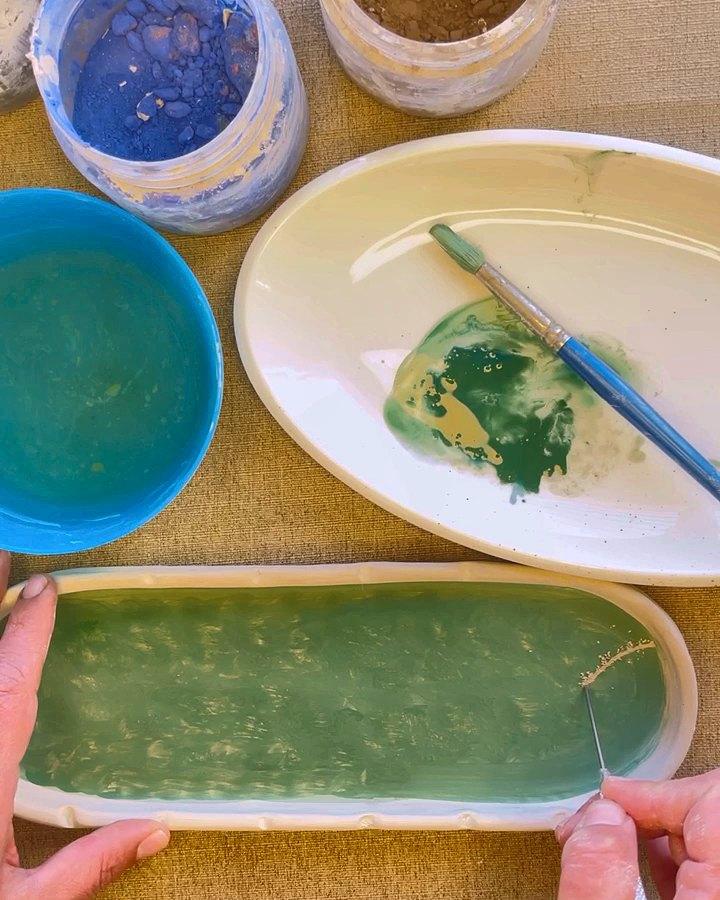
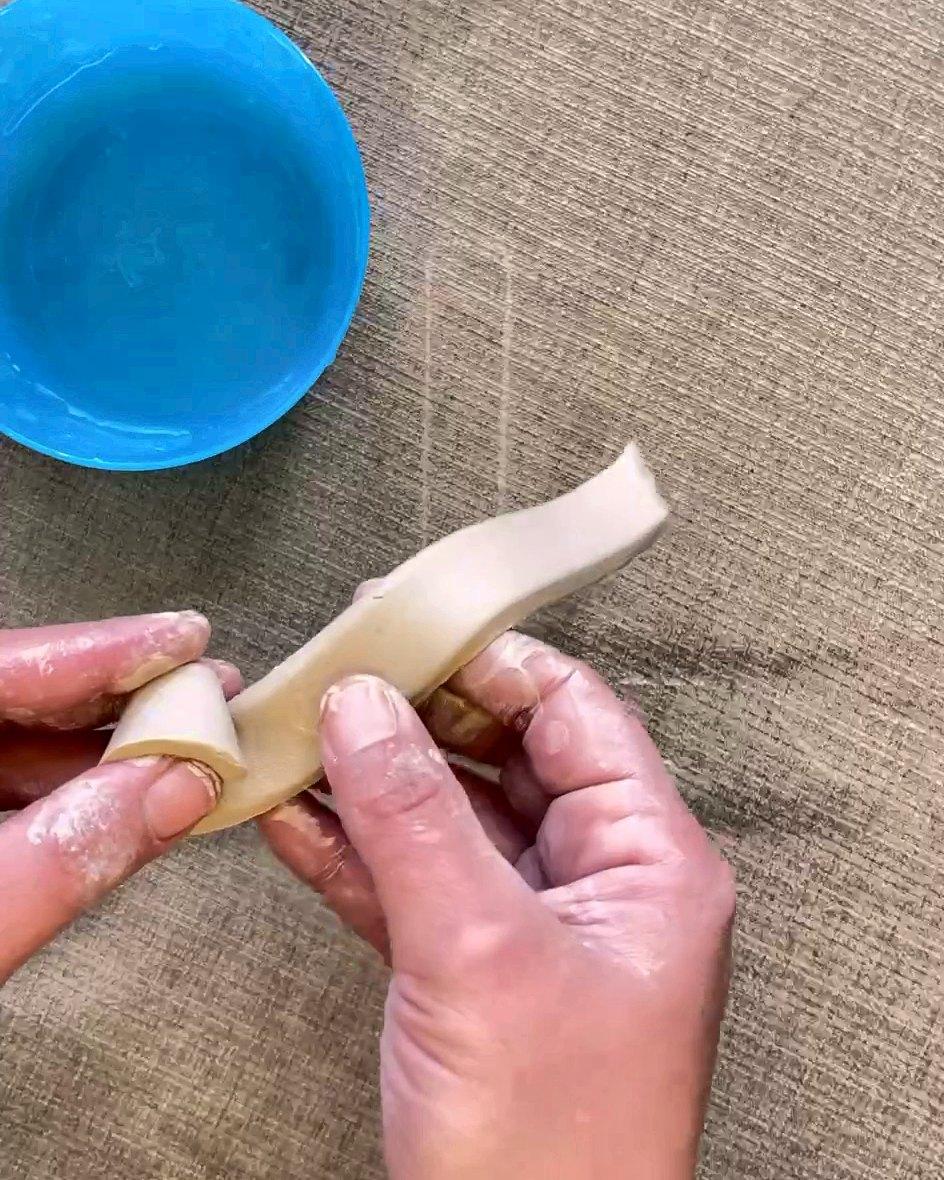
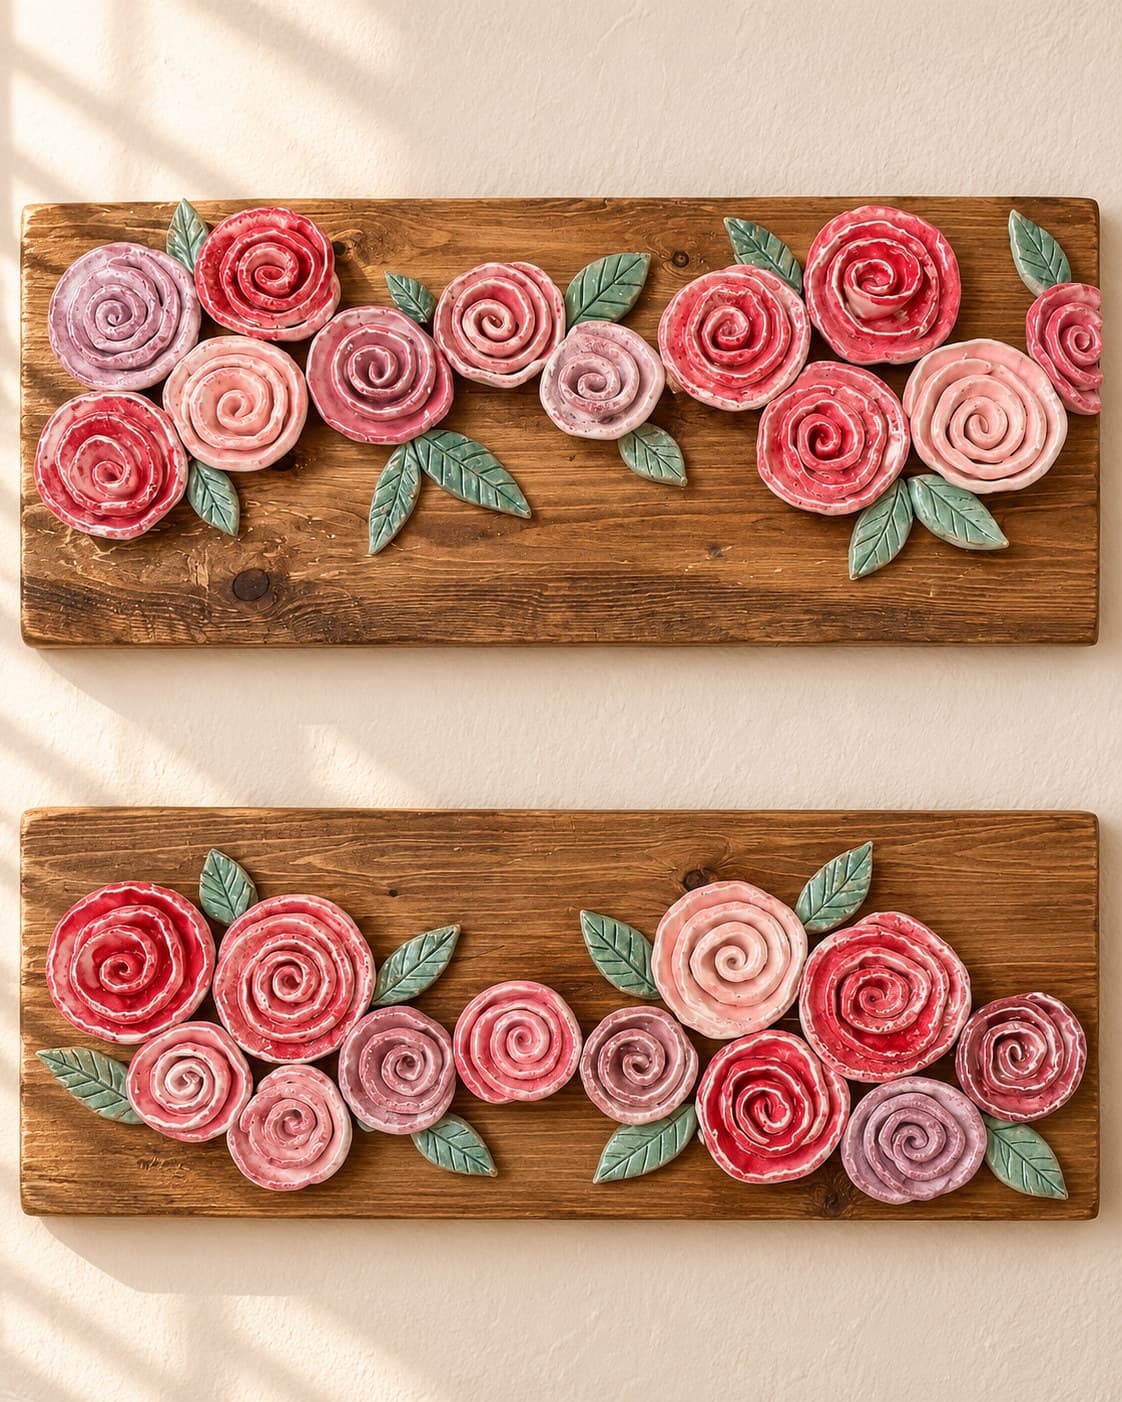
Appliqué means attaching small modelled shapes to a surface. Roses, leaves, stems and little roofs all count. The rule is moisture: the base piece and the appliqué should be at a similar dryness, or the smaller part shrinks faster and pops off. Score and slip even the smallest piece, press it firmly, and clean the join with a brush where a sponge can't reach. Thin, tapered edges look delicate but crack easily, so keep them damp while you work.
6. Hollow and thick forms that survive the kiln
Larger sculptural pieces fail in the kiln for one reason: trapped water and air. Any part thicker than 2 to 2.5 cm, including two layers stacked together, is at risk. Hollow out large forms from underneath, and pierce a small vent hole into any enclosed space so steam can escape.
Troubleshooting advanced pieces
| Problem | Likely cause | Fix |
|---|---|---|
| Lid no longer fits | Made later than the pot, or dried apart | Make both together and dry the lid in place |
| Carved edges crumble | Clay too dry when carved | Carve at leather-hard, keep the piece wrapped between sessions |
| Rose or handle falls off | No score and slip, or very different dryness | Score both sides, slip, attach at similar moisture |
| Colour peels under glaze | Too many thick layers of colour | Thin the colour with water, build up gently |
| Piece cracks or bursts in the kiln | Too thick, or air trapped in a closed form | Keep walls under 2–2.5 cm, hollow and vent |
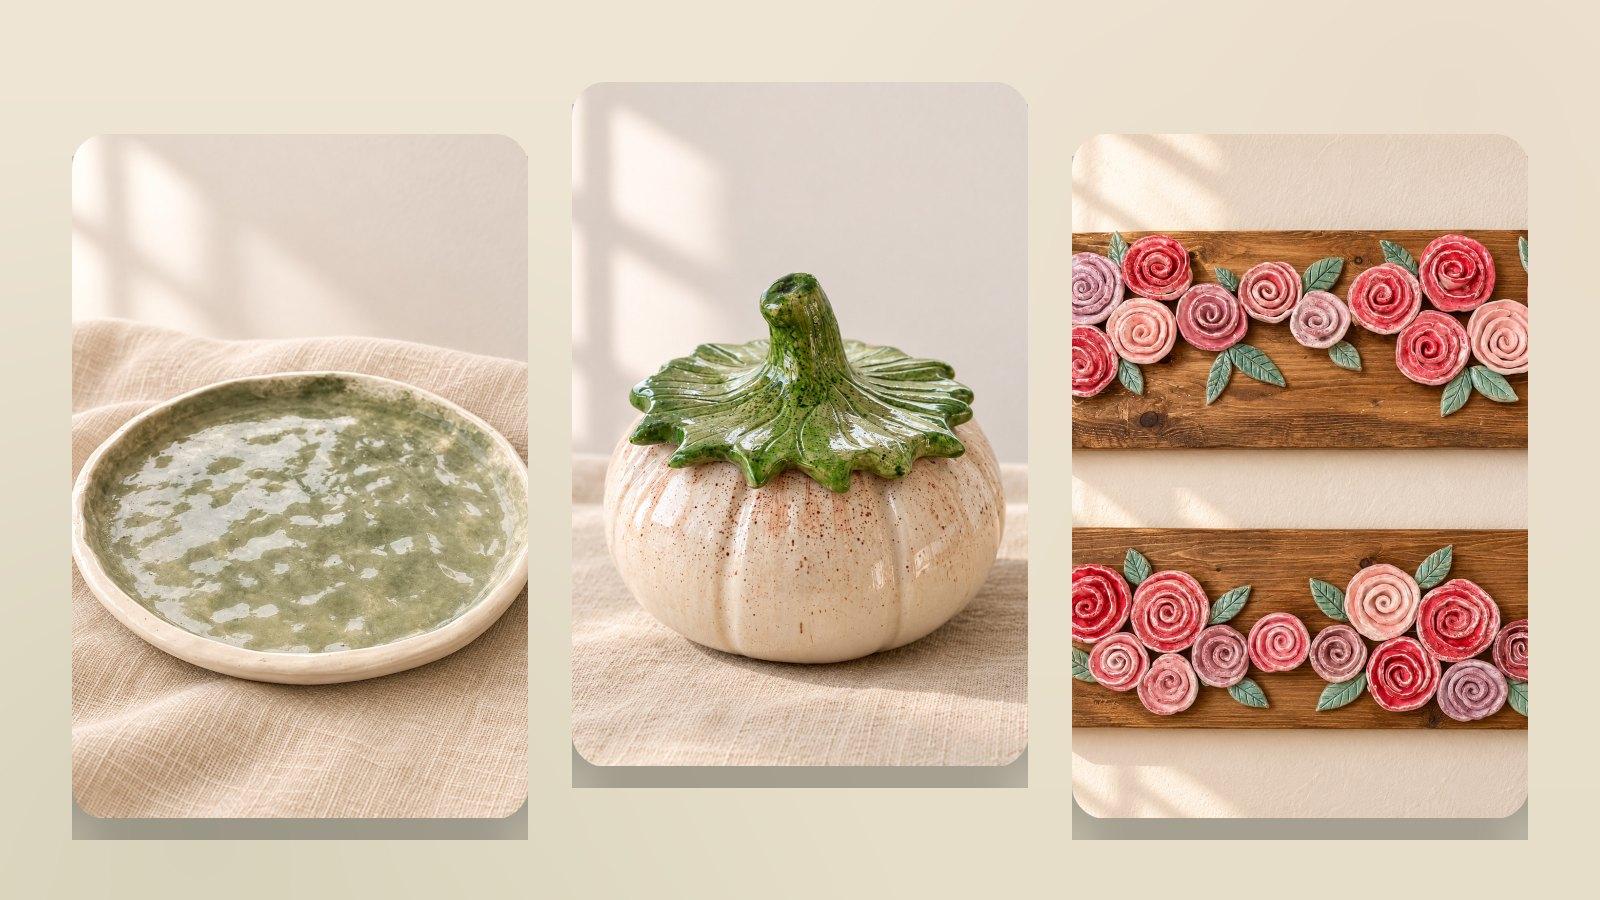
Several of these techniques are taught step by step in Nariman's Pottery for Beginners course: the seamless pumpkin bowl and its lid, the pierced candle holder, clay roses and the mosaic effect. If you are still building the basics, start with easy projects for beginners.
Frequently asked questions
What are advanced pottery techniques?
In hand-building they include raising seamless forms without a wheel, making fitted lids, carving and piercing walls, sgraffito and incised line work, appliqué such as roses and leaves, and building large hollow forms safely. On the wheel they include trimming, throwing off the hump and making multi-part forms.
When is clay leather-hard?
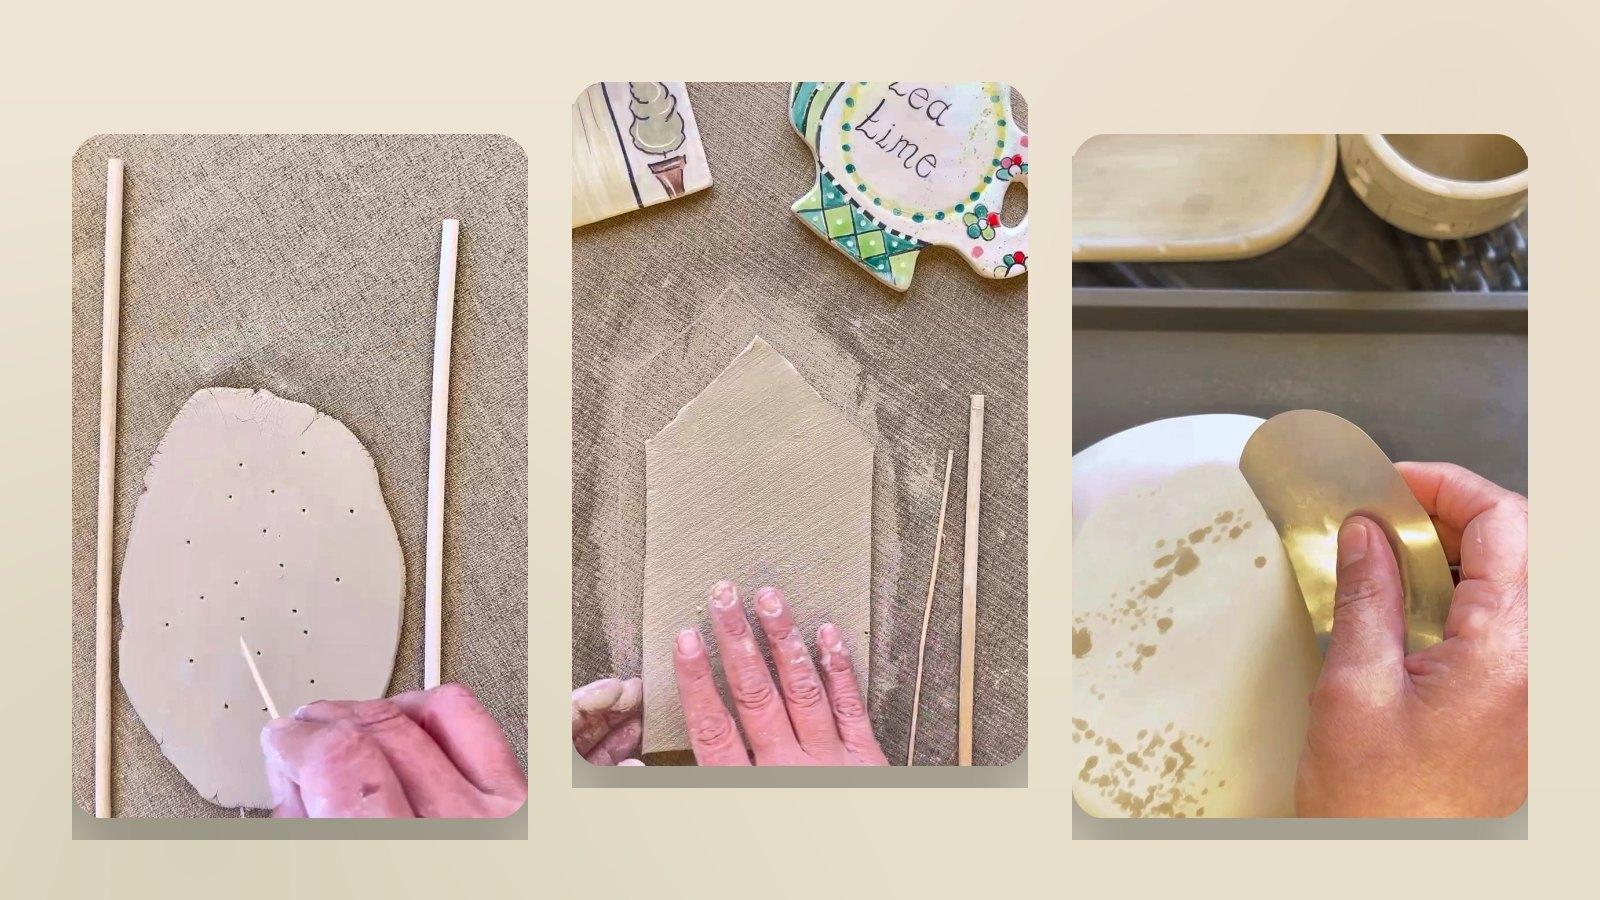
When it is firm enough to hold its shape and be picked up, but still cool and slightly damp, like a leather shoe. Thin pieces often reach it in a few hours. Nariman's lessons use roughly three hours of drying before cleaning, carving or attaching handles.
How do I stop a pottery lid from warping?
Make the lid from the same clay at the same time as the pot, keep its thickness close to the pot's wall, and let it dry sitting in place on the pot so both shrink together. Dry slowly, covered loosely, and turn the pot occasionally.
Why do hollow or thick pieces crack in the kiln?
Moisture and trapped air inside thick or closed forms turn to steam as the kiln heats, and expand faster than the clay can release them. Keep walls under 2 to 2.5 cm, hollow out larger parts, and pierce a small vent hole into any enclosed space.
Can I learn advanced pottery without a wheel?
Yes. Every technique in this guide is done by hand. Many studio potters make their most distinctive work by hand-building, because it allows forms and surfaces that a wheel can't.

About Nariman
Nariman is a hand-building potter in Jordan. She has taught her beginner course to students since 2022 and shares slow, quiet pottery and home videos on YouTube.